Our early Thanksgiving seemed like the appropriate time to cross off Life List item #3: make homemade pie crust. Every good cook needs a go-to crust recipe, but as I’ve mentioned, it’s intimidating. I’ve made plenty of desserts with various crusts: a chocolate cookie crust, pecan tartlet crust, cinnamon-graham cracker crust, even a beautiful crusty galette. But I’ve avoided making a traditional pie crust. Homemade is always best.
In classic Mom fashion, mine brought with her from Colorado a big stack of recipes. We sifted through a few for pie crust, each so different that I remembered why I’ve been hesitant to make one. How do you know which method is best? We chose one that seemed straightforward and simple, using both butter and shortening. Mom read the recipe while I dove in, starting by sifting flour, sugar and salt.


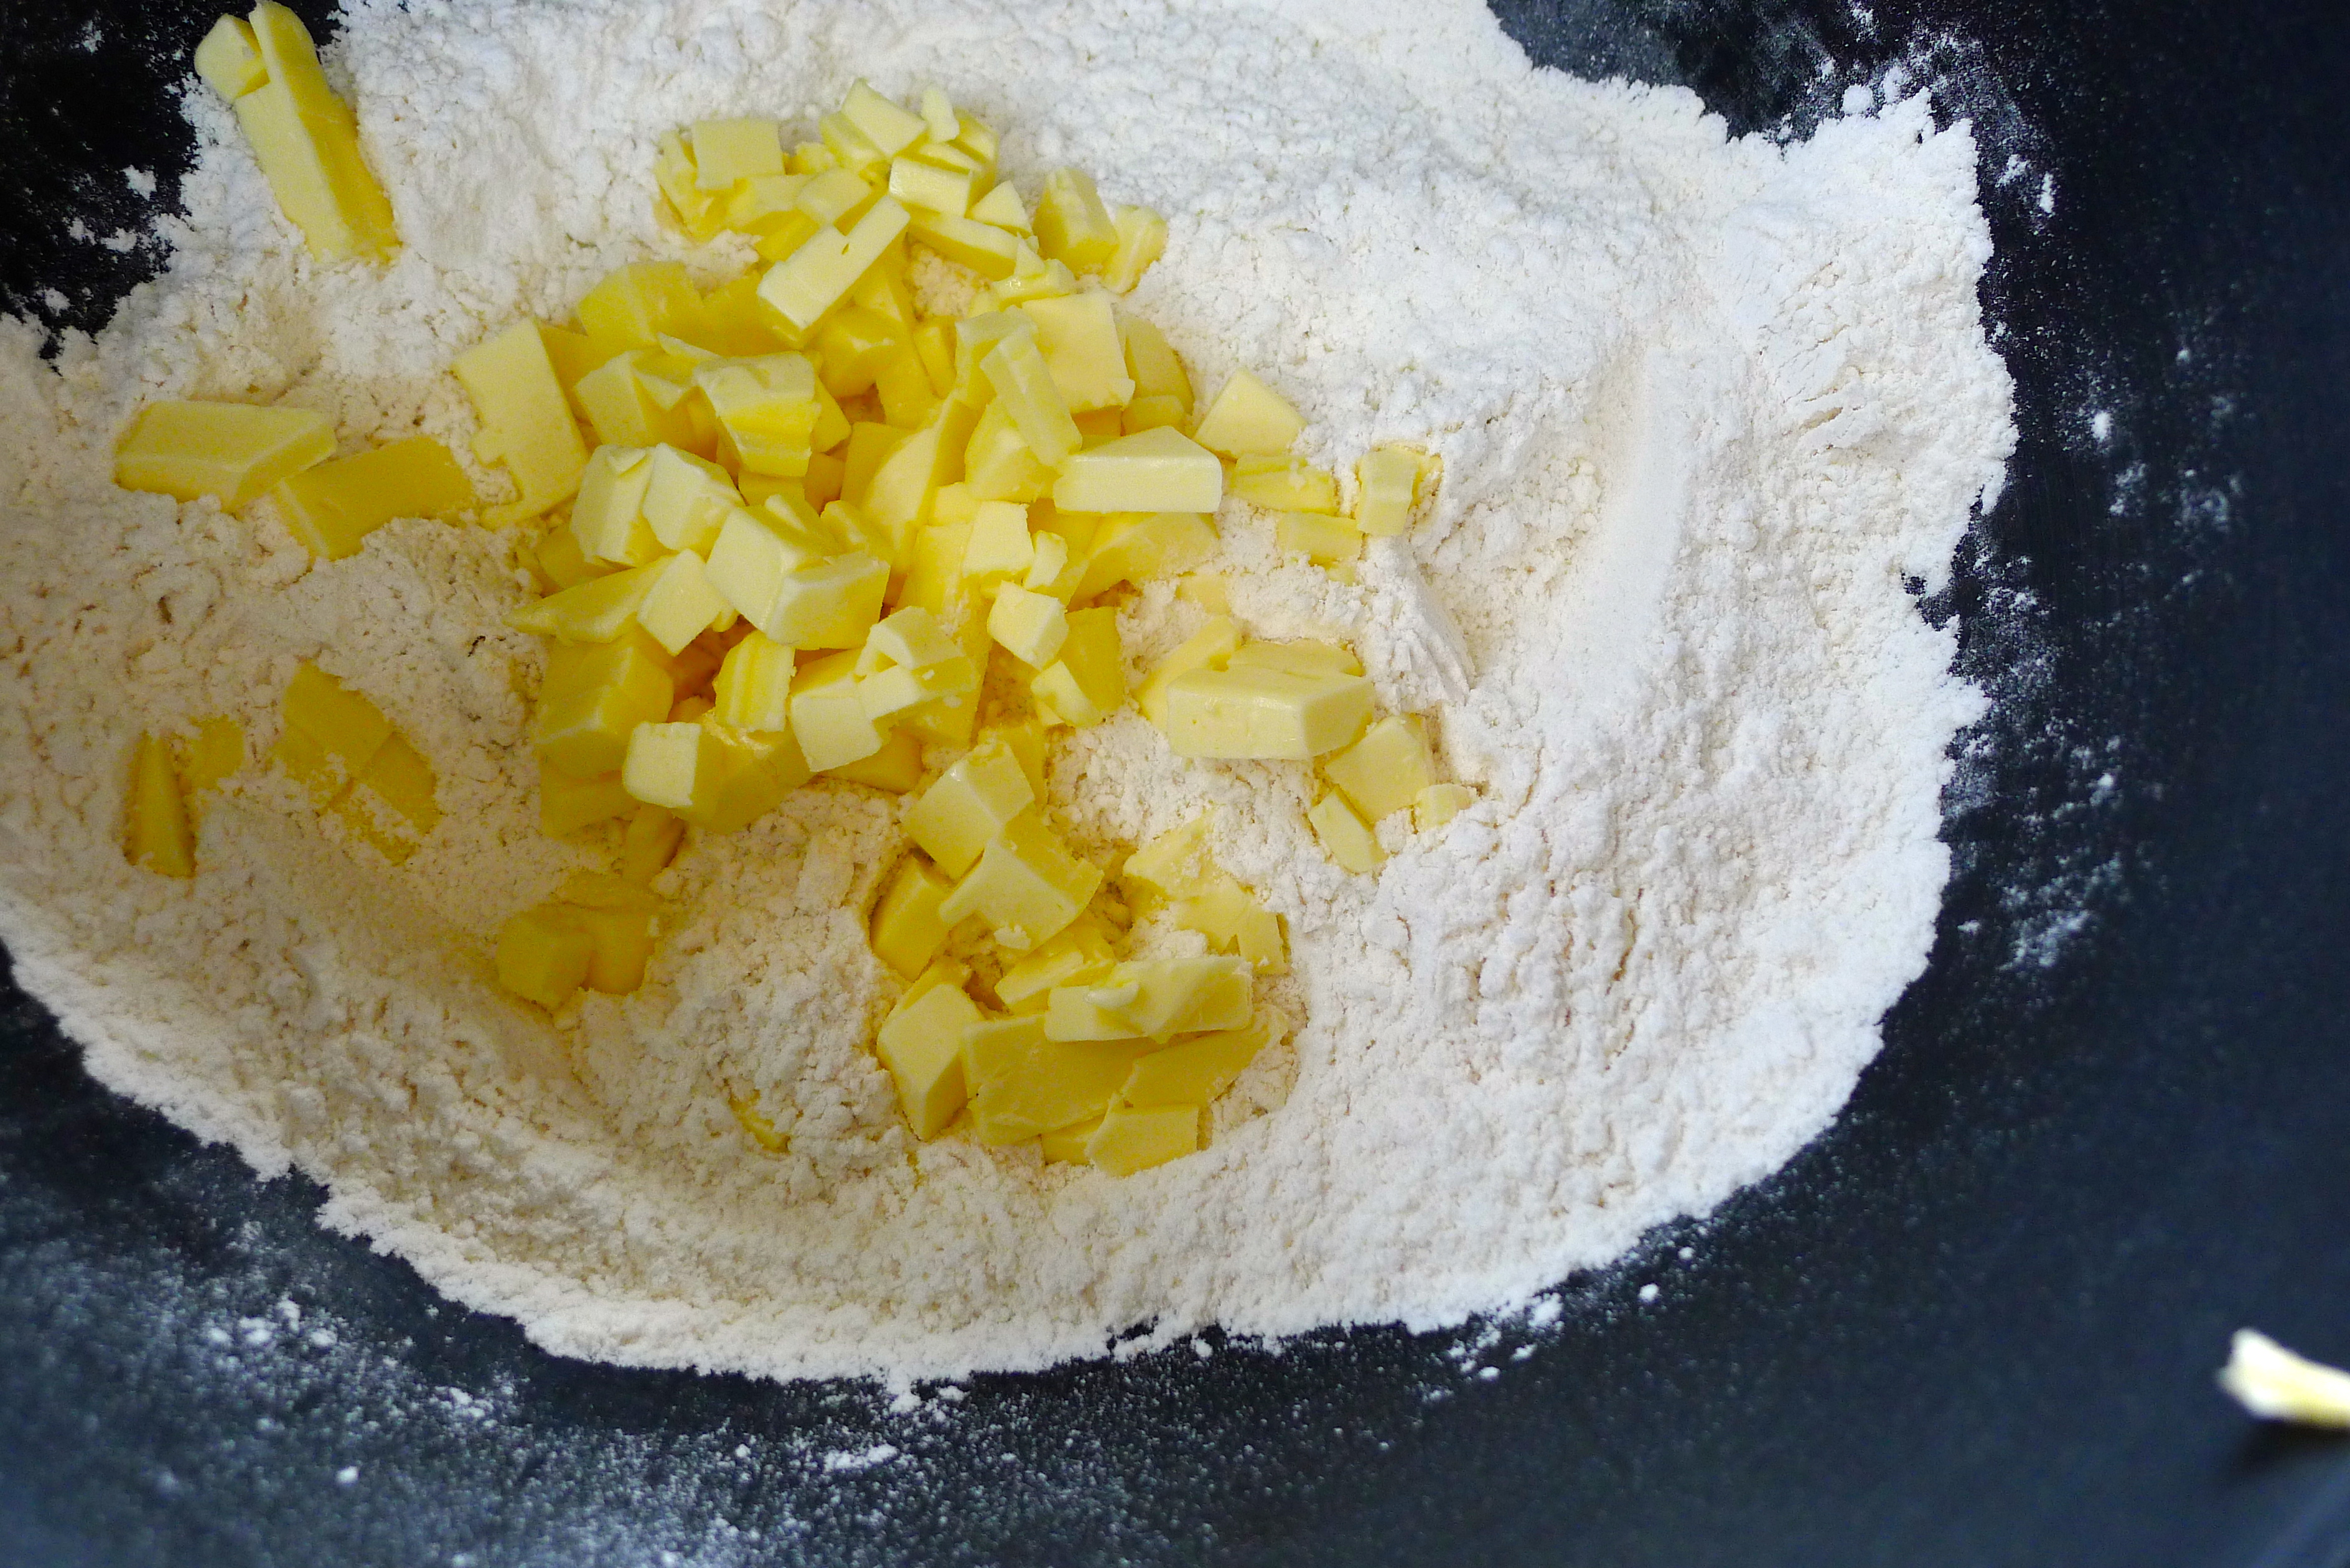
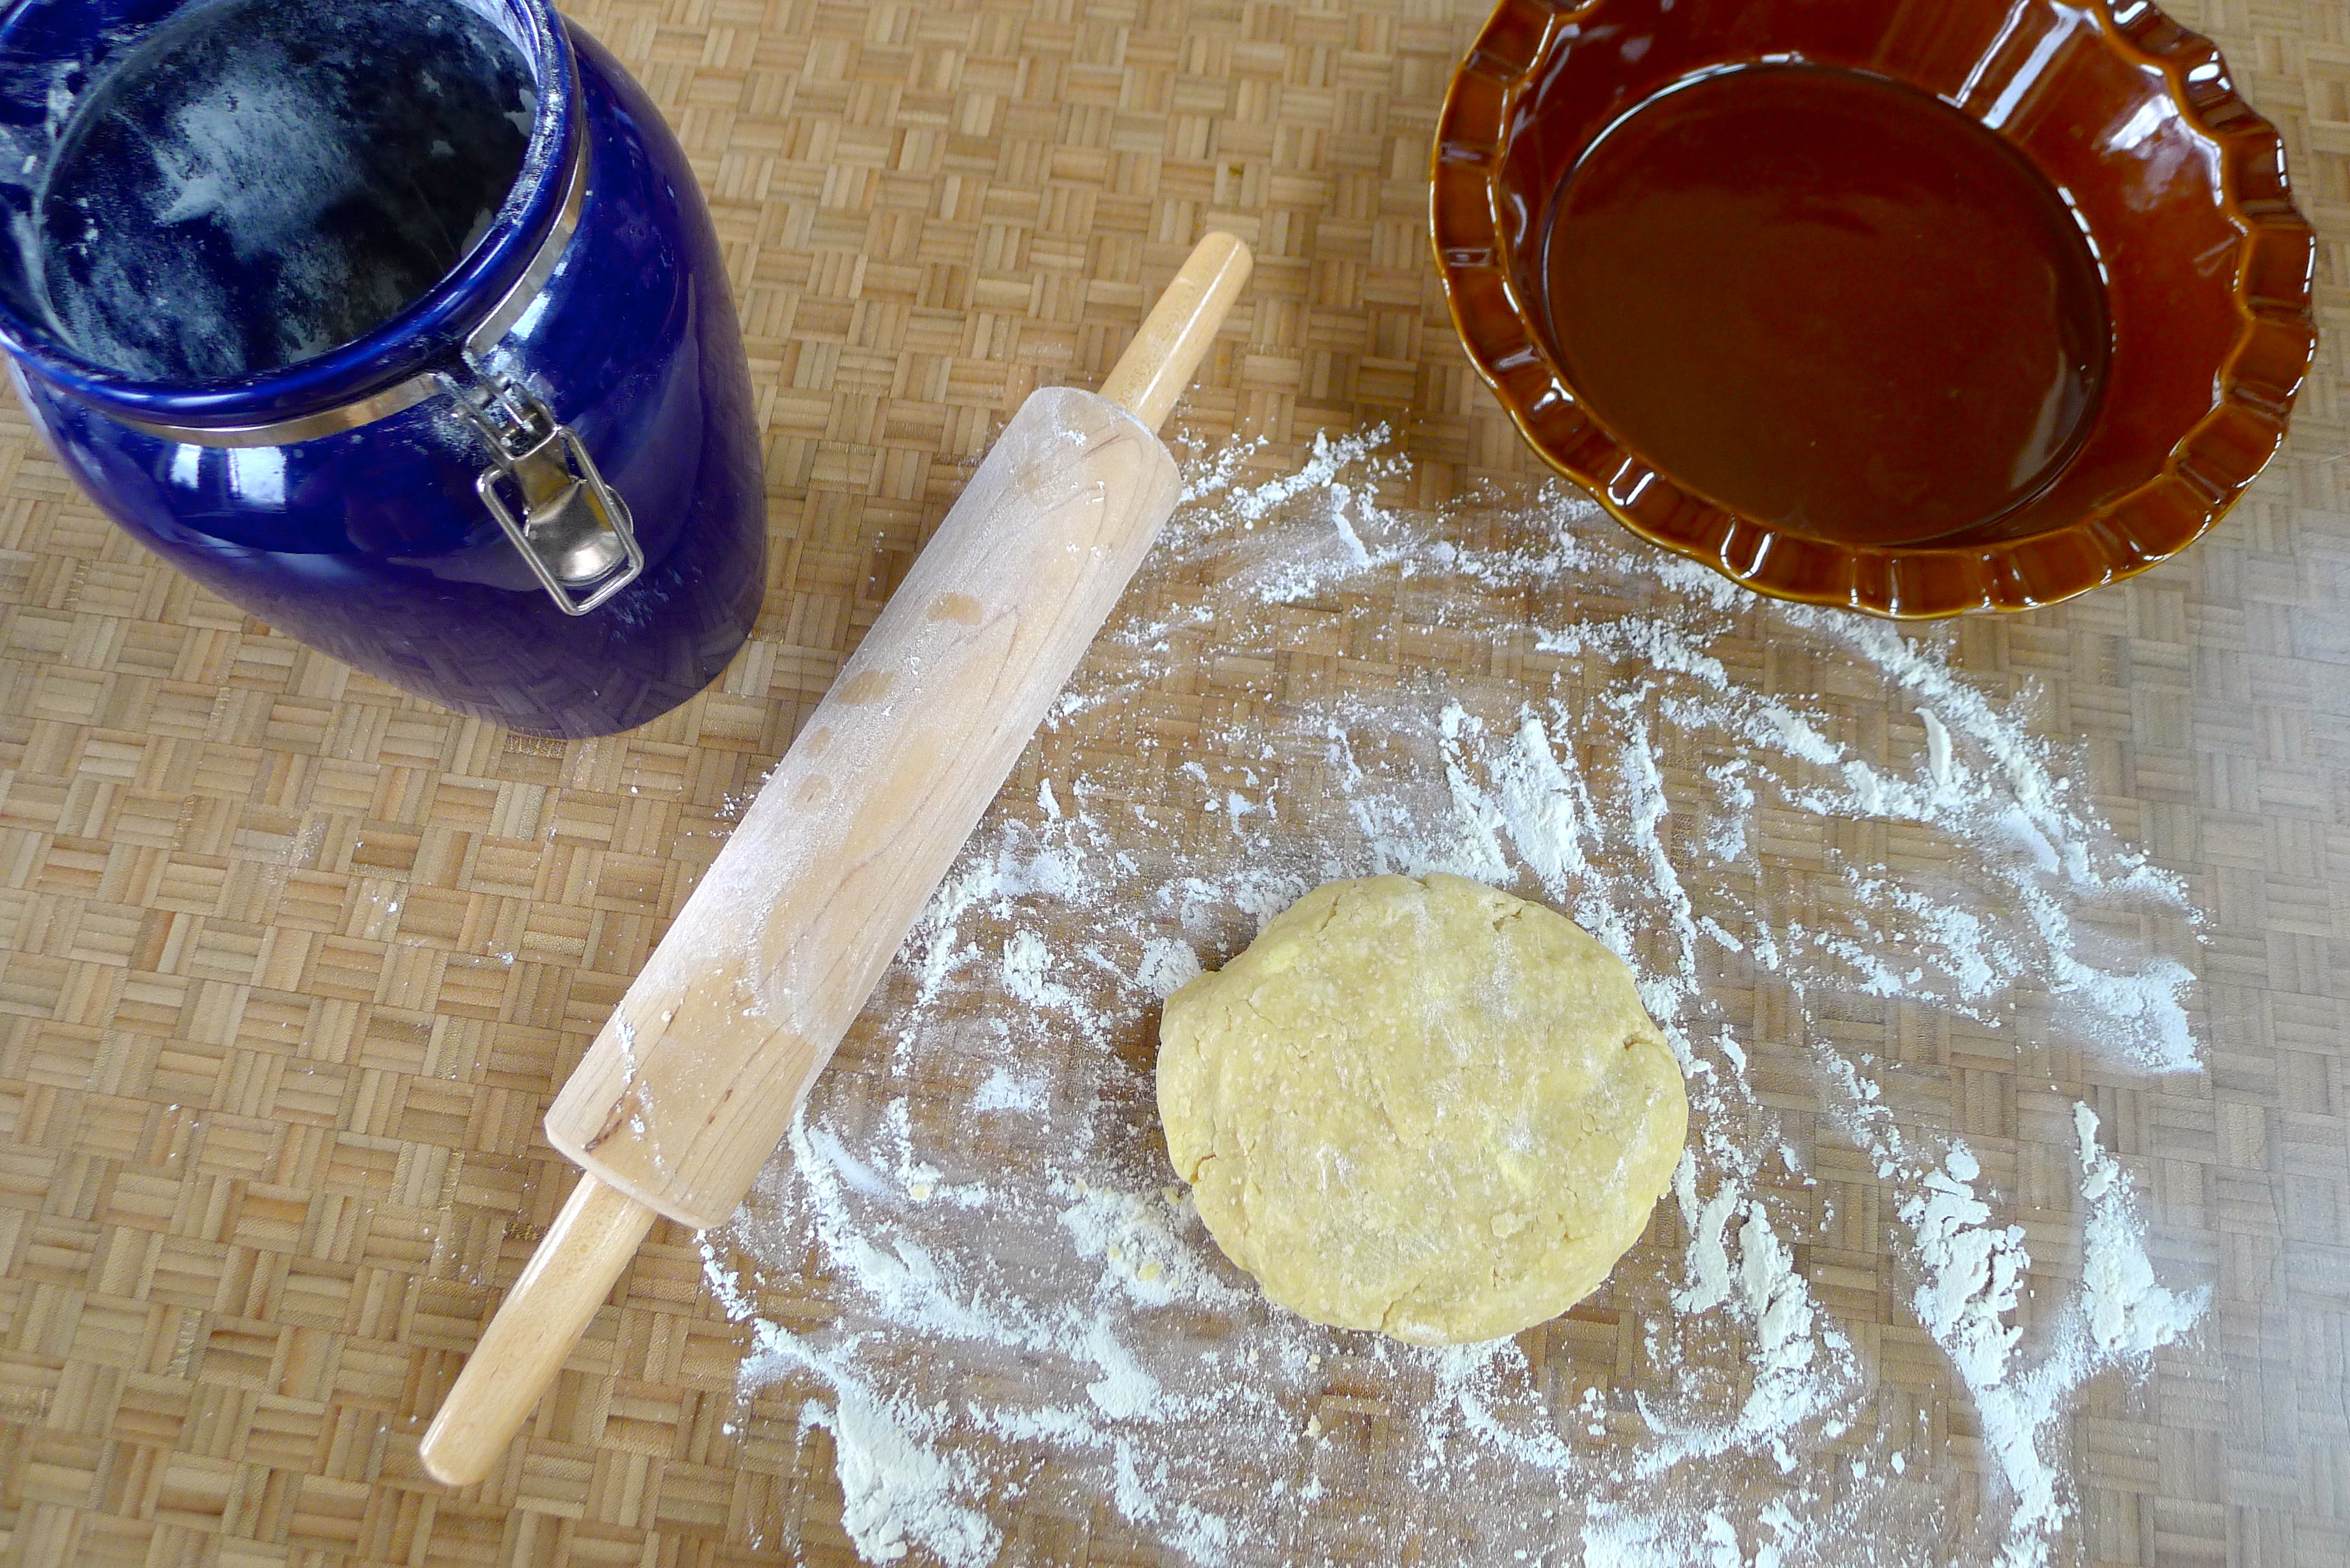
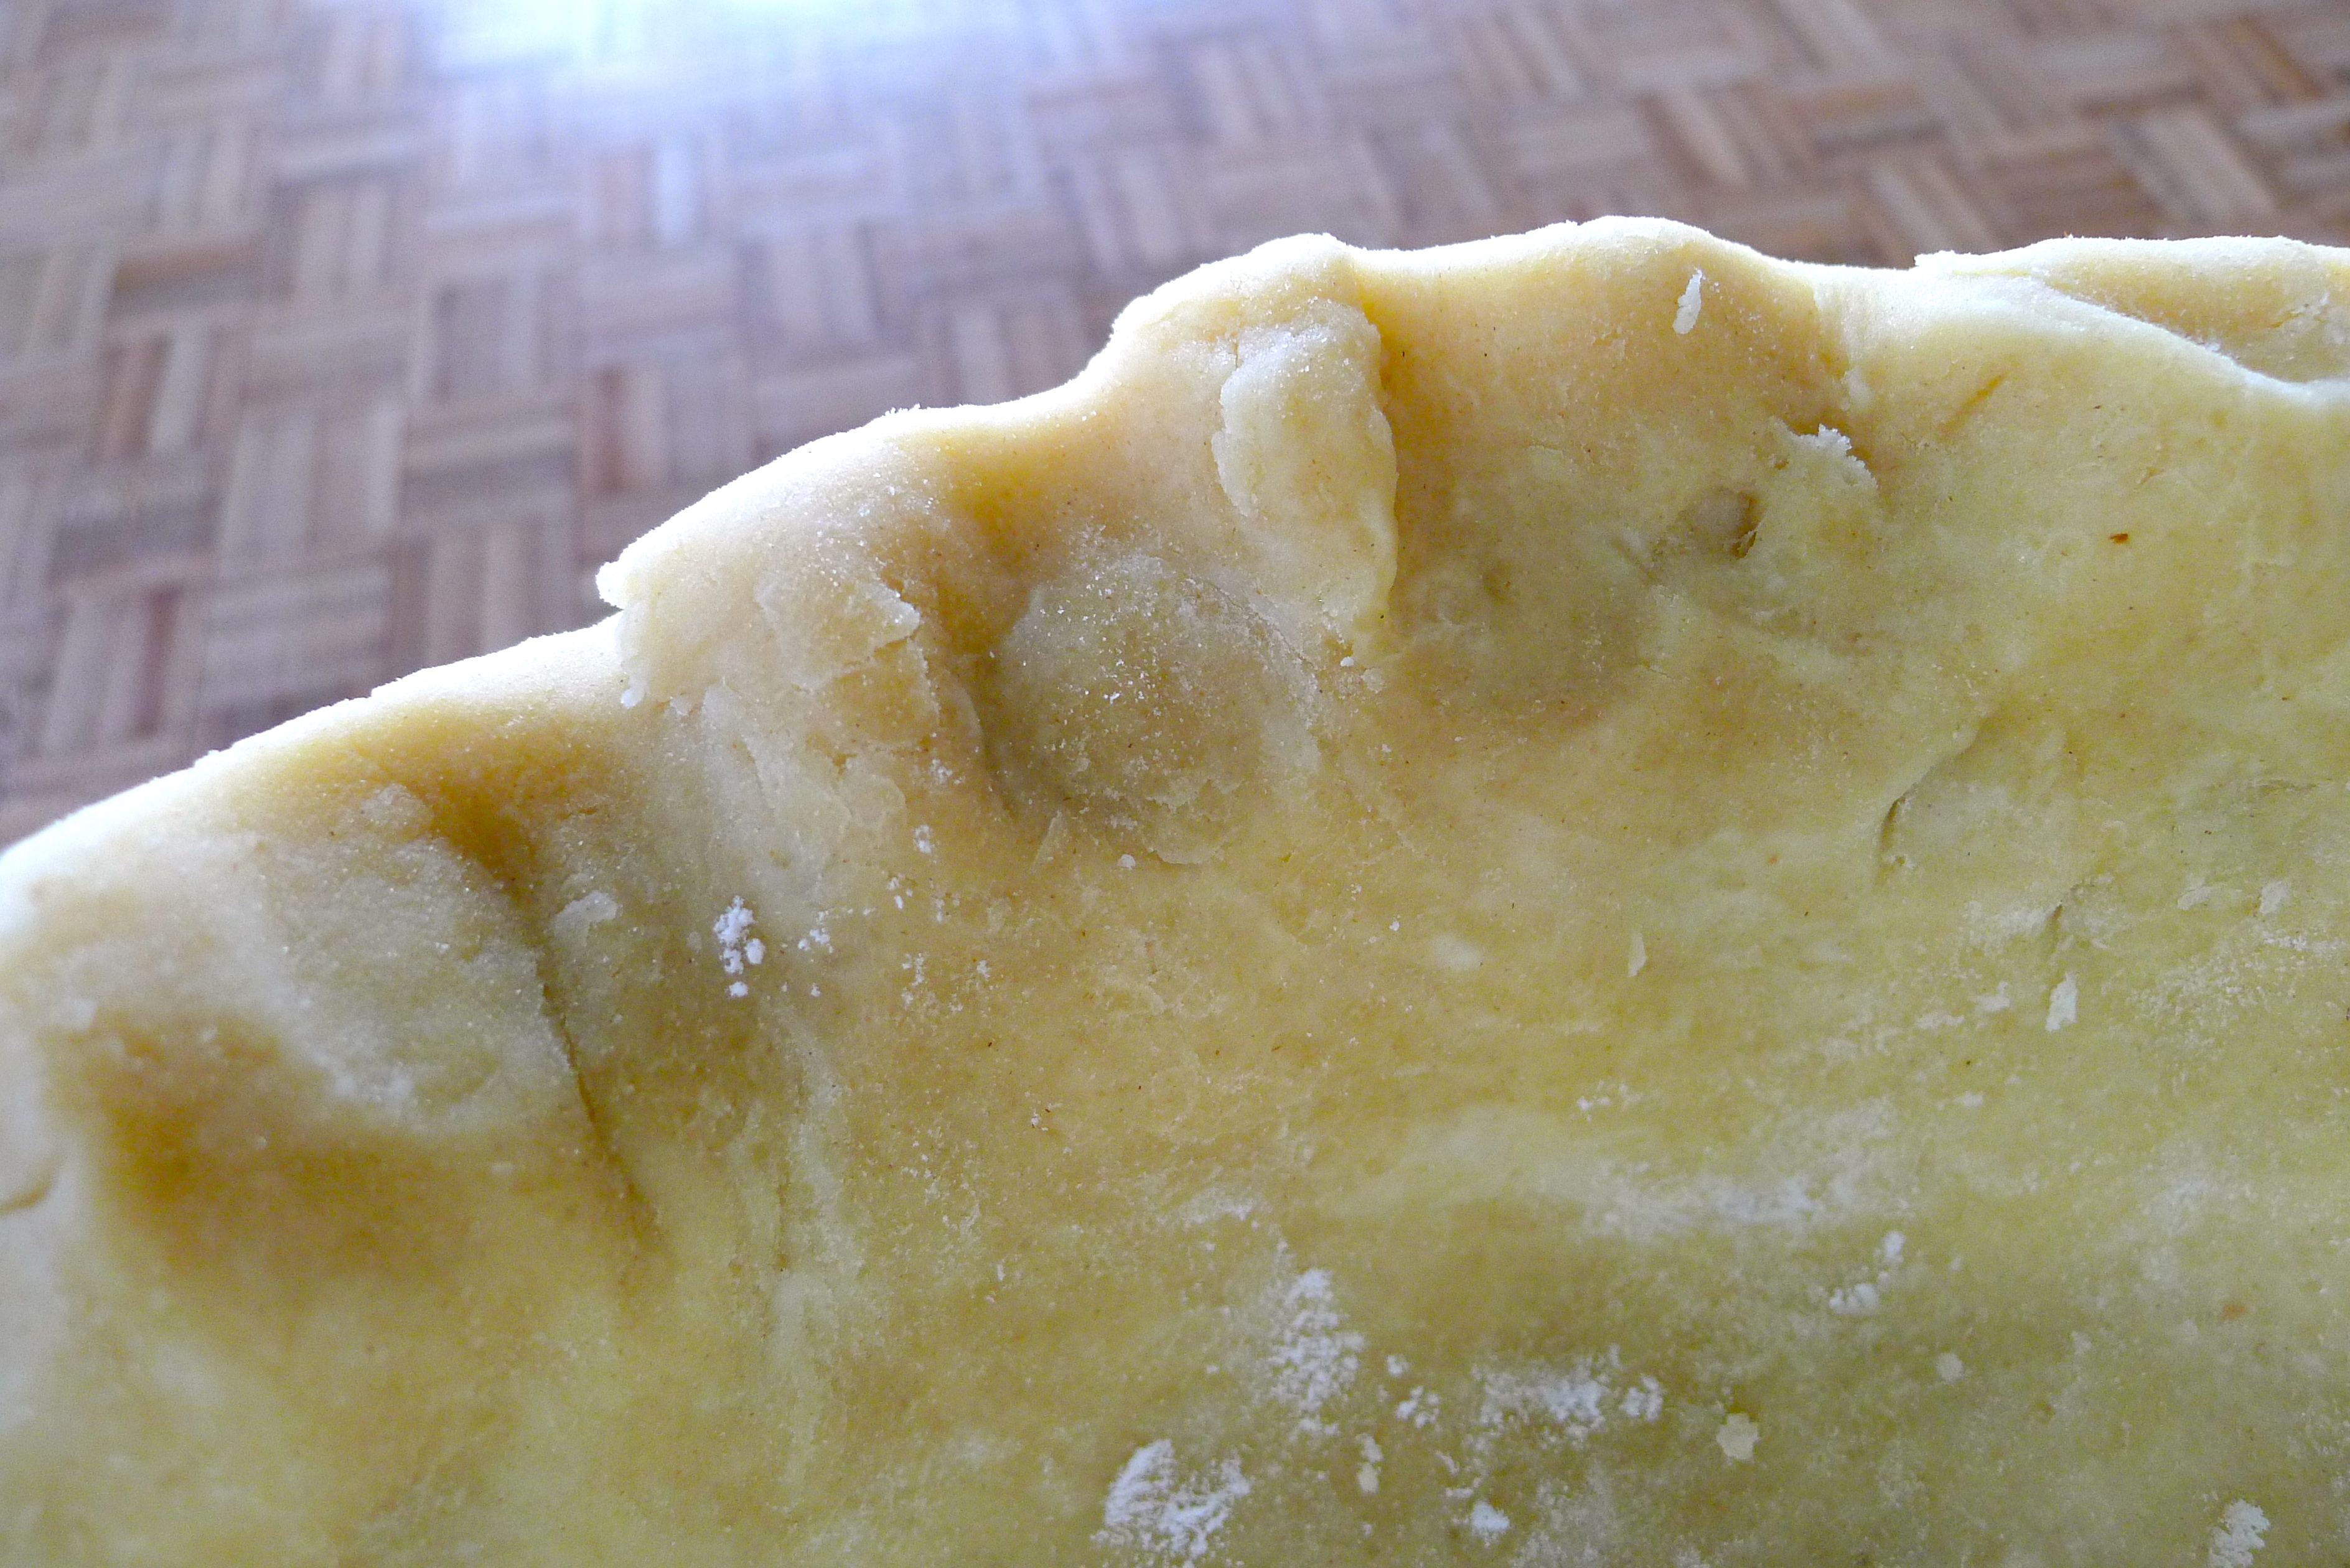
Next, I added cold butter that I’d chopped into small pieces and gave it a toss in the flour. Using my fingers, I rubbed the butter and flour together. When the butter chunks were the size of small peas and evenly distributed in the flour, I added shortening and did the same thing. The dough should come together in clumps when squeezed.

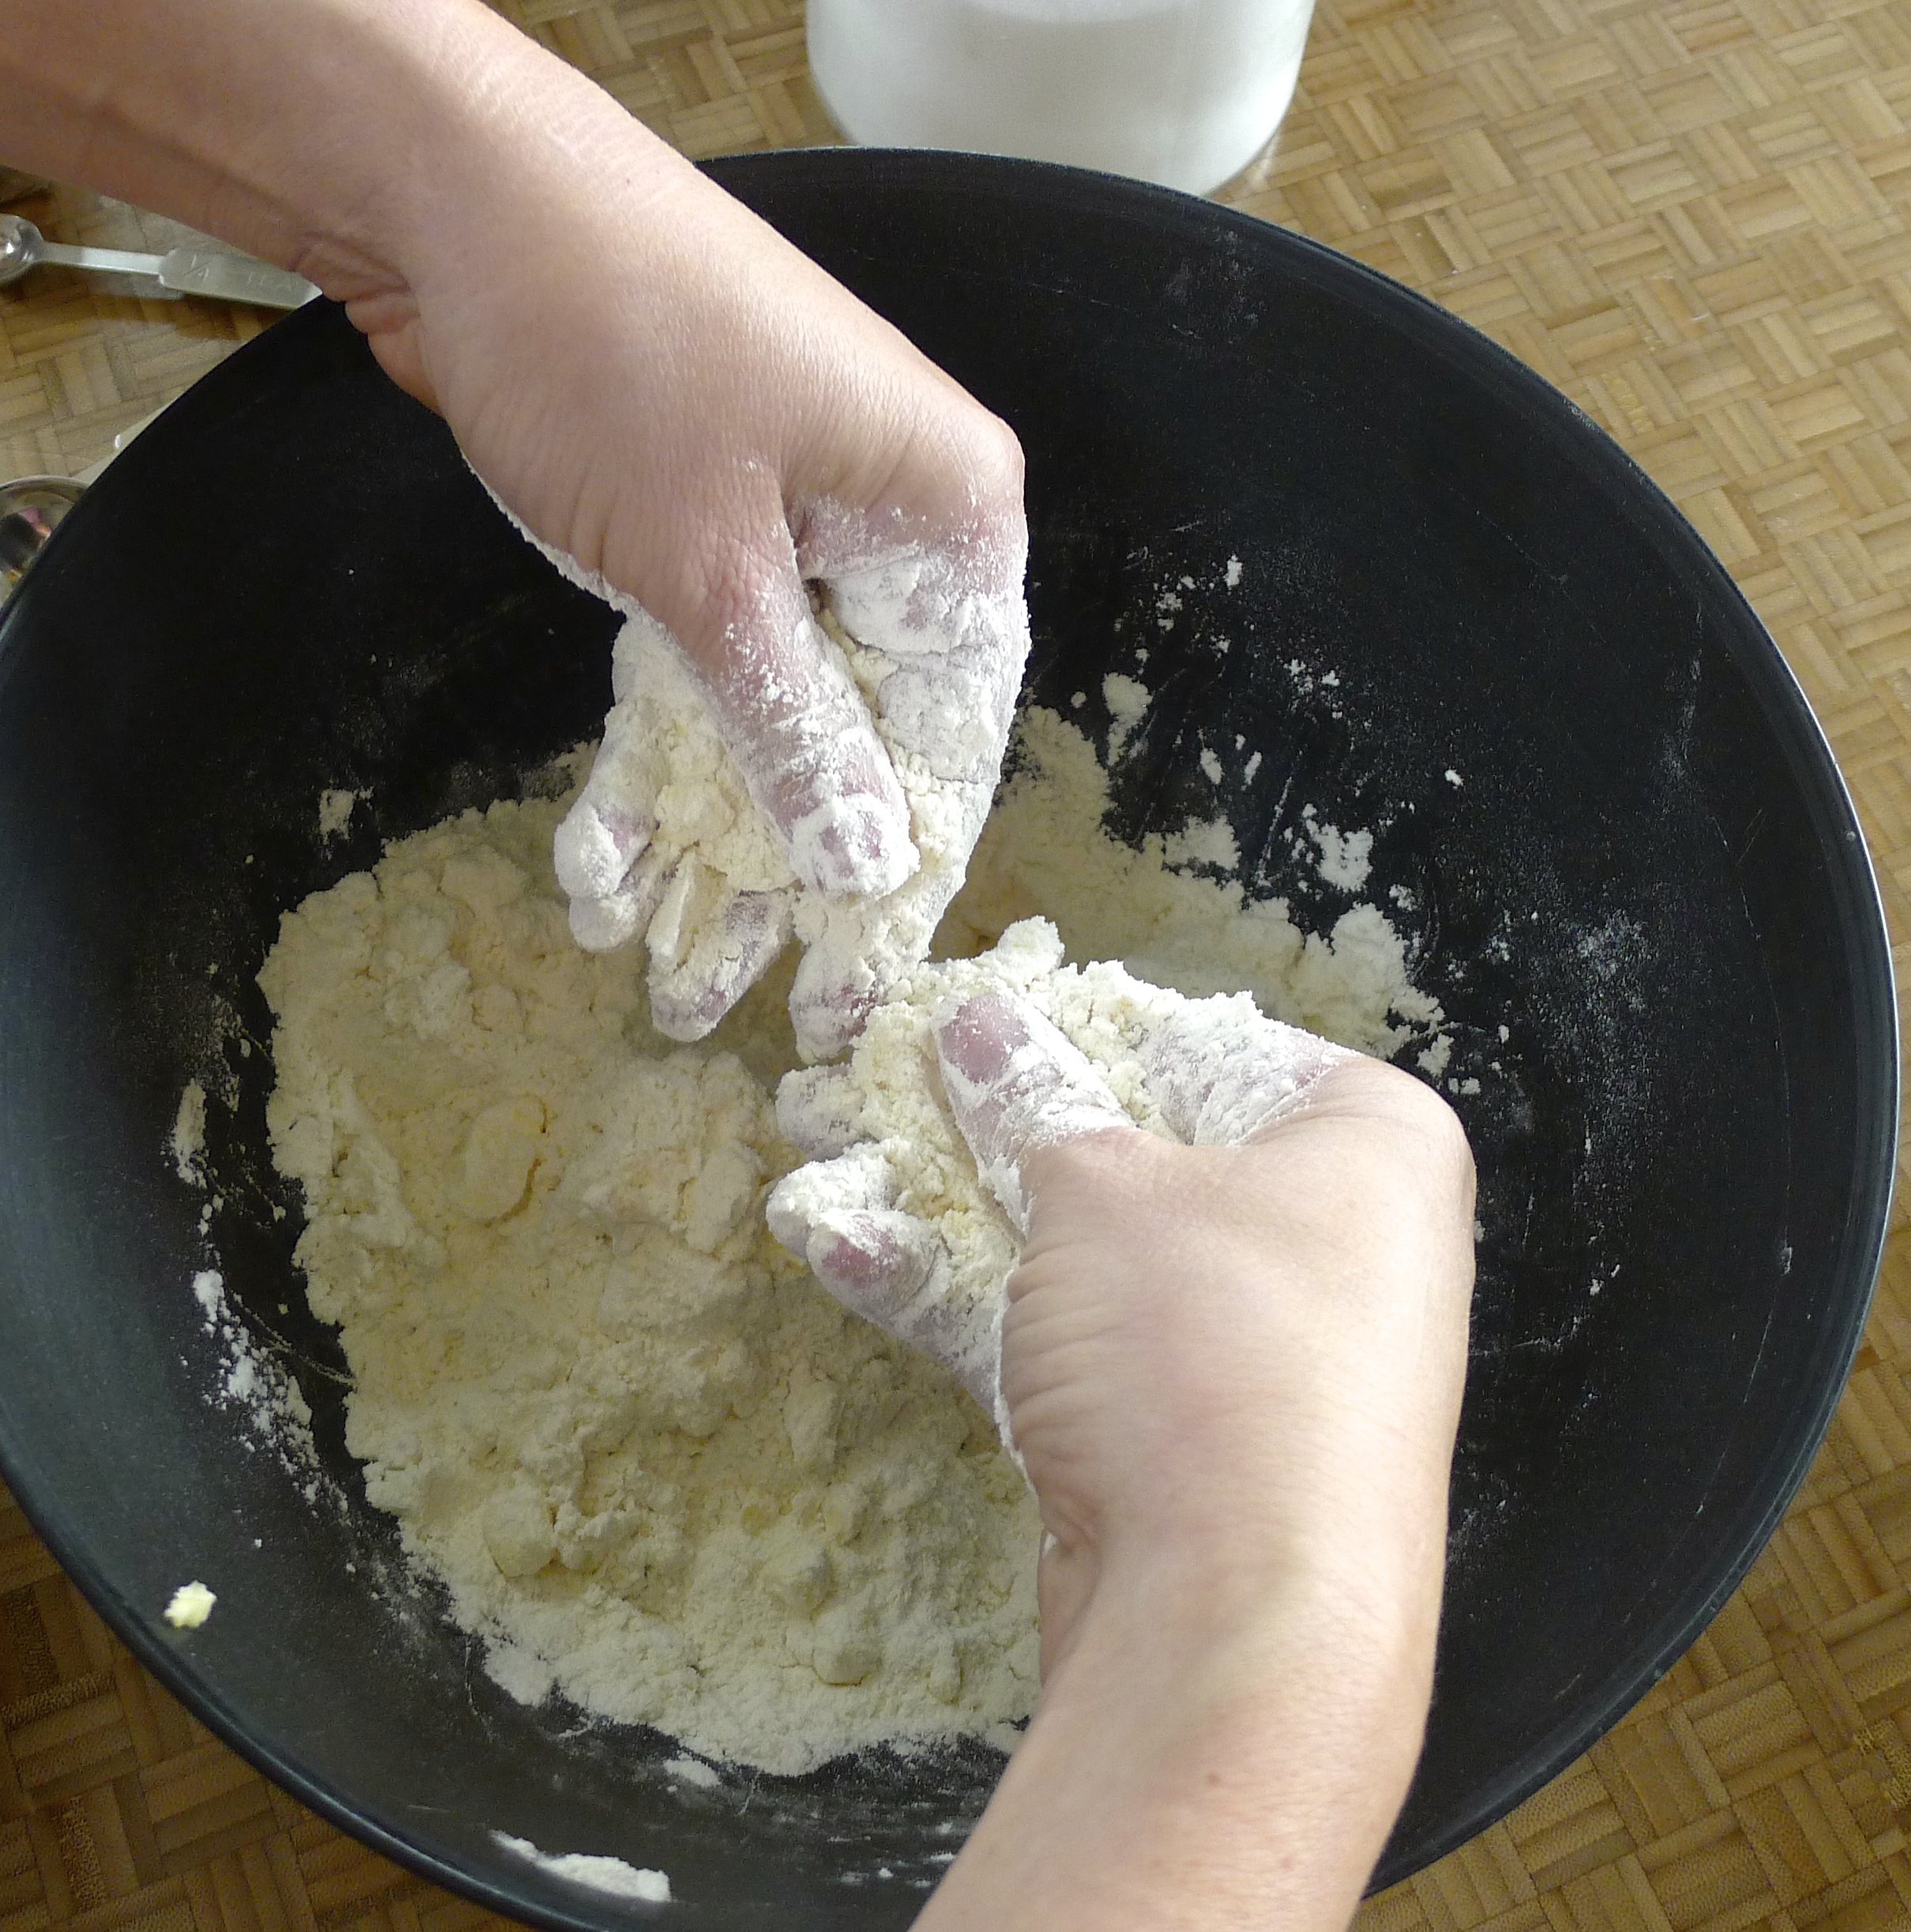

Next comes the part where I think experience is key. You add cold water, tablespoon by tablespoon, sifting it into the flour mixture using your fingers. You magically know when you’ve used enough water and the dough is the right consistency. The recipe we followed said, “It will go from being a shaggy mess to coming together.” I think humidity and altitude probably have something to do with the variance, but I think the most important thing is to not add TOO MUCH water. I did my best, formed the dough into a disc and wrapped it up, and popped it into our too-full fridge for a half an hour.

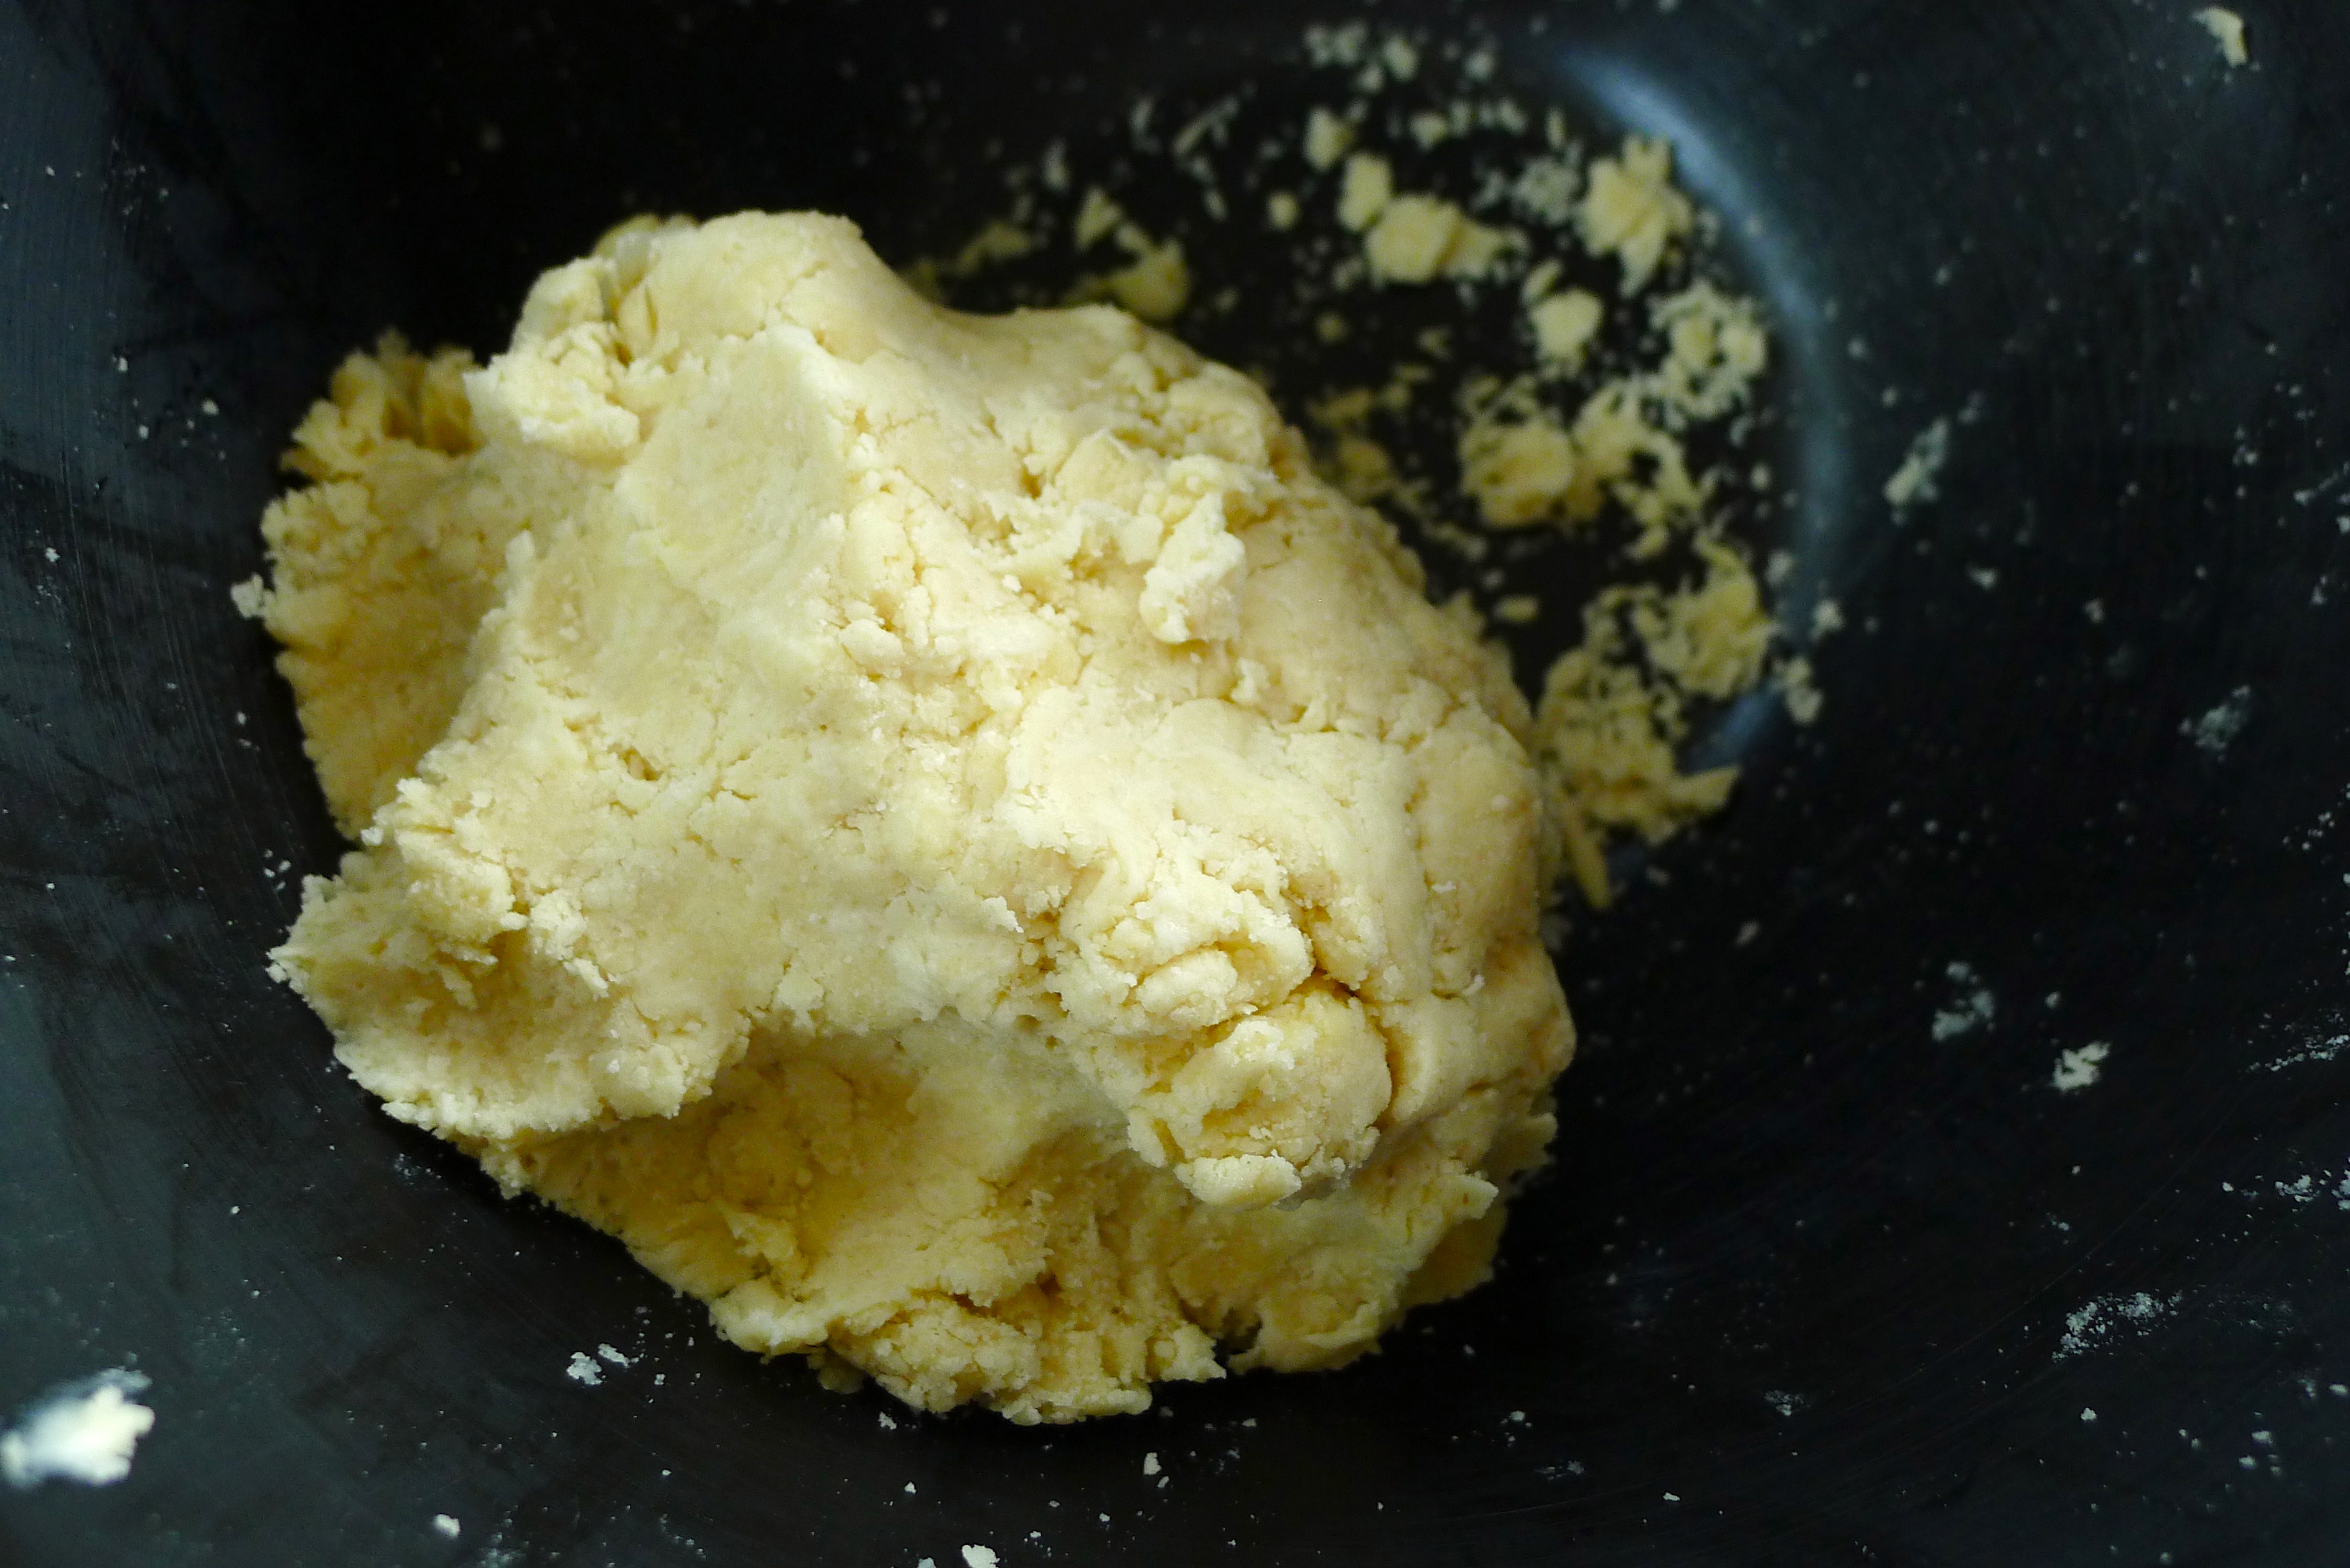


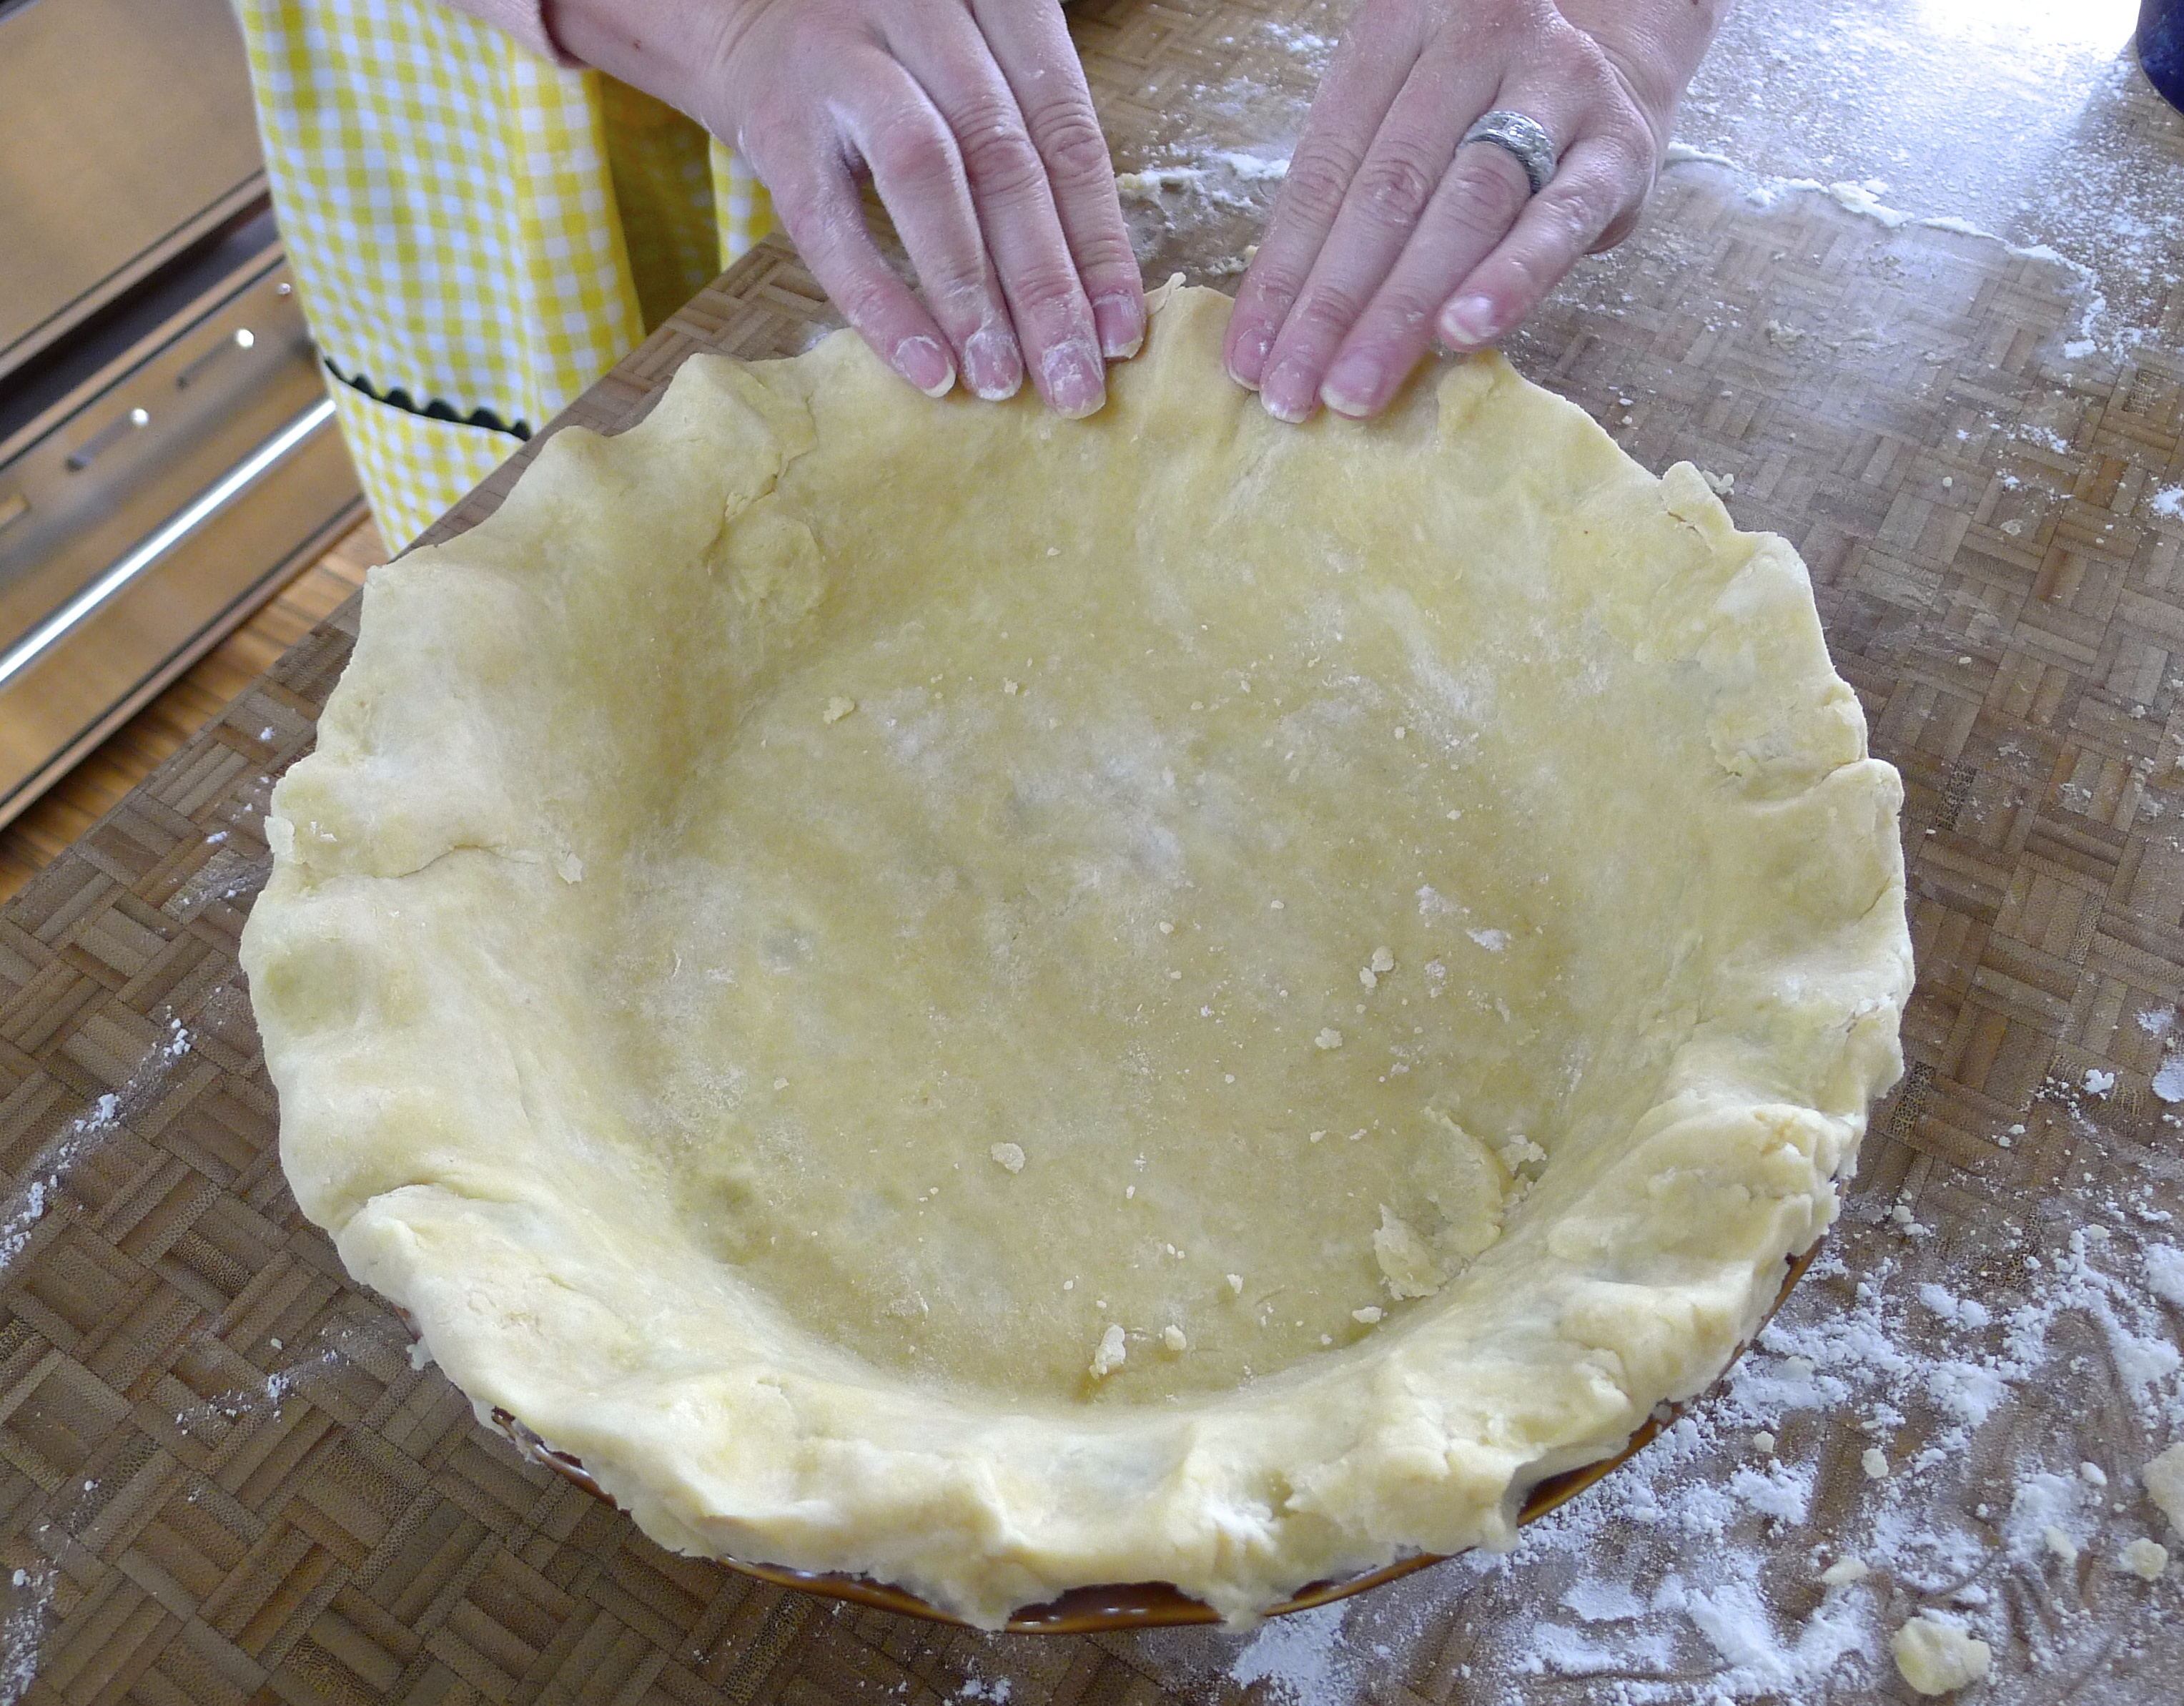
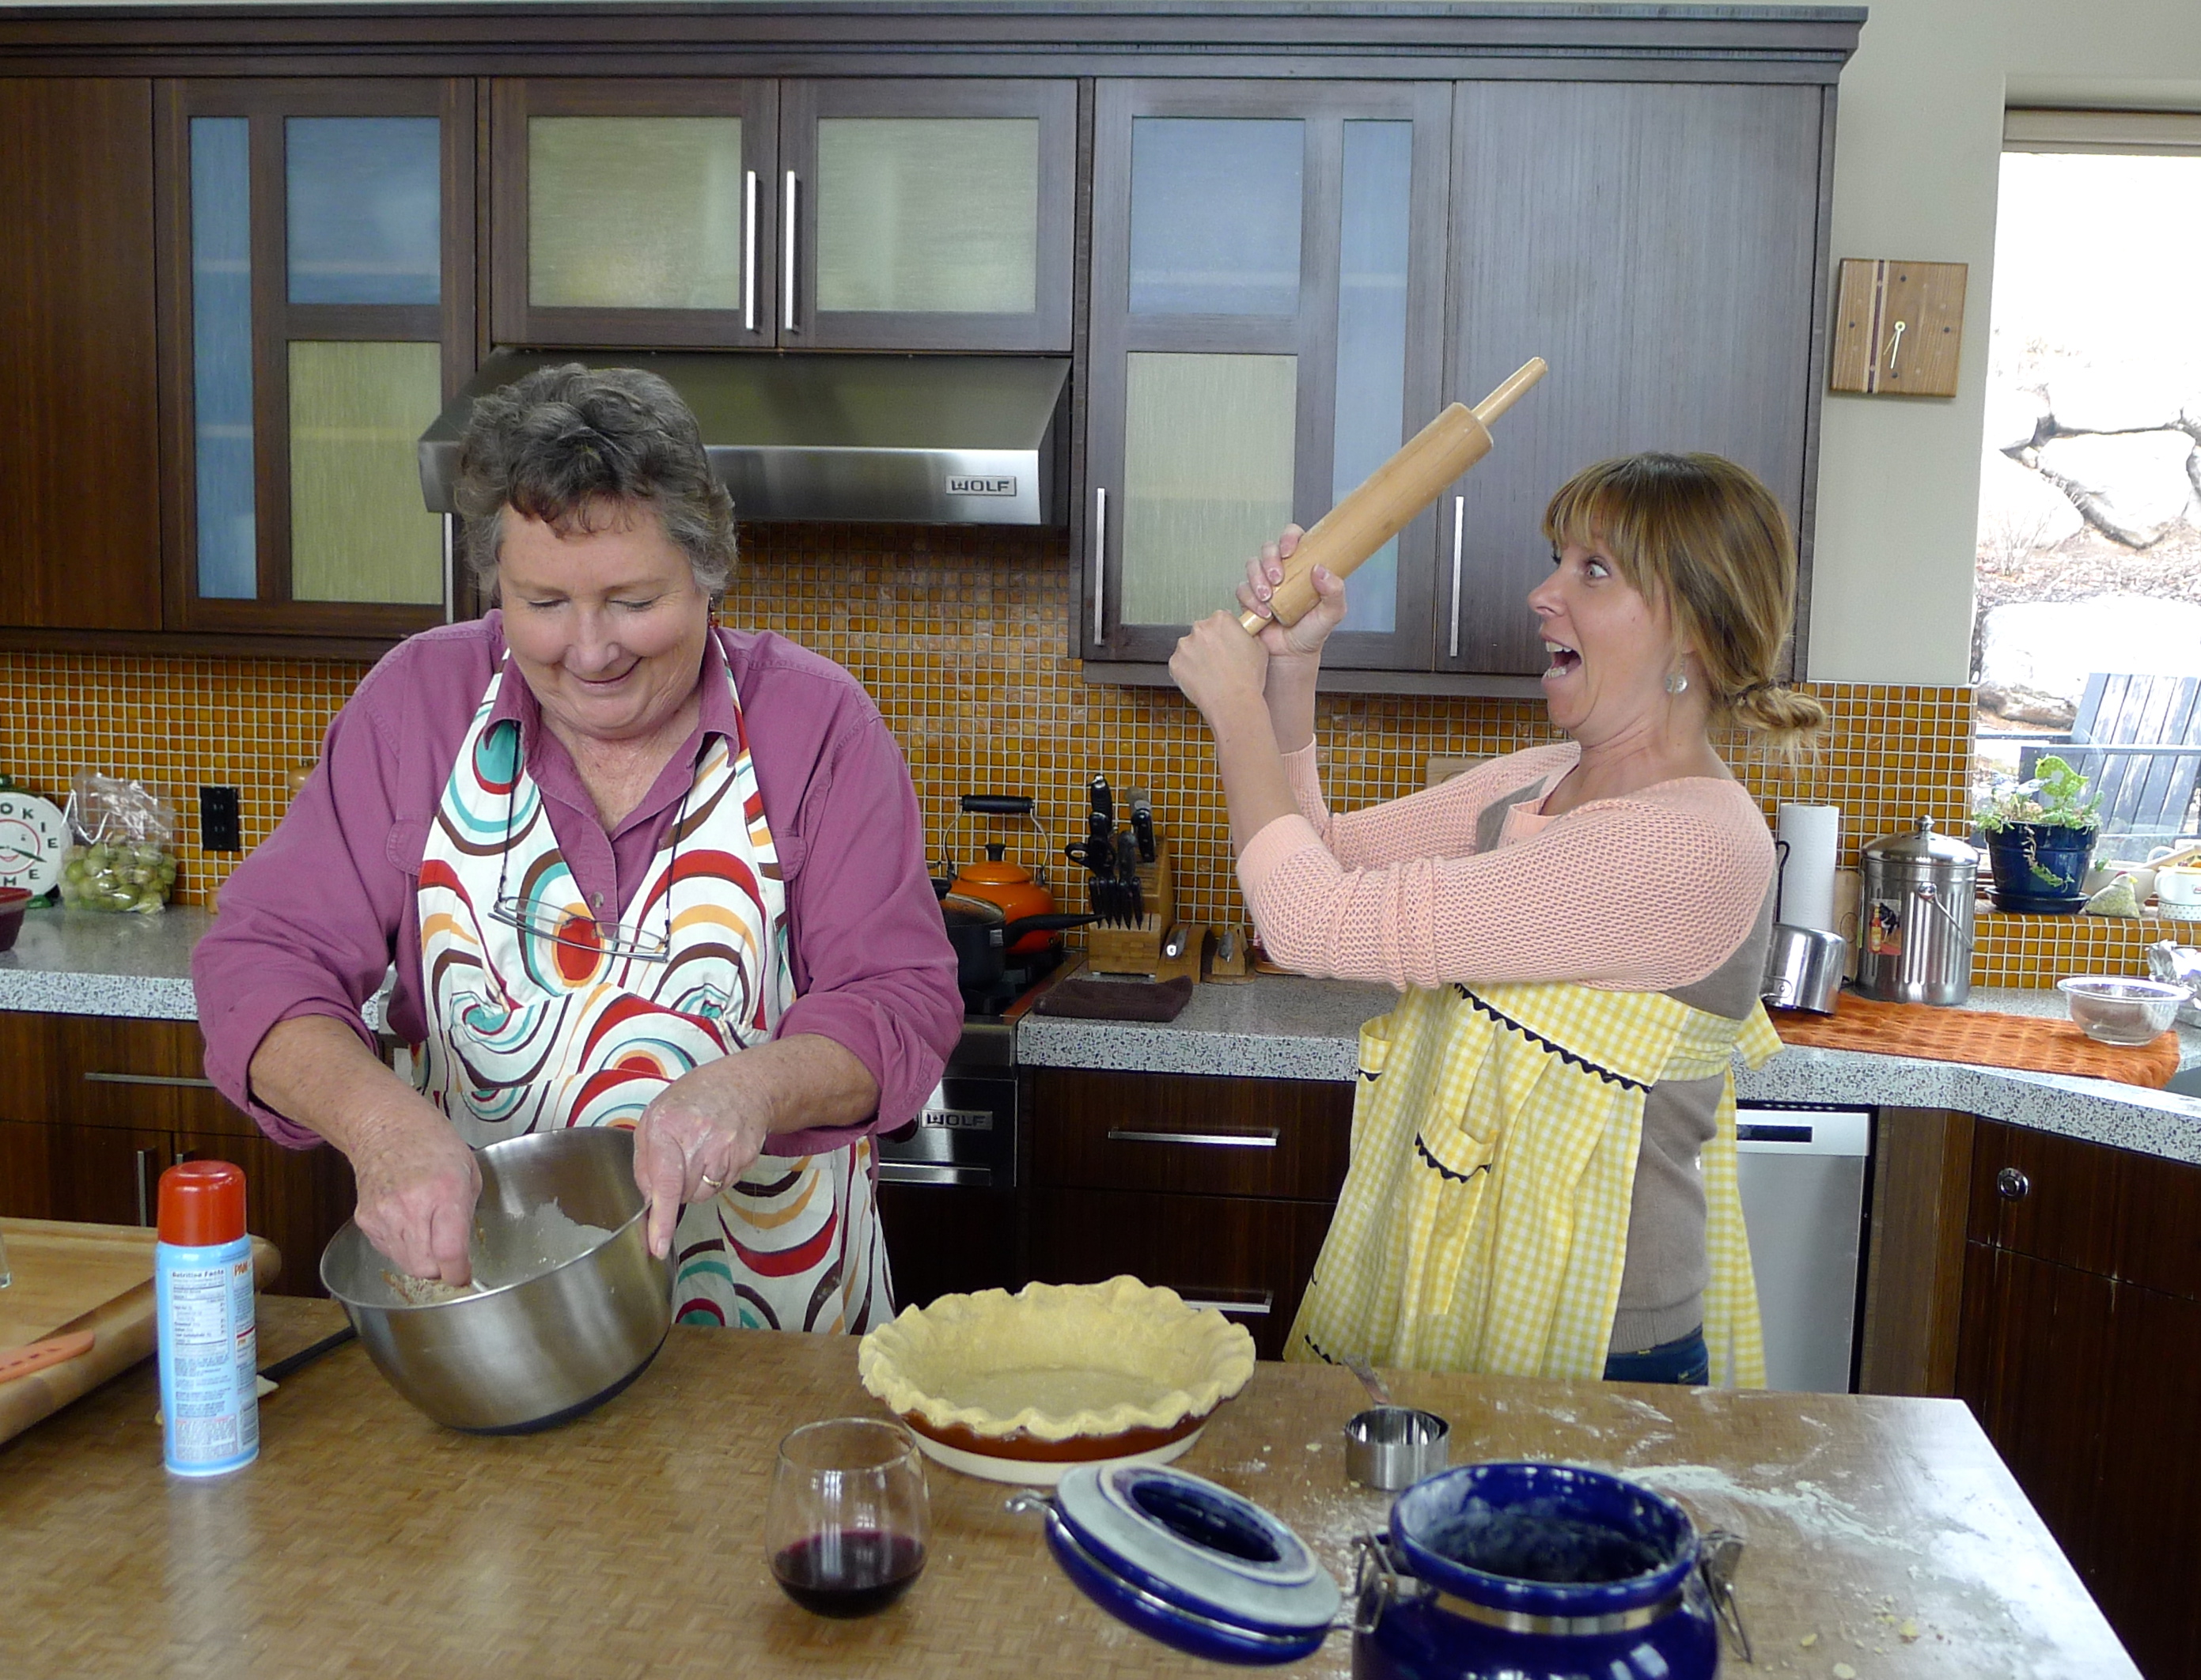
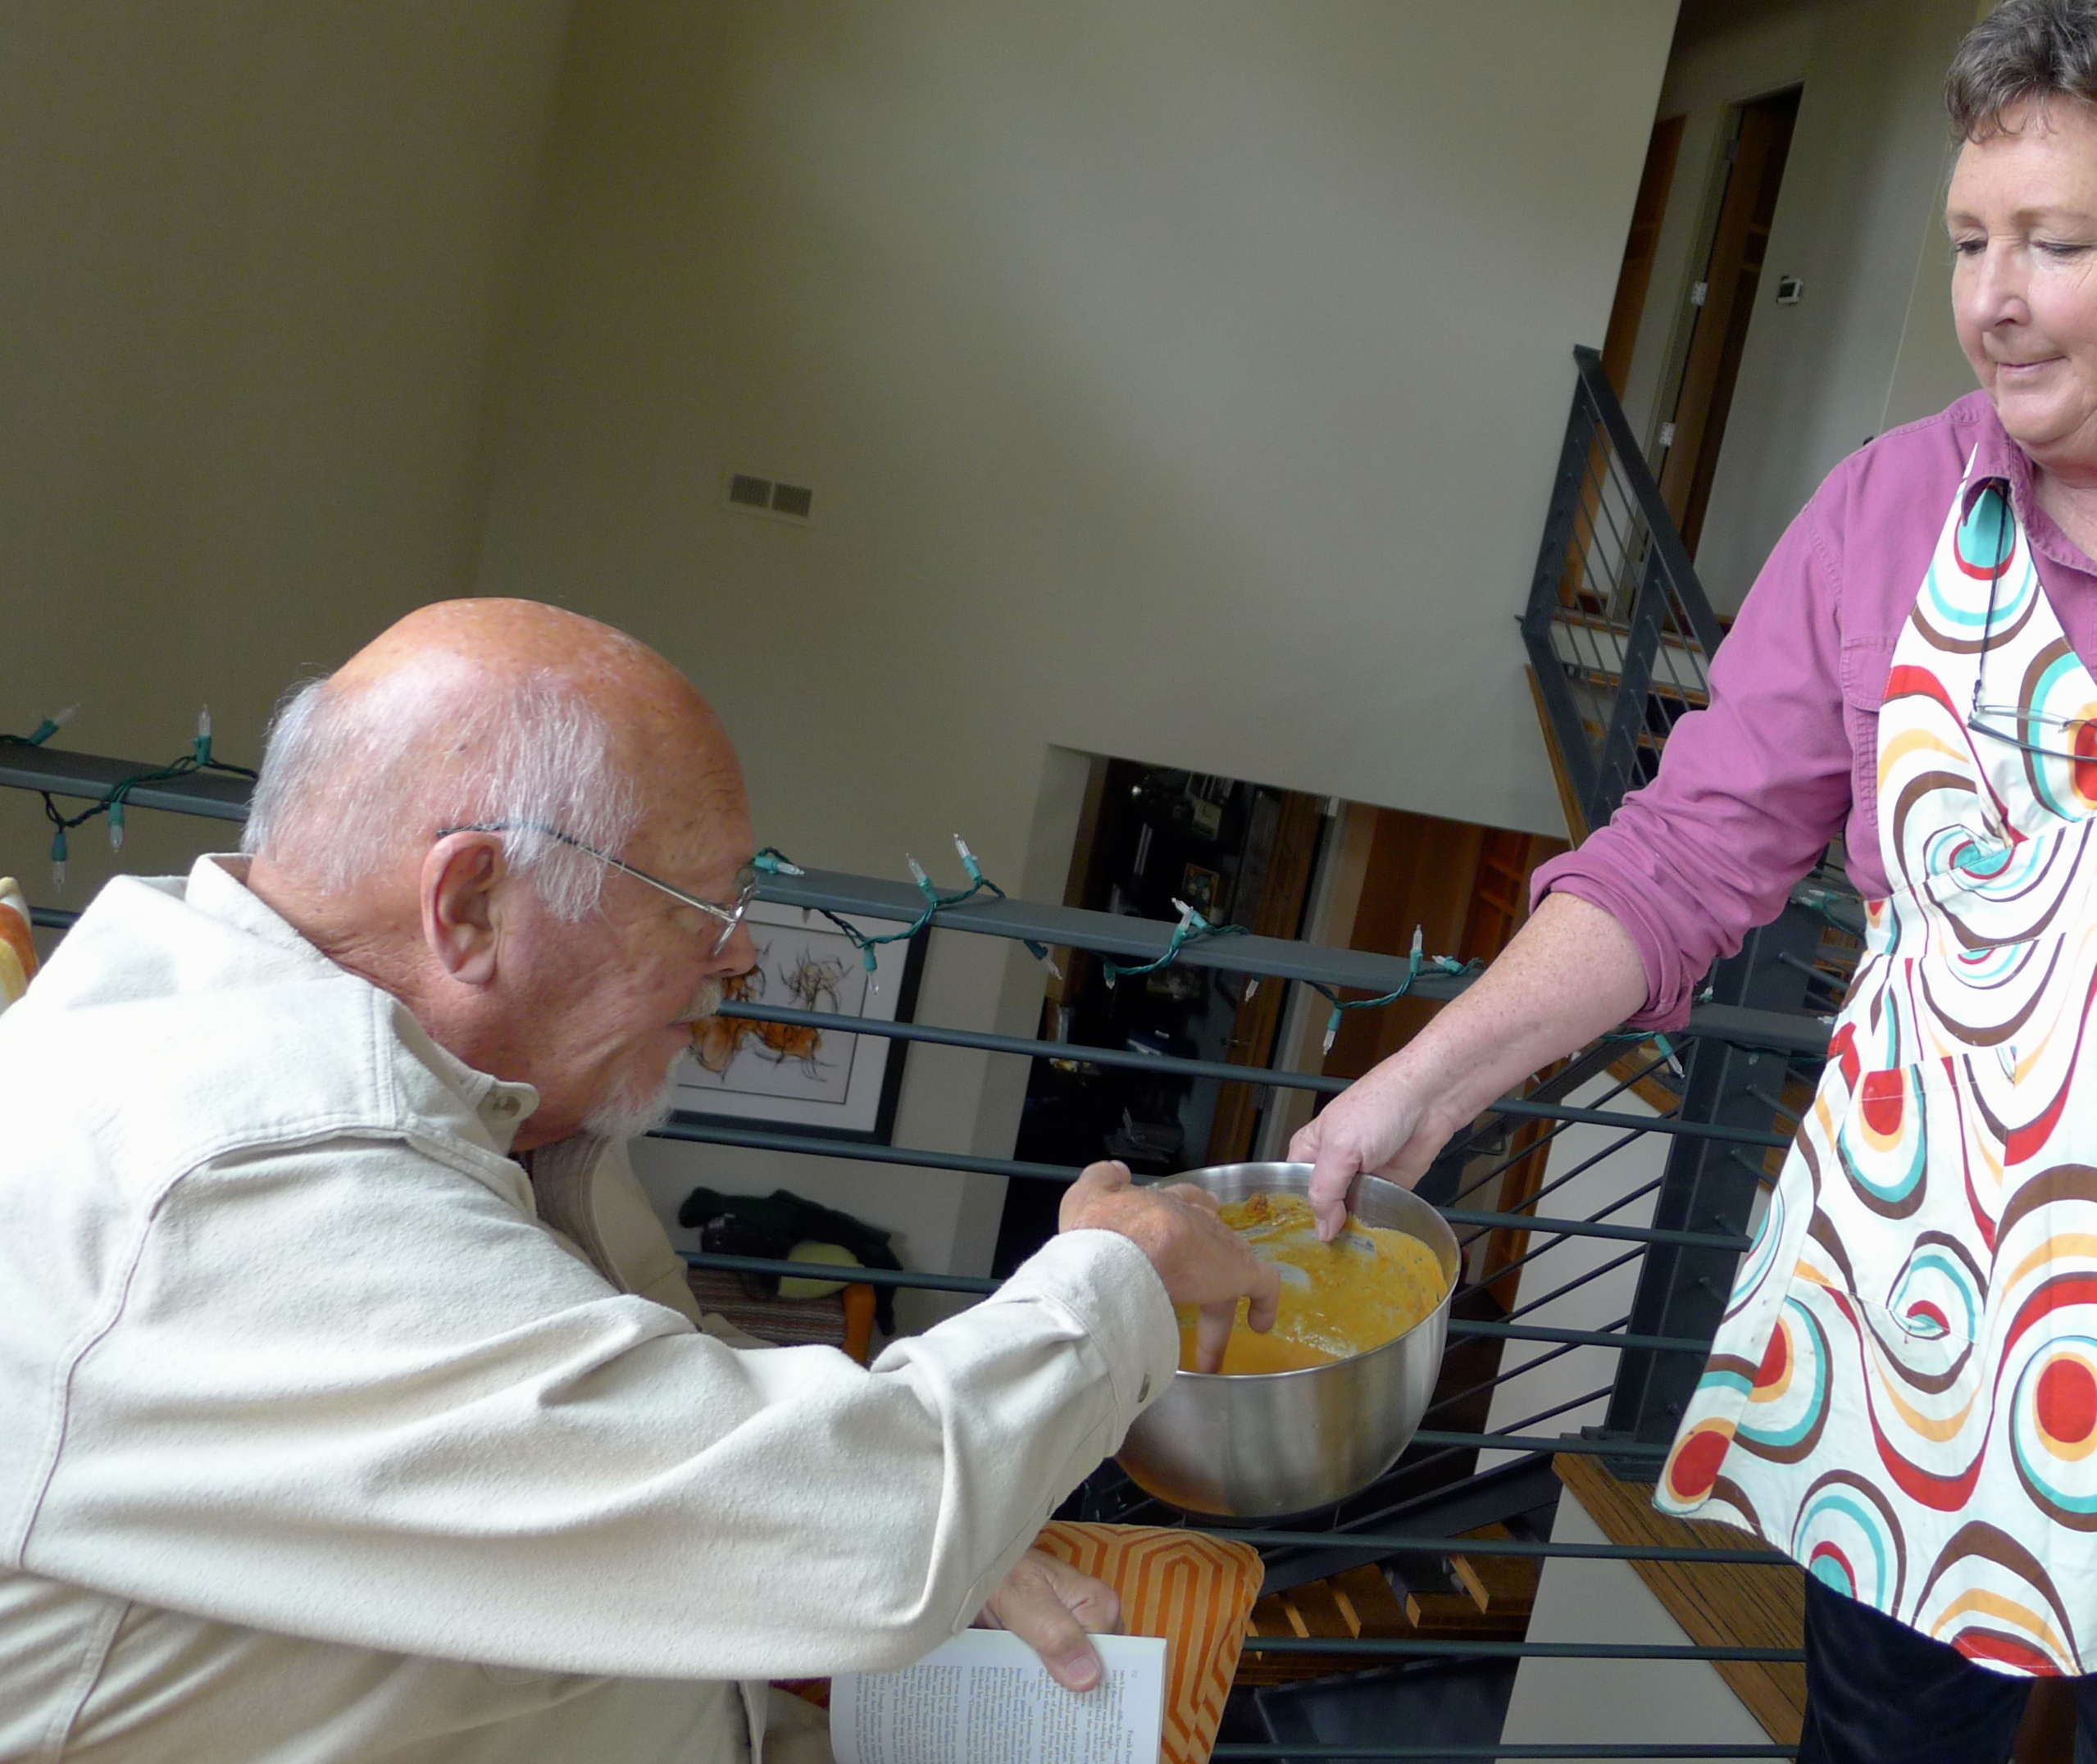
The whole dough-making process happened quickly, because you want the butter to stay cold and in chunks so that when it bakes, it leaves little air pockets that create flakiness. When the dough had chilled enough, I rolled it out on a floured counter, rolled it onto my rolling pin, and rolled it off over my pie plate. You could see little chunks of butter and shortening in it. So far so good! Mom got to work on her special pumpkin pie filling. (Remember her cute newlywed-pumpkin pie story?) Dad gave it the thumbs up! Into the oven it went.


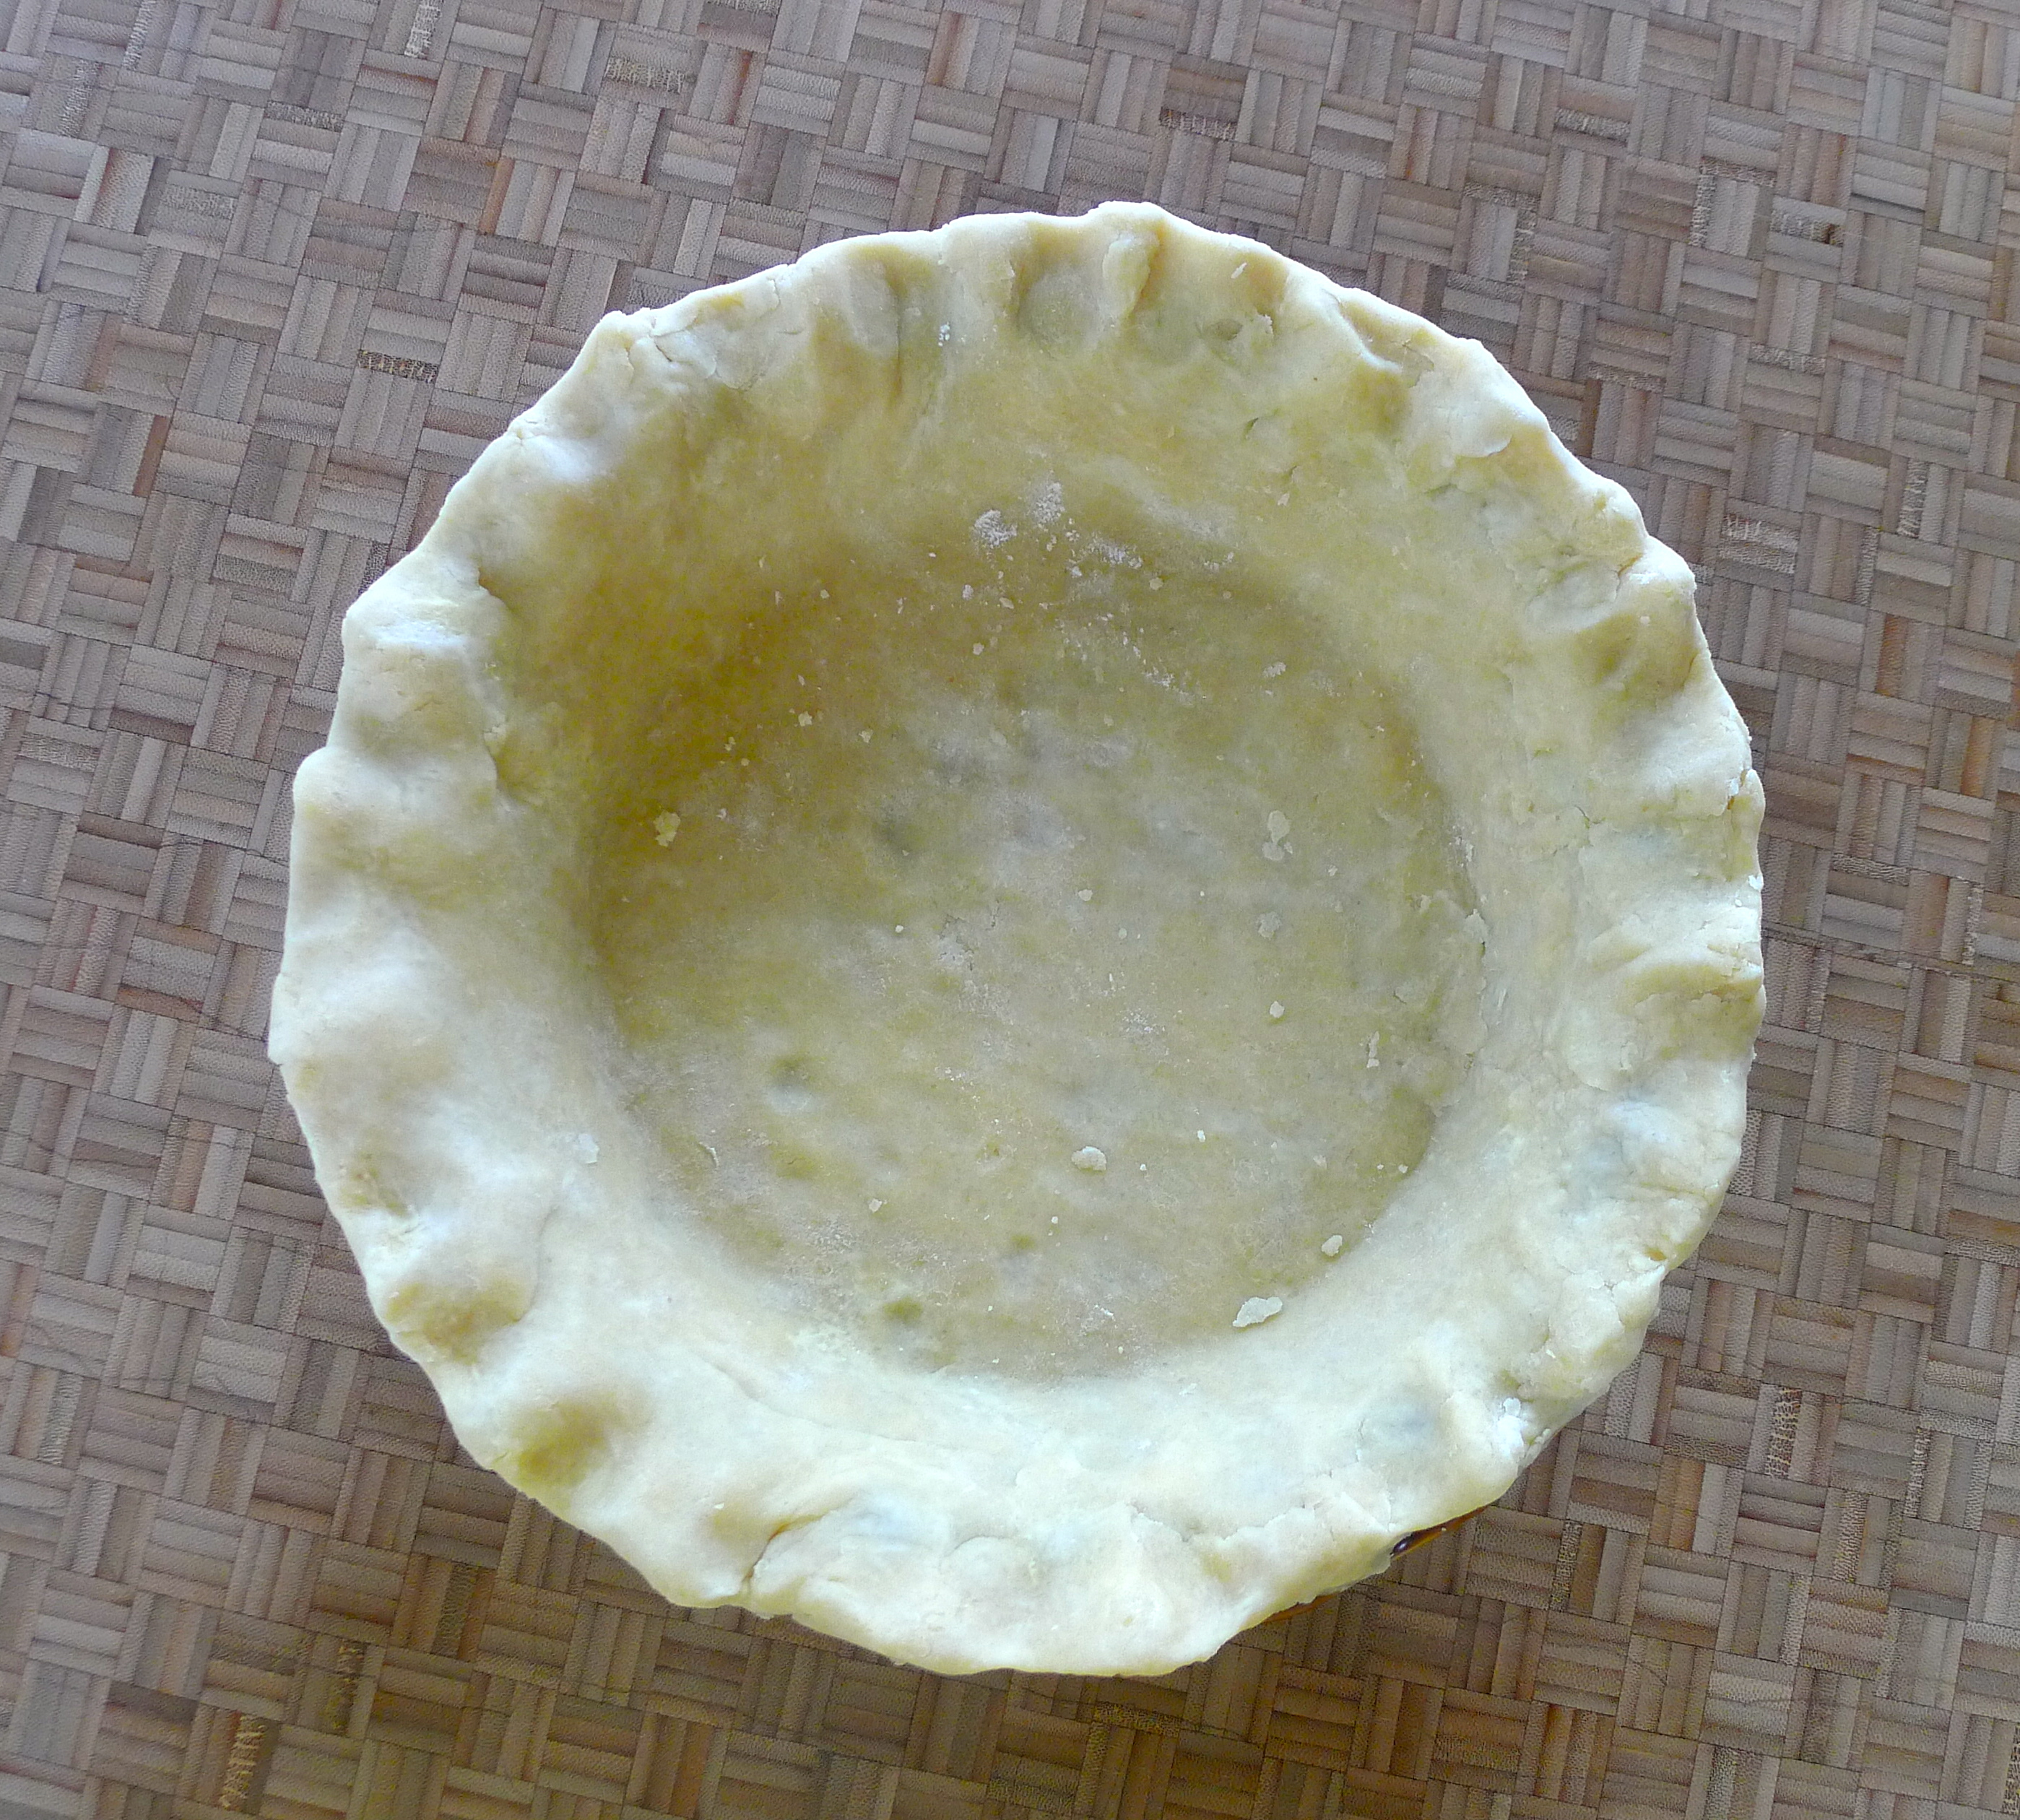


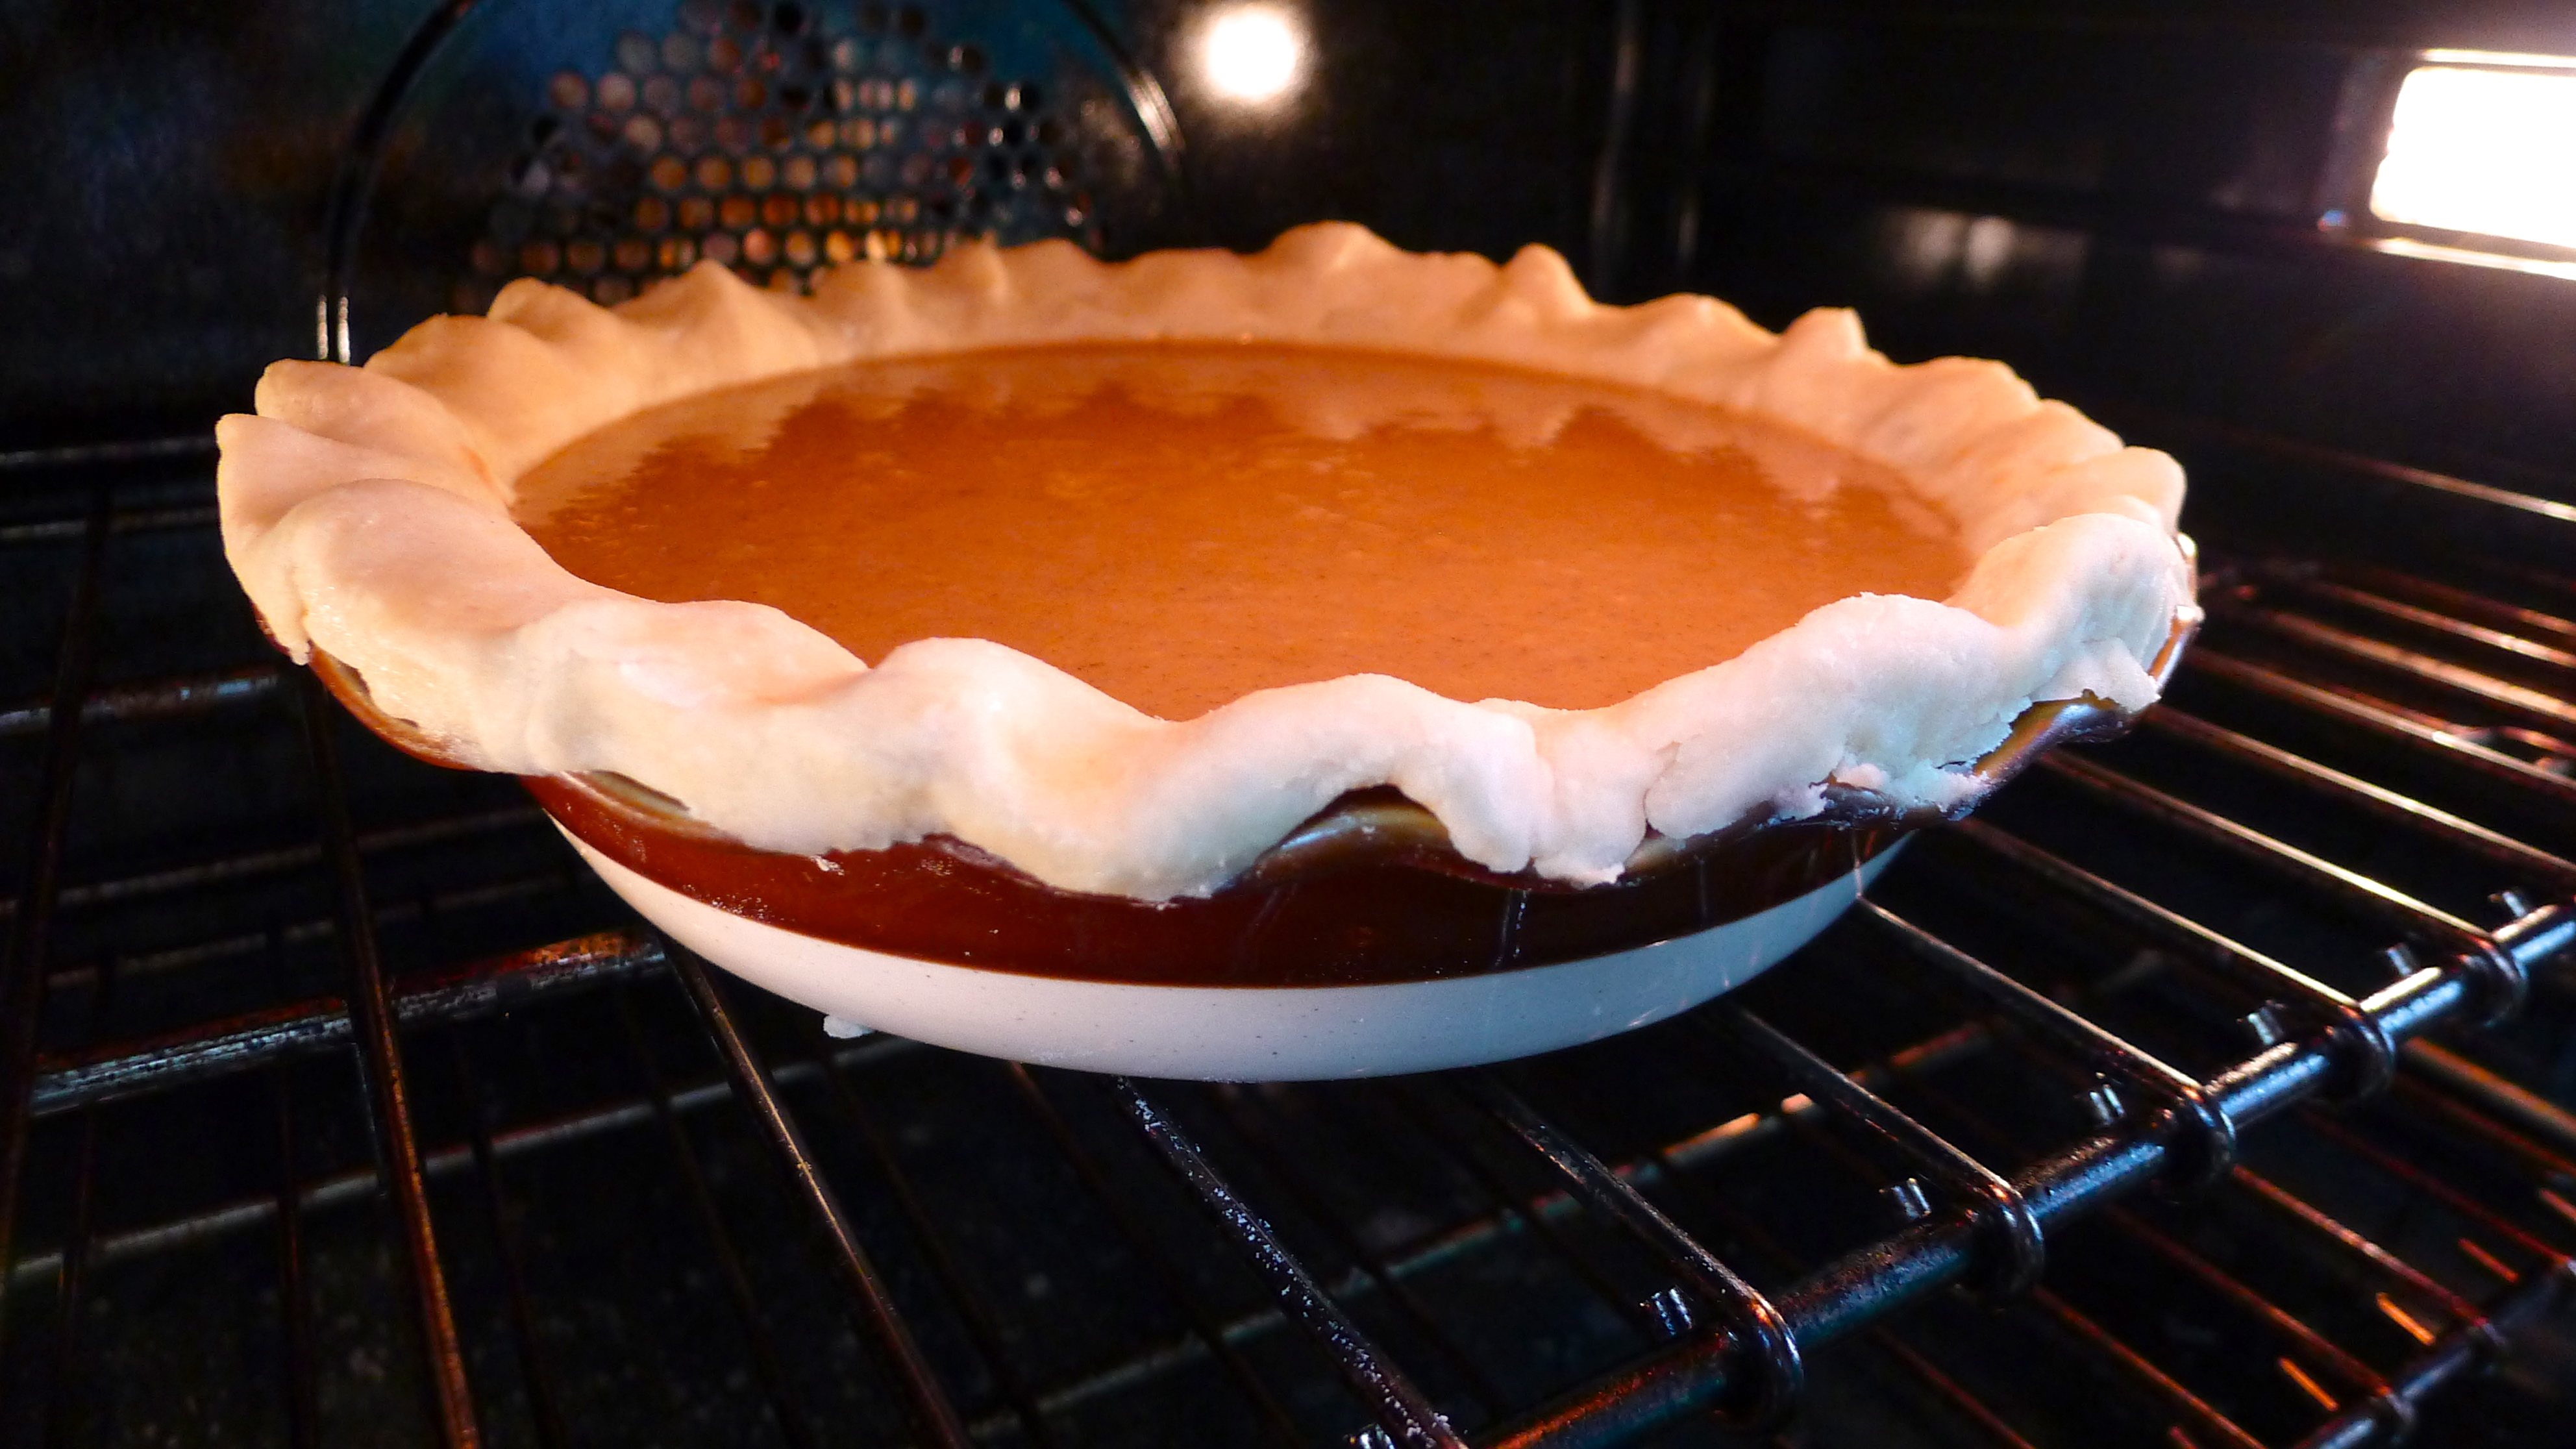
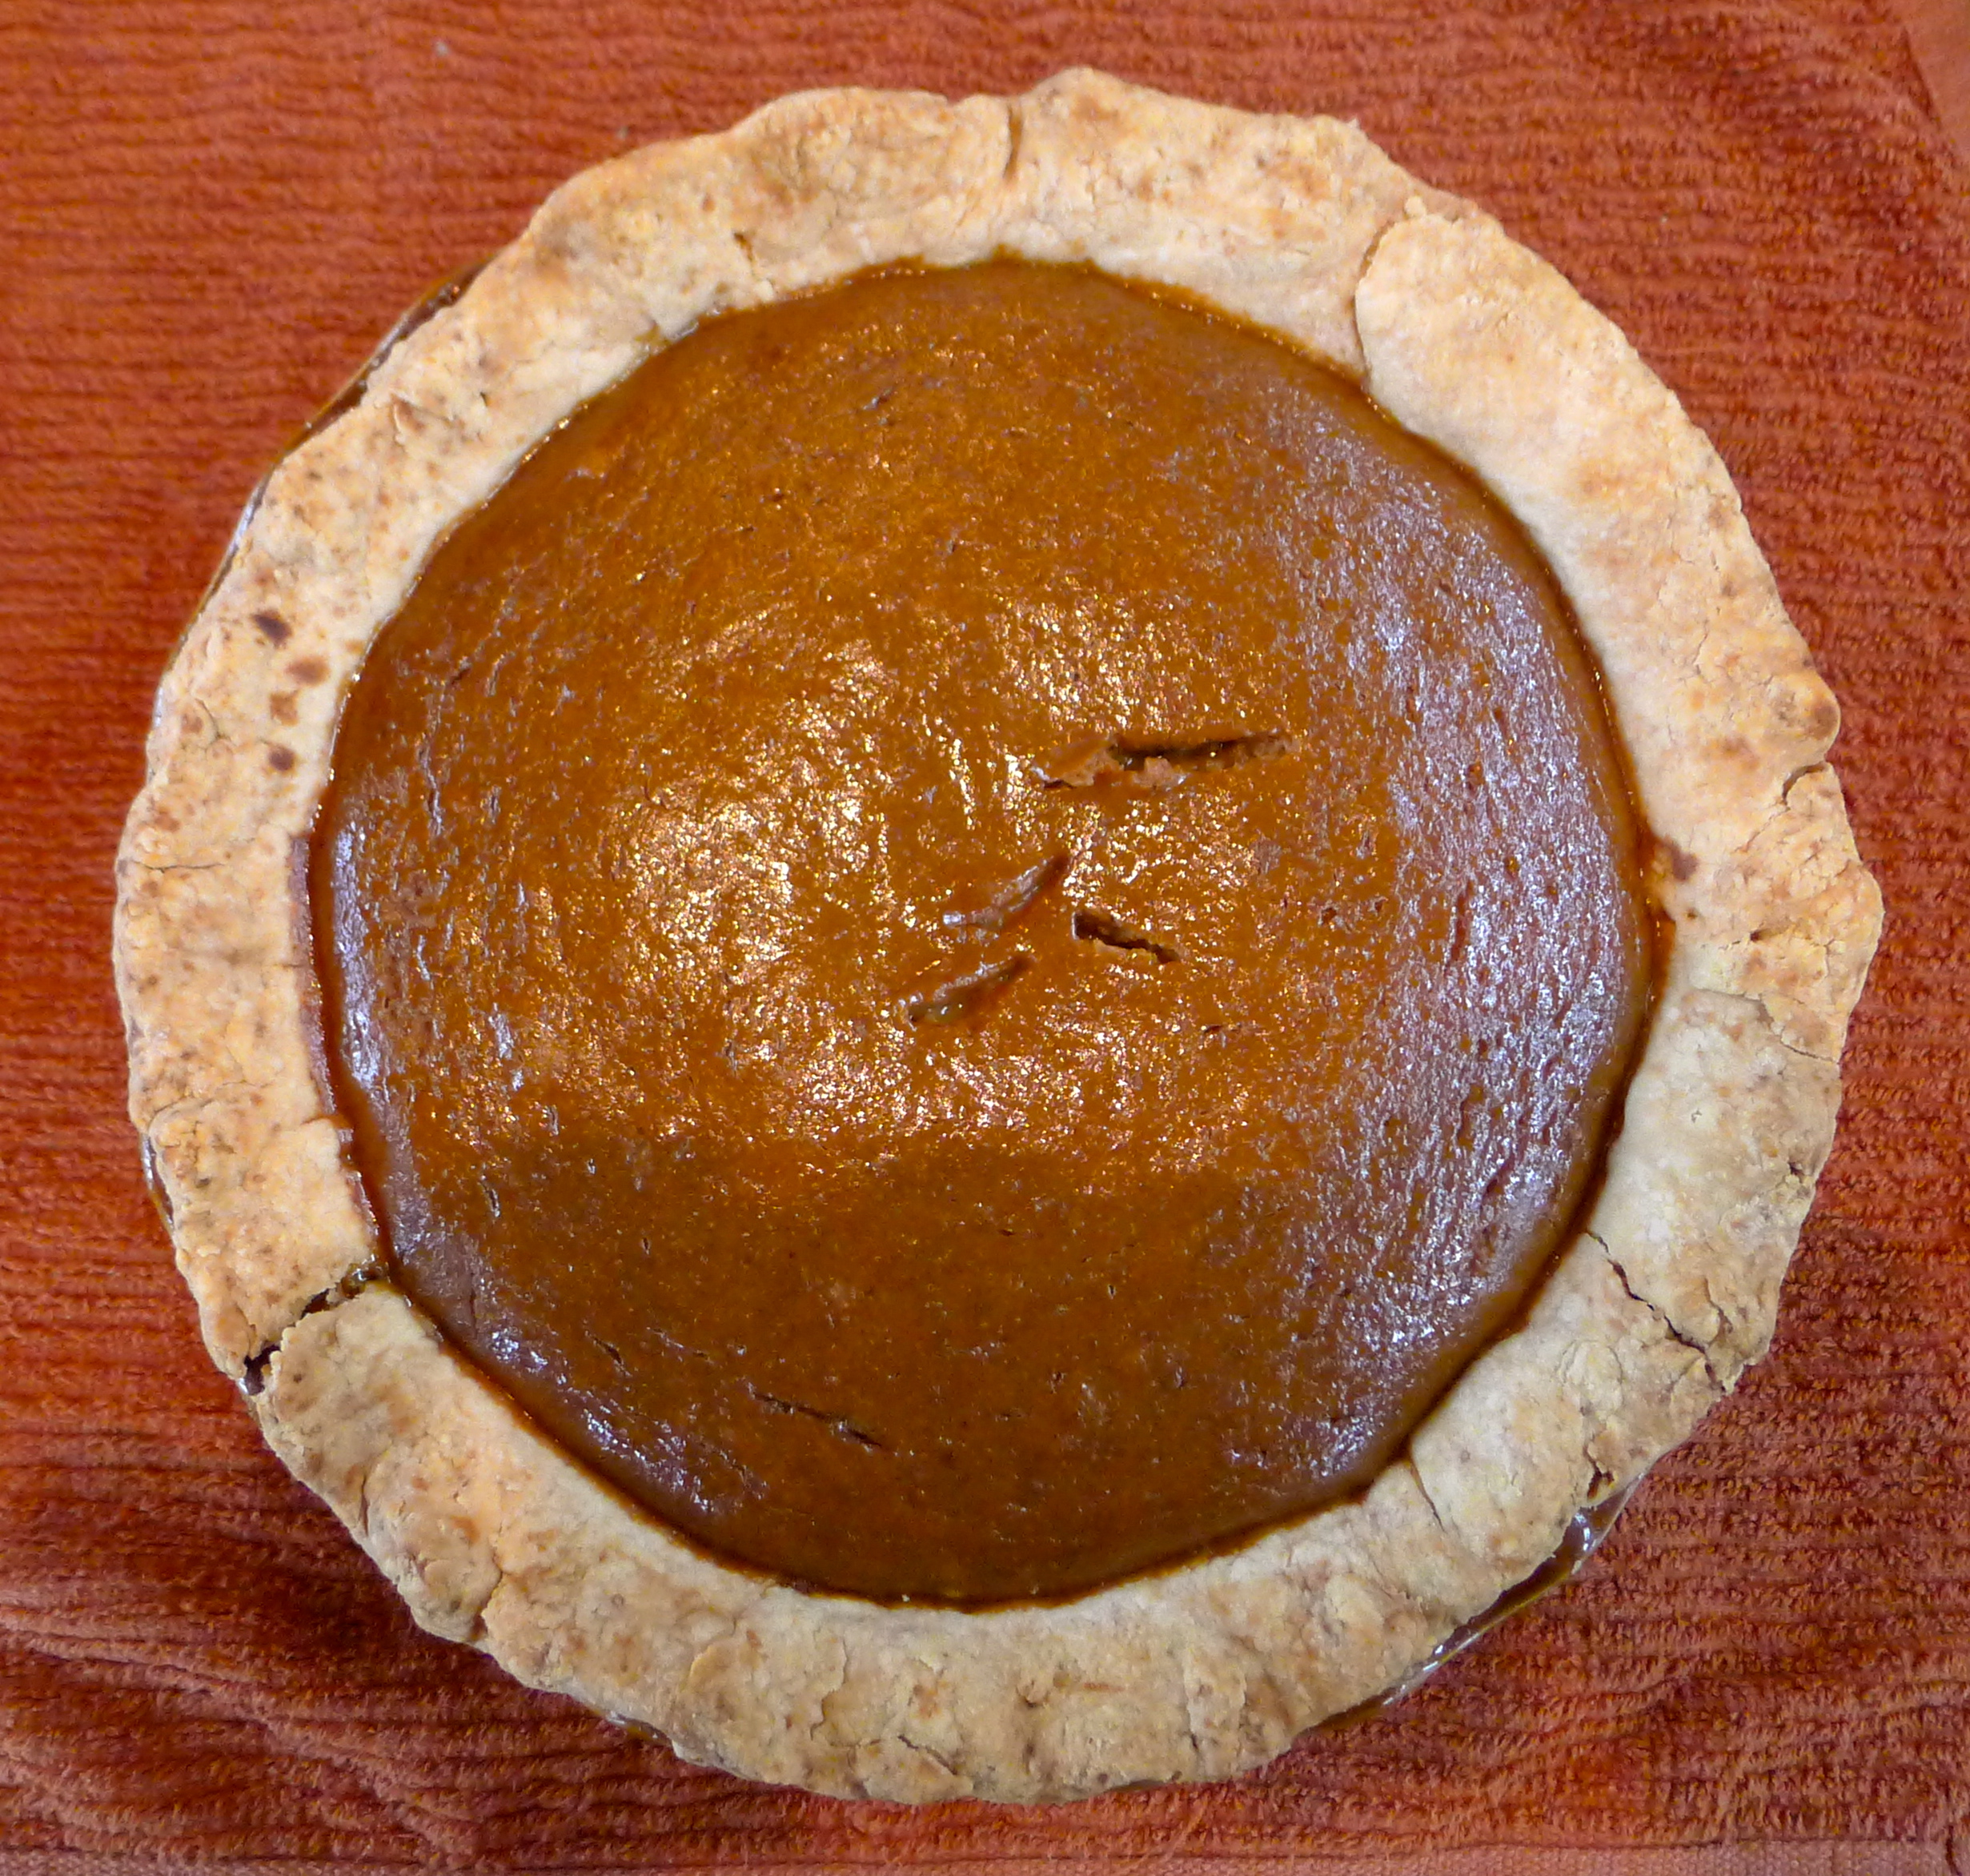
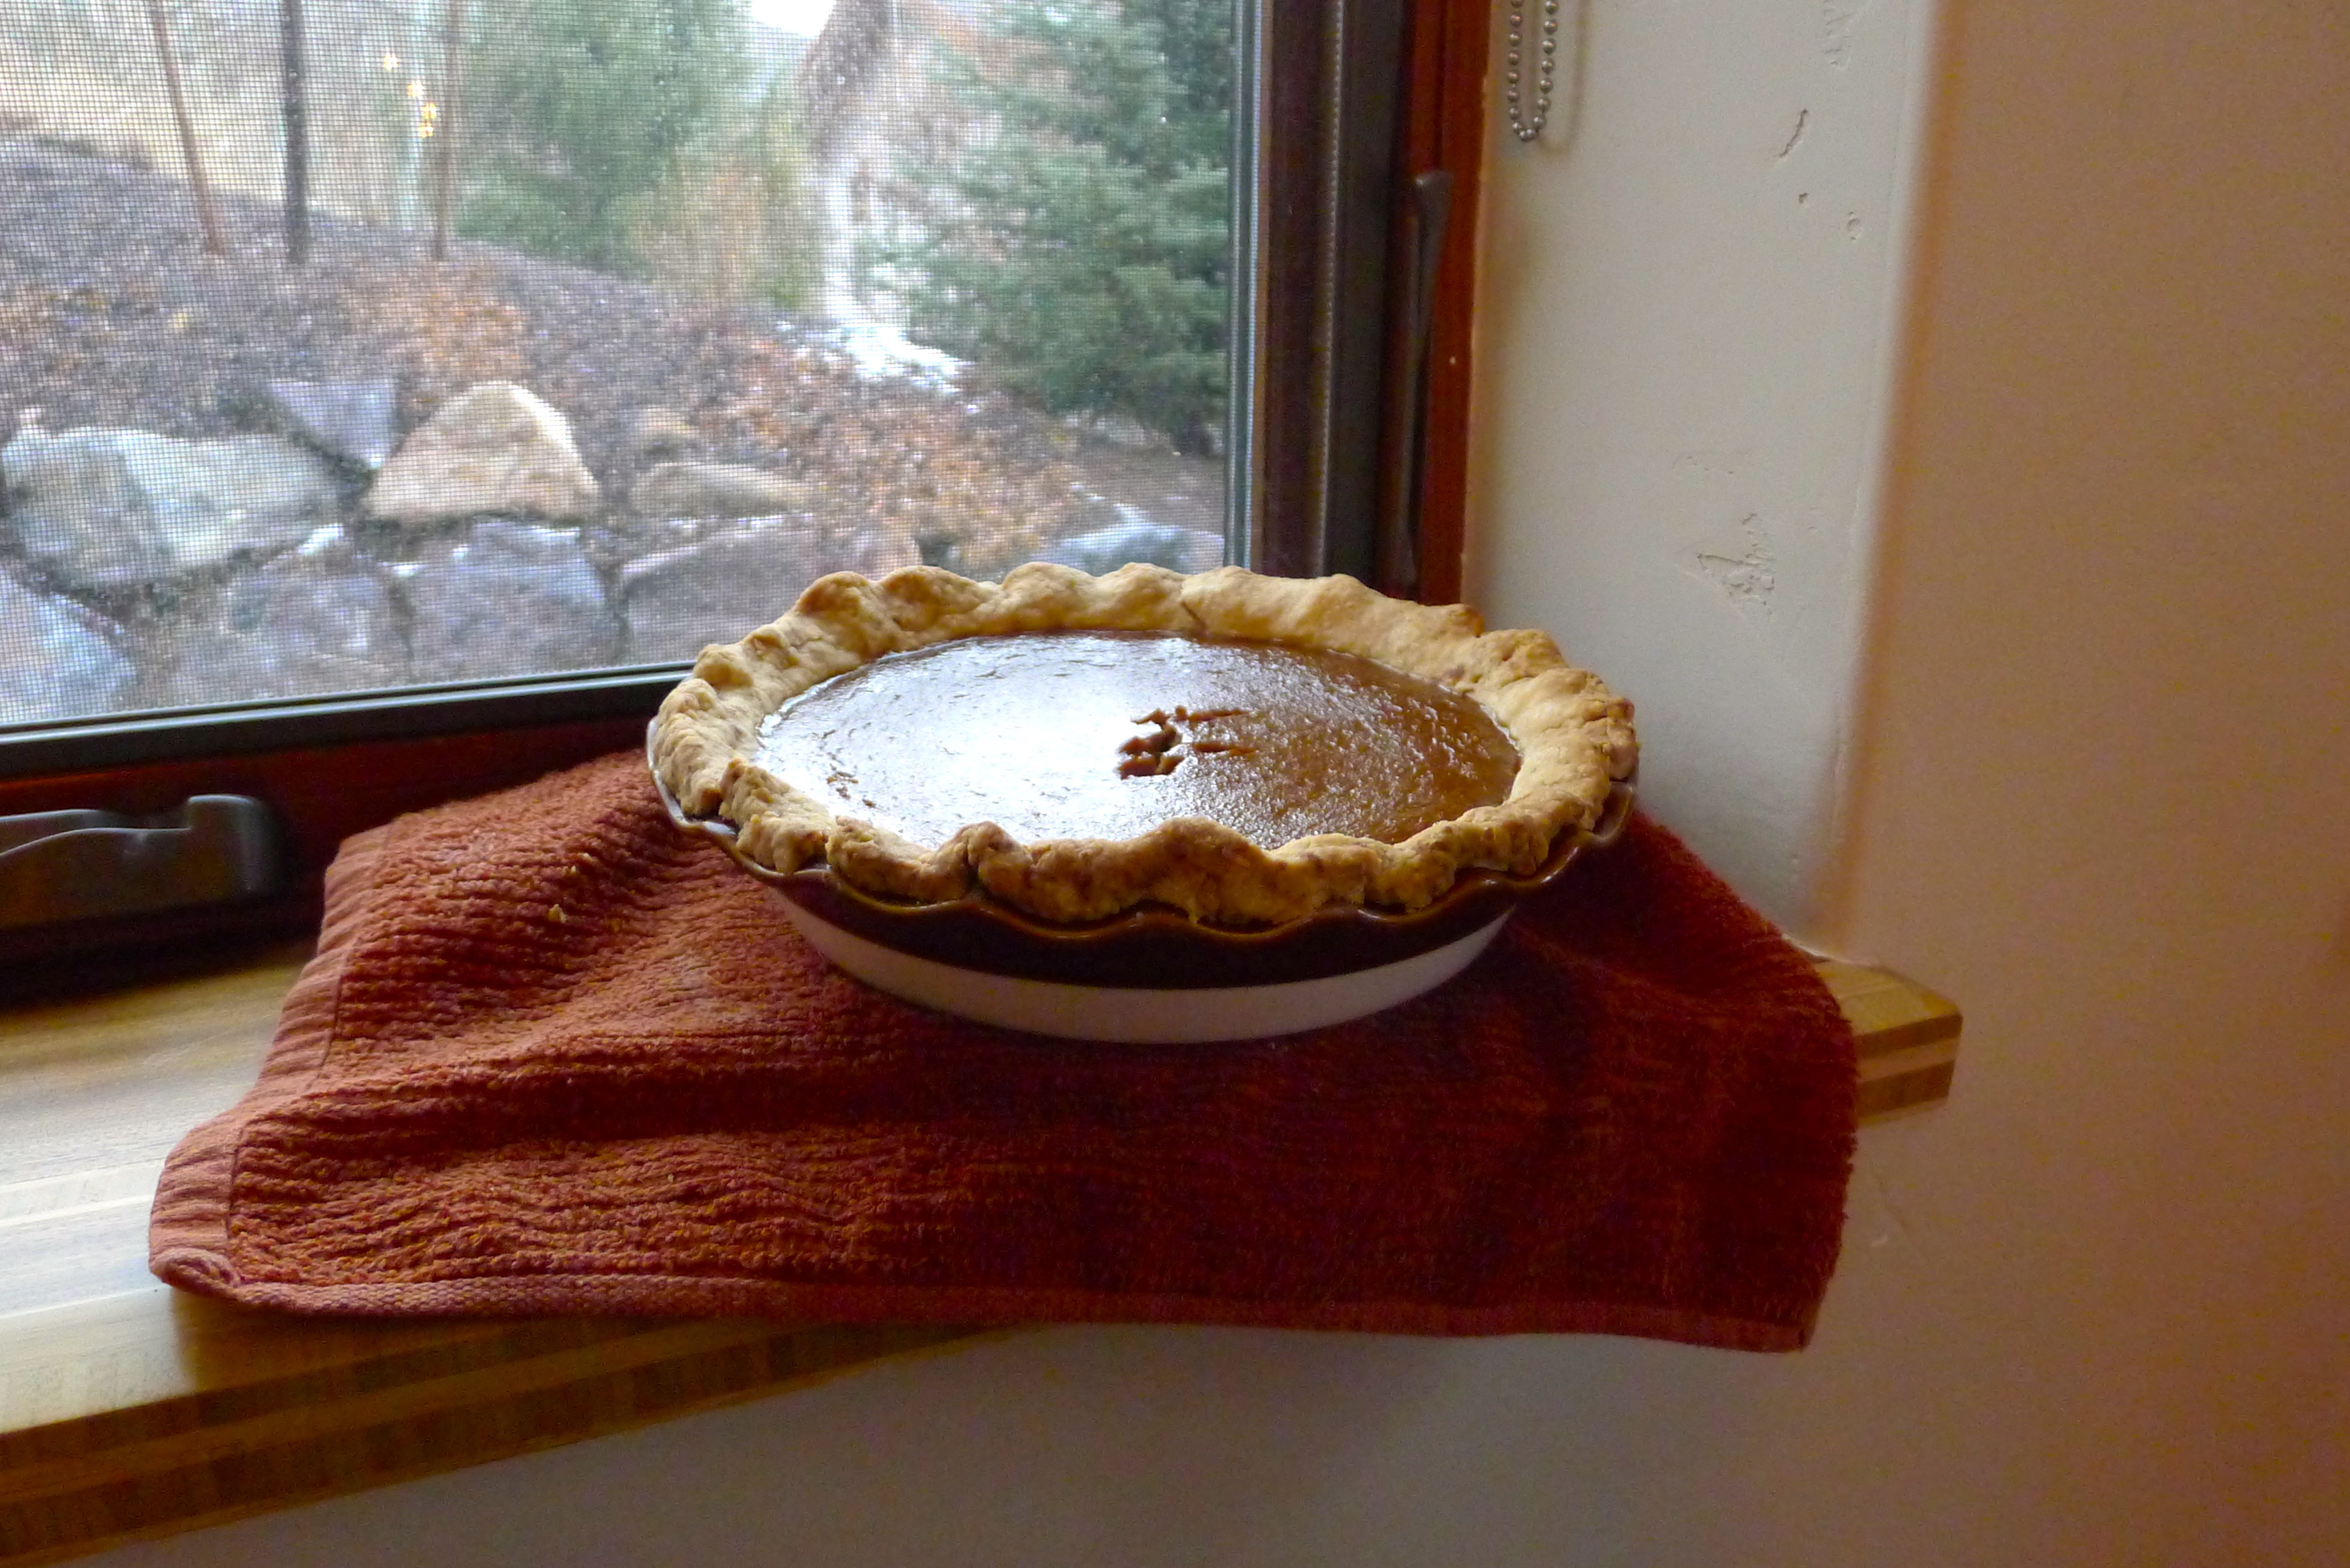
When the filling had baked enough to set, we let the pie cool on a window sill until after dinner. And how did it turn out? Truth: we cooked it too long! It was a tiny heartbreak that this lovely crust was overdone (and Dad’s favorite, only-once-per-year pie was subpar), but the crust-making process was far simpler than I expected. And look how beautiful it was!


Another attempt (or two) is all I’ll need to perfect the recipe. So, who wants pie?!
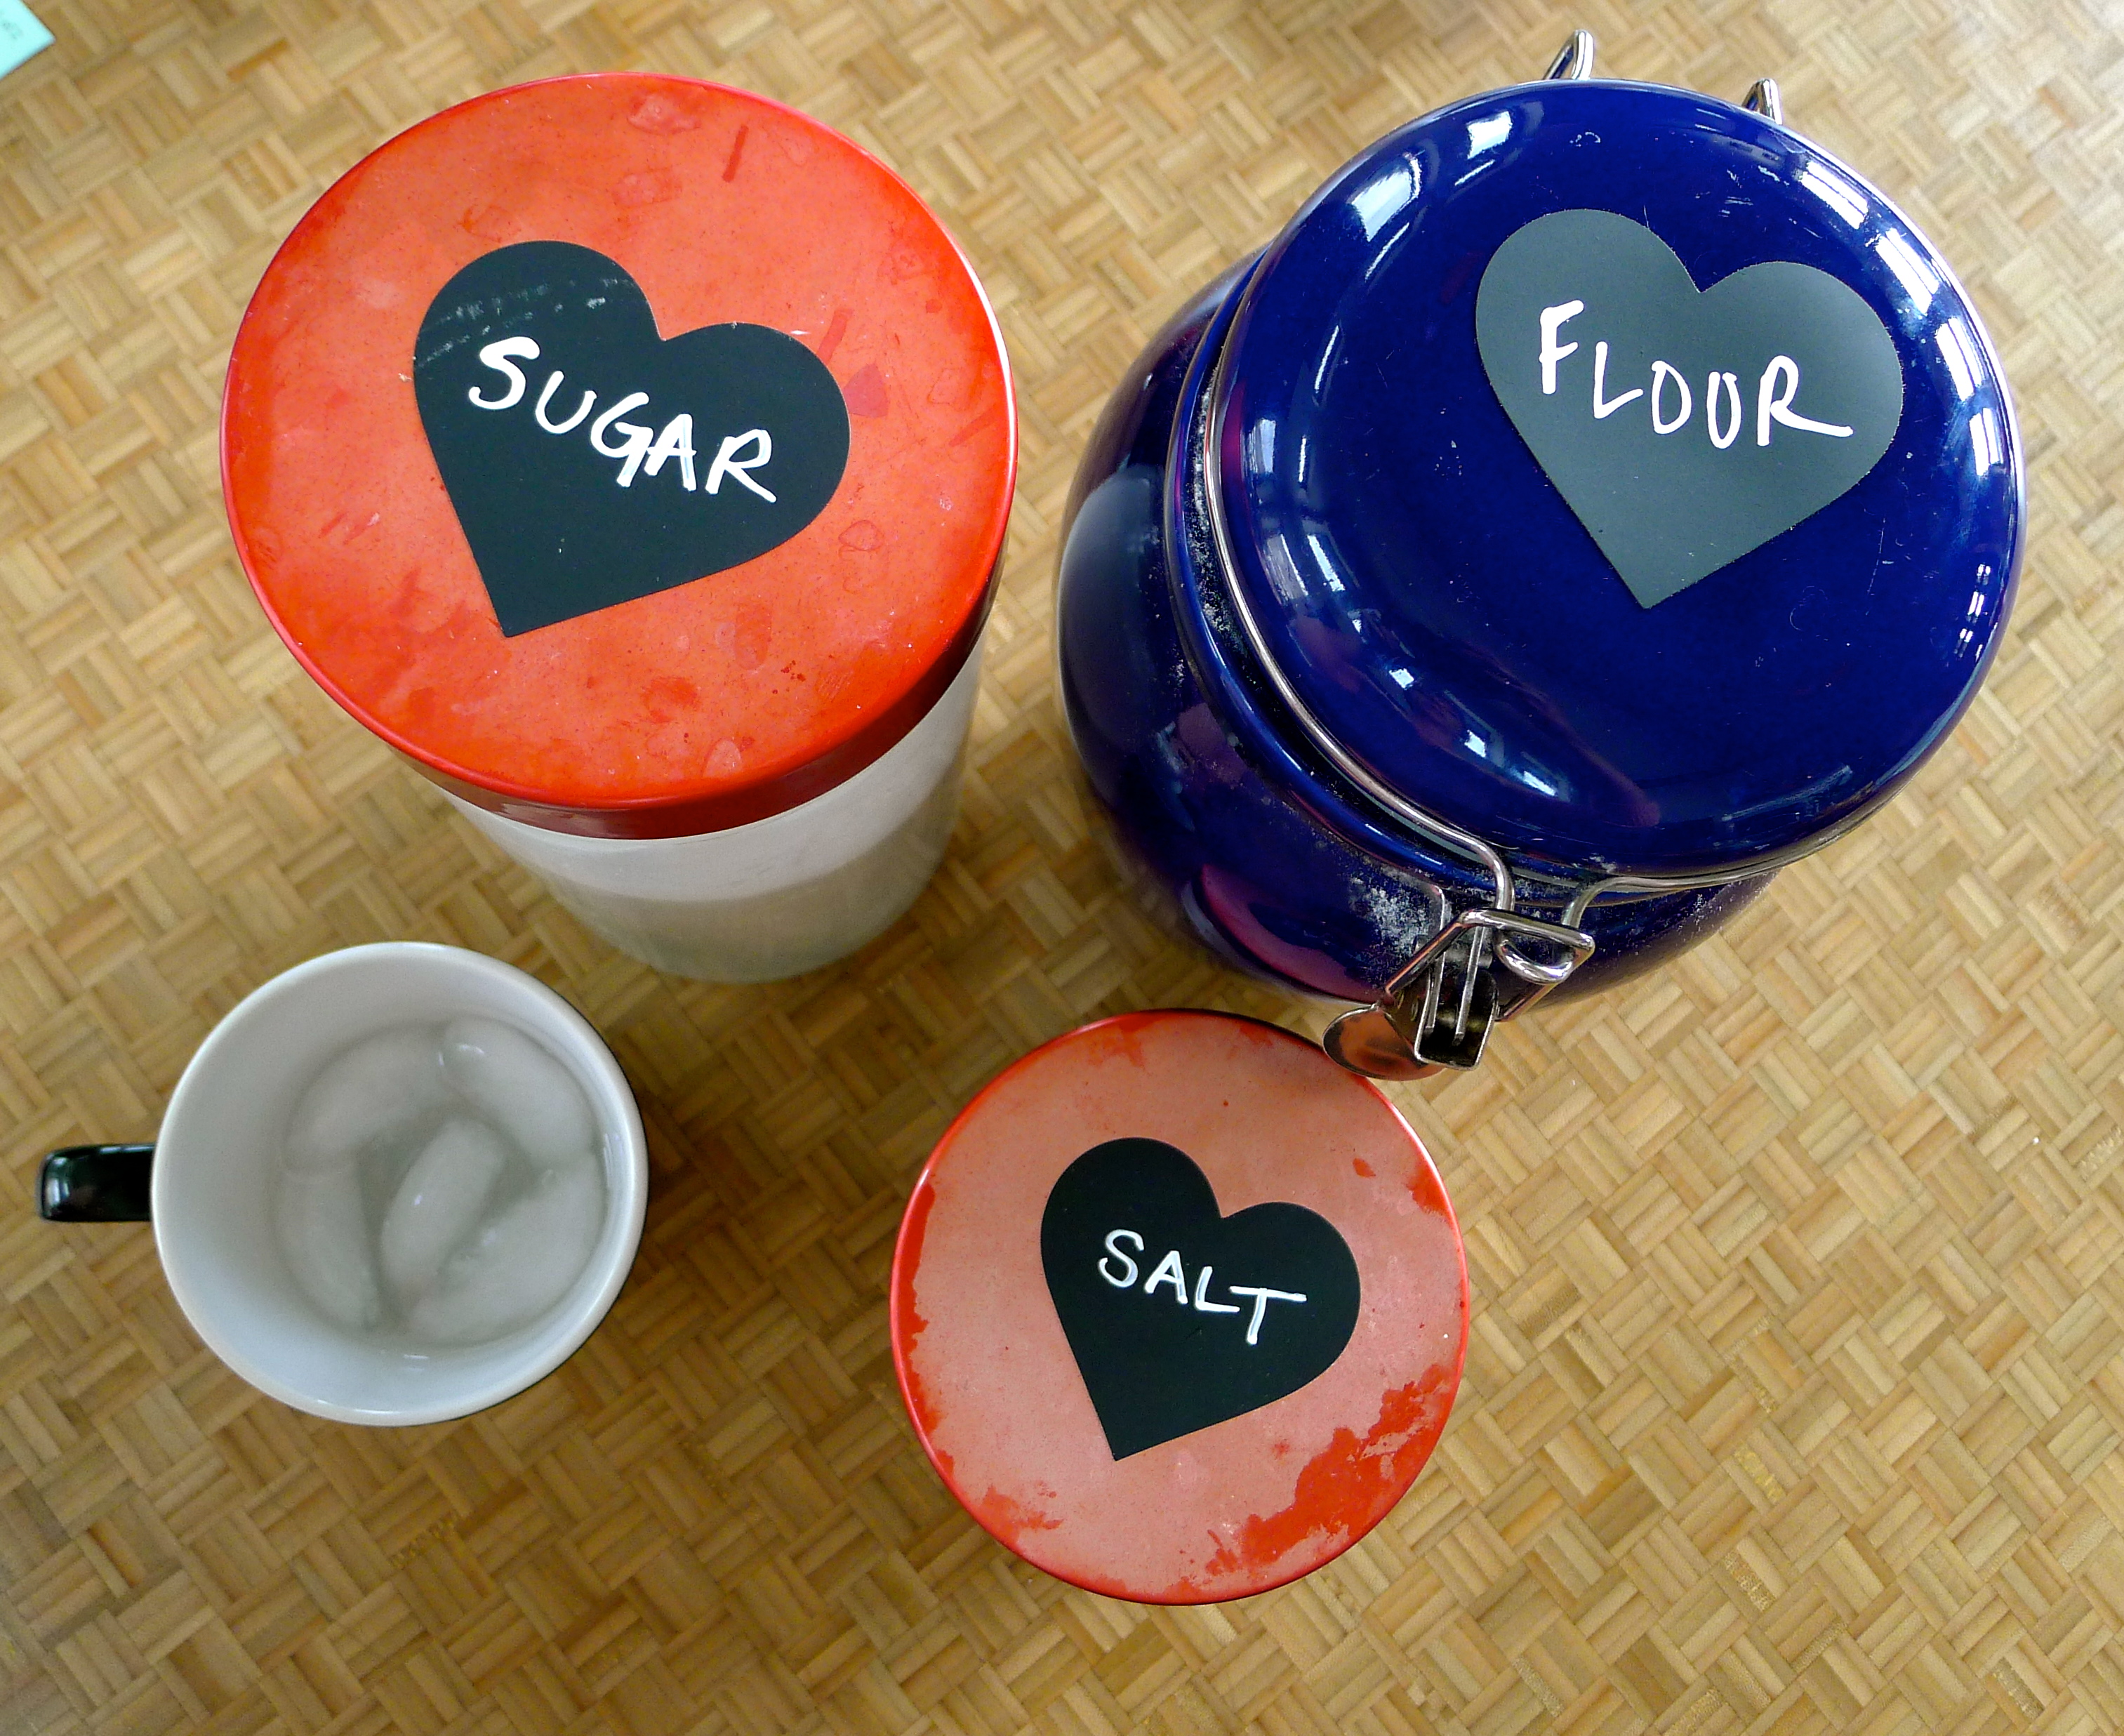
Homemade Pie Crust (Aida Mollenkamp)
You’ll need:
- 1 ¾ flour
- 2 teaspoons granulated sugar
- ¾ teaspoon salt
- 6 tablespoons of cold butter, chopped into little cubes
- ¼ cup shortening
- 7-8 tablespoons of ice water
In a large bowl, sift the flour, salt, and sugar. Add butter and toss until coated. Rub the butter between your thumb and forefingers to incorporate it into the flour mixture until the butter resembles tiny peas. Add shortening and repeat the rubbing/mixing process until the dough comes together in a chunk when squeezed. Add half of the ice water and rake through the mixture with your fingers until moistened. Add more water, one tablespoon at a time, until the dough starts to come together. It should not be wet when pressed but thoroughly moistened. Do this quickly so the butter stays cold.
Form the dough into a disc and wrap in plastic wrap. Chill in the refrigerator for at least 30 minutes before rolling it out onto a floured countertop and fitting it to your pie plate. Fill with something delicious and bake until perfect (not too long!). Cheers to family traditions and new recipes. YUM.
Hungry for more? Check out the collection of recipes on the FOOD BLISS page.
One year ago: “Seeds and Nuts” baked granola.

Yea! You did it. And you didn’t even need to consult me for the trade secret for a less-tough more-flaky texture (hint: vodka). Looks like it was a tremendous success. Feels good to check something off the list, doesn’t it? Cheers, girl. 😀
Vodka in my pie crust seems brilliant!
The reason it works is because it provides the moisture without creating that gluten film that water creates, making a crust tough. It really does work! I freeze mine before use (crust or other) which keeps the fat from melting, also crucial to flakiness.
Interesting! I’ll sub out the water for vodka next time.