Shortcuts are good.
It’s a great feeling when you discover a quicker way to drive long distances than what the map is telling you. When I hike with Cholula, I giggle when her instincts tell her save energy by cutting straight down the mountain instead of sticking to the trail’s switchbacks. Your computer can set up a shortcut for you to easily access files. By definition, a shortcut is a more direct route than the customary one, or a means of saving time or effort. Doesn’t everyone need a little help in that department?
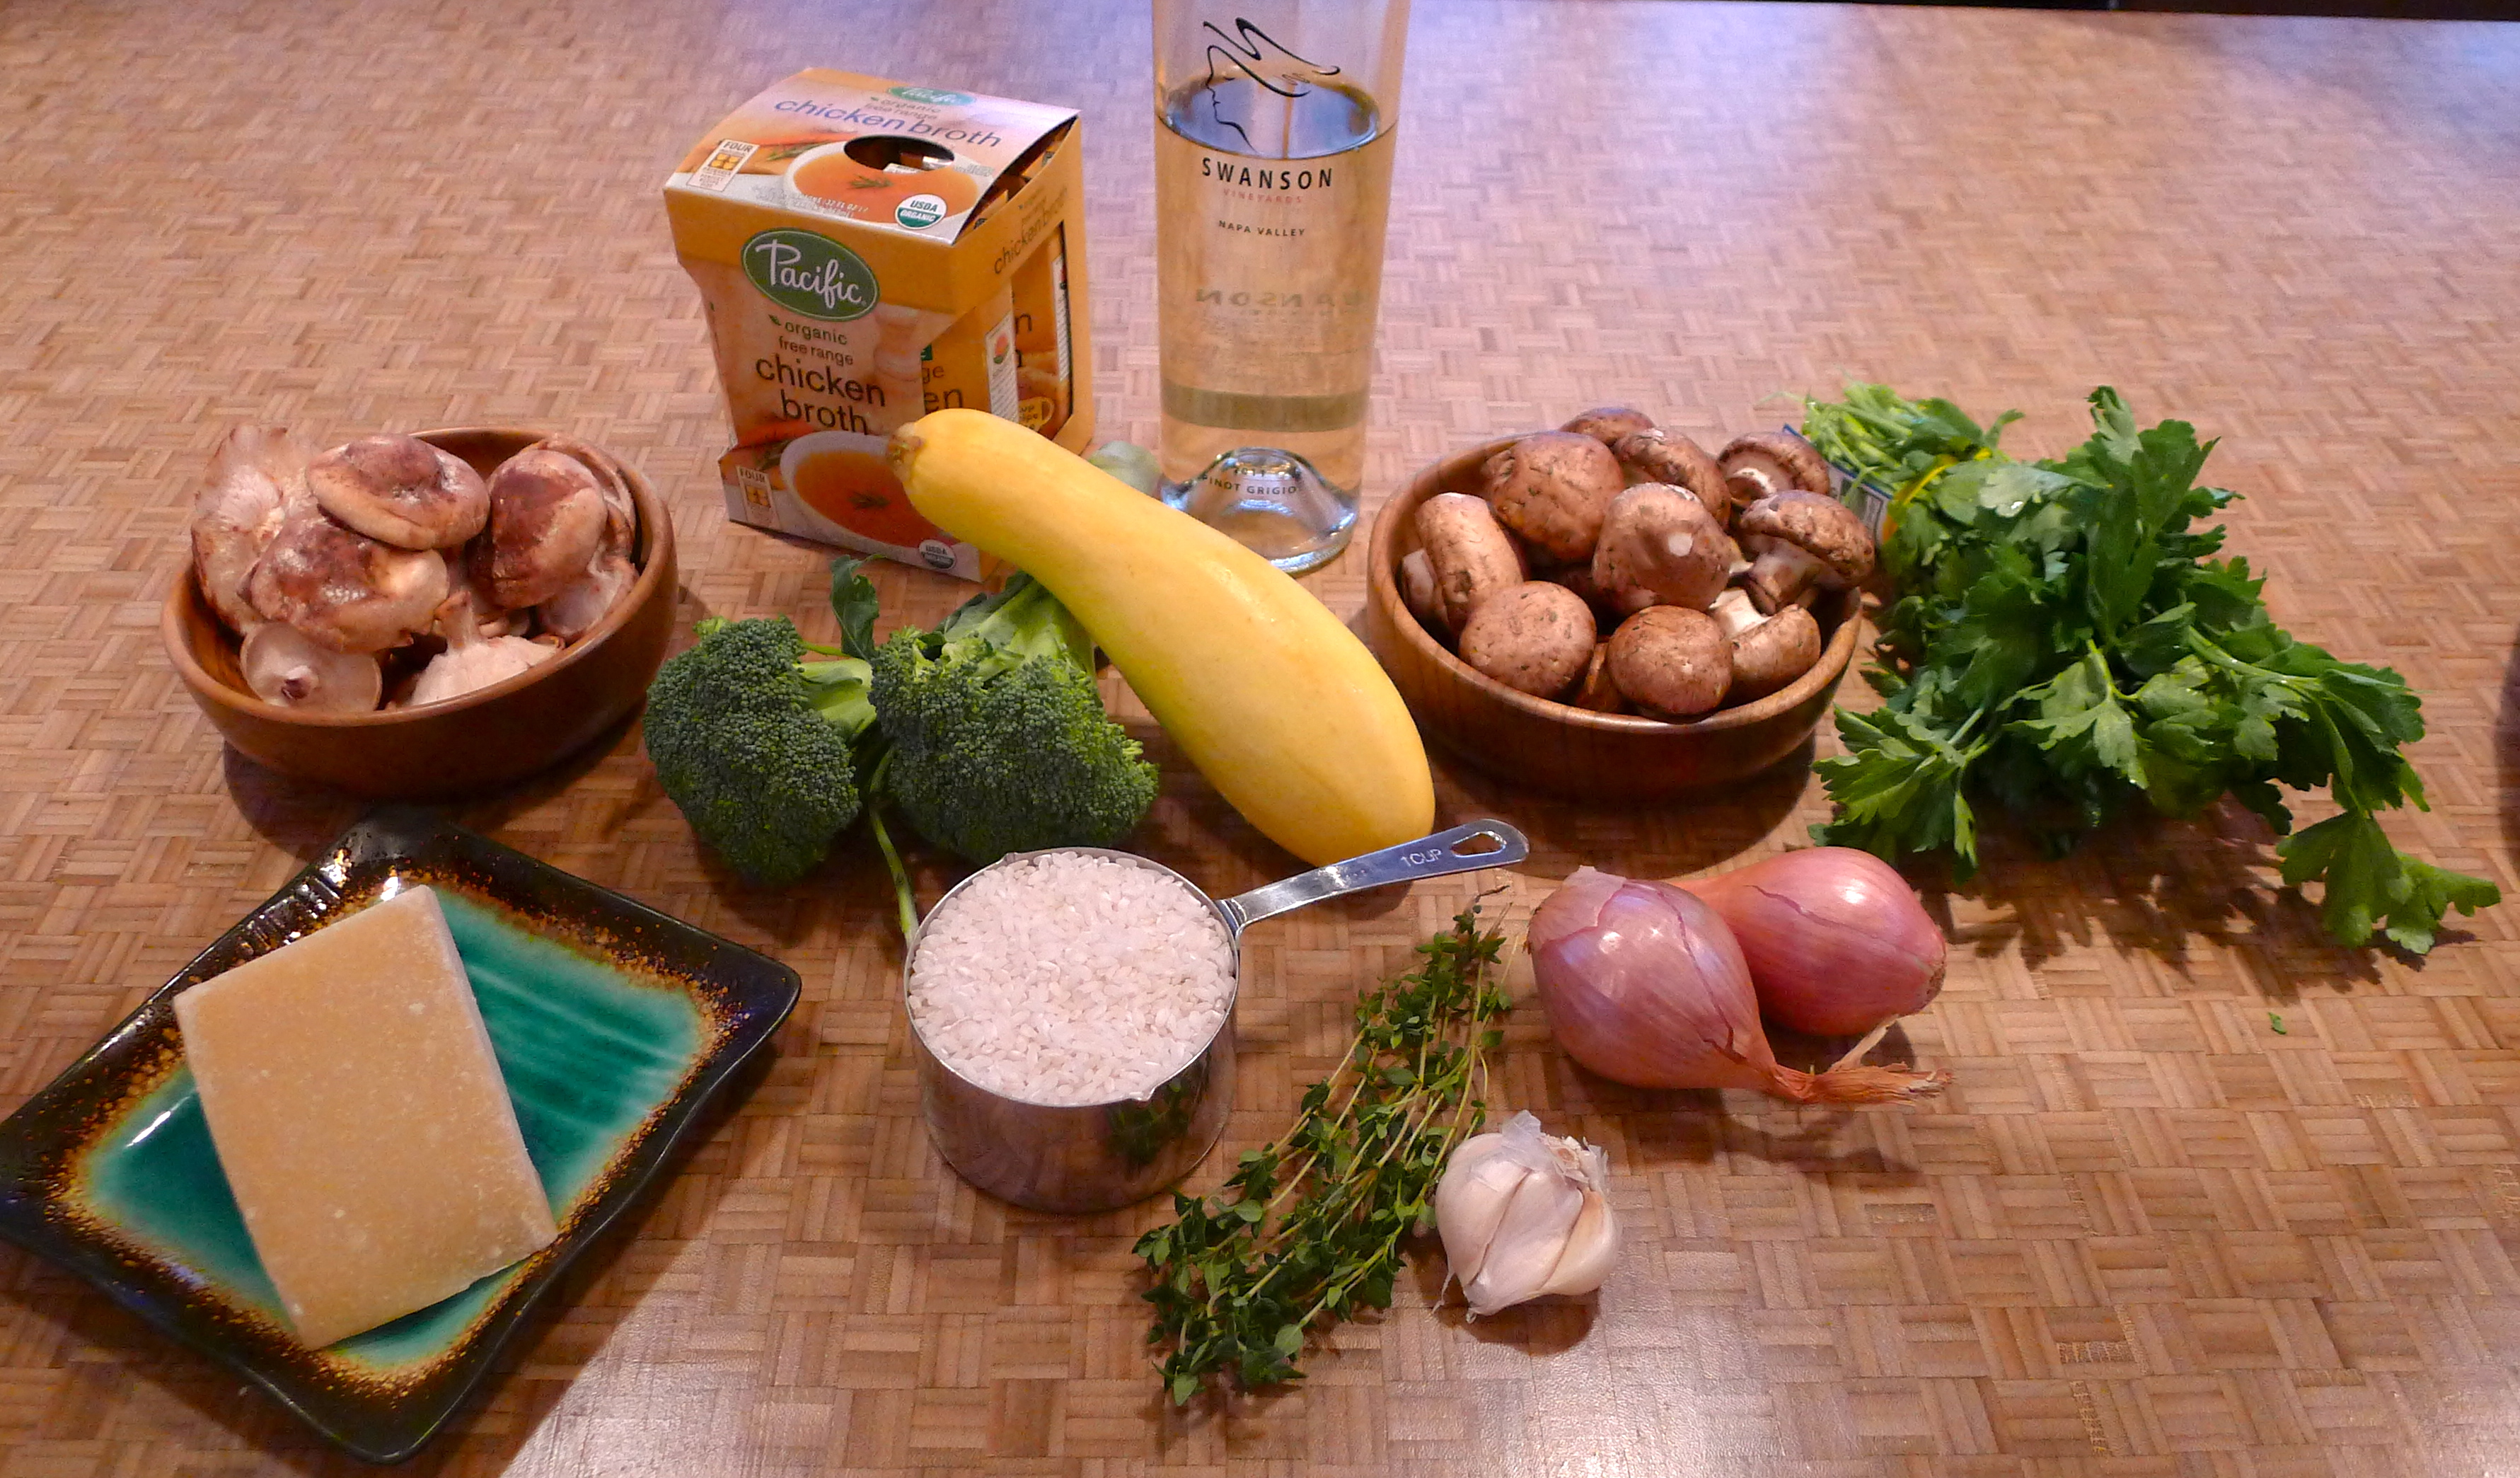
Nowhere am I more thankful for shortcuts than in my kitchen. First, food items. Though I’d prefer homemade everything, I’ve absolutely been known to pop open a can of Pillsbury croissants or scoop pre-made cookie dough from a tube. But there are so many things I take for granted in that pantry, like jarred sundried tomatoes or pasta and cartons of chicken stock or peanut butter, ready to use. And the appliances! My life is so much easier than it could be, thanks to my food processor and coffee grinder and blender. I shudder to imagine what it was like for John’s ancestors to make their eggnog recipe in the 1860s without a hand mixer. We’re spoiled/blessed in this day and age to have access to shortcuts.
Remember when it took me hours to make risotto? Risotto is one of those dishes that just takes time. Personally, I enjoy the process- standing over the stove, stirring away, watching a pile of rice slowly turn into something positively decadent. But sometimes I want the risotto without the process. A few months ago, I read about an easier way to make risotto, baked in the oven. Questioning whether this fell under “cutting corners” rather than a legit shortcut, I tried it- and it was delish. I made it again last week!
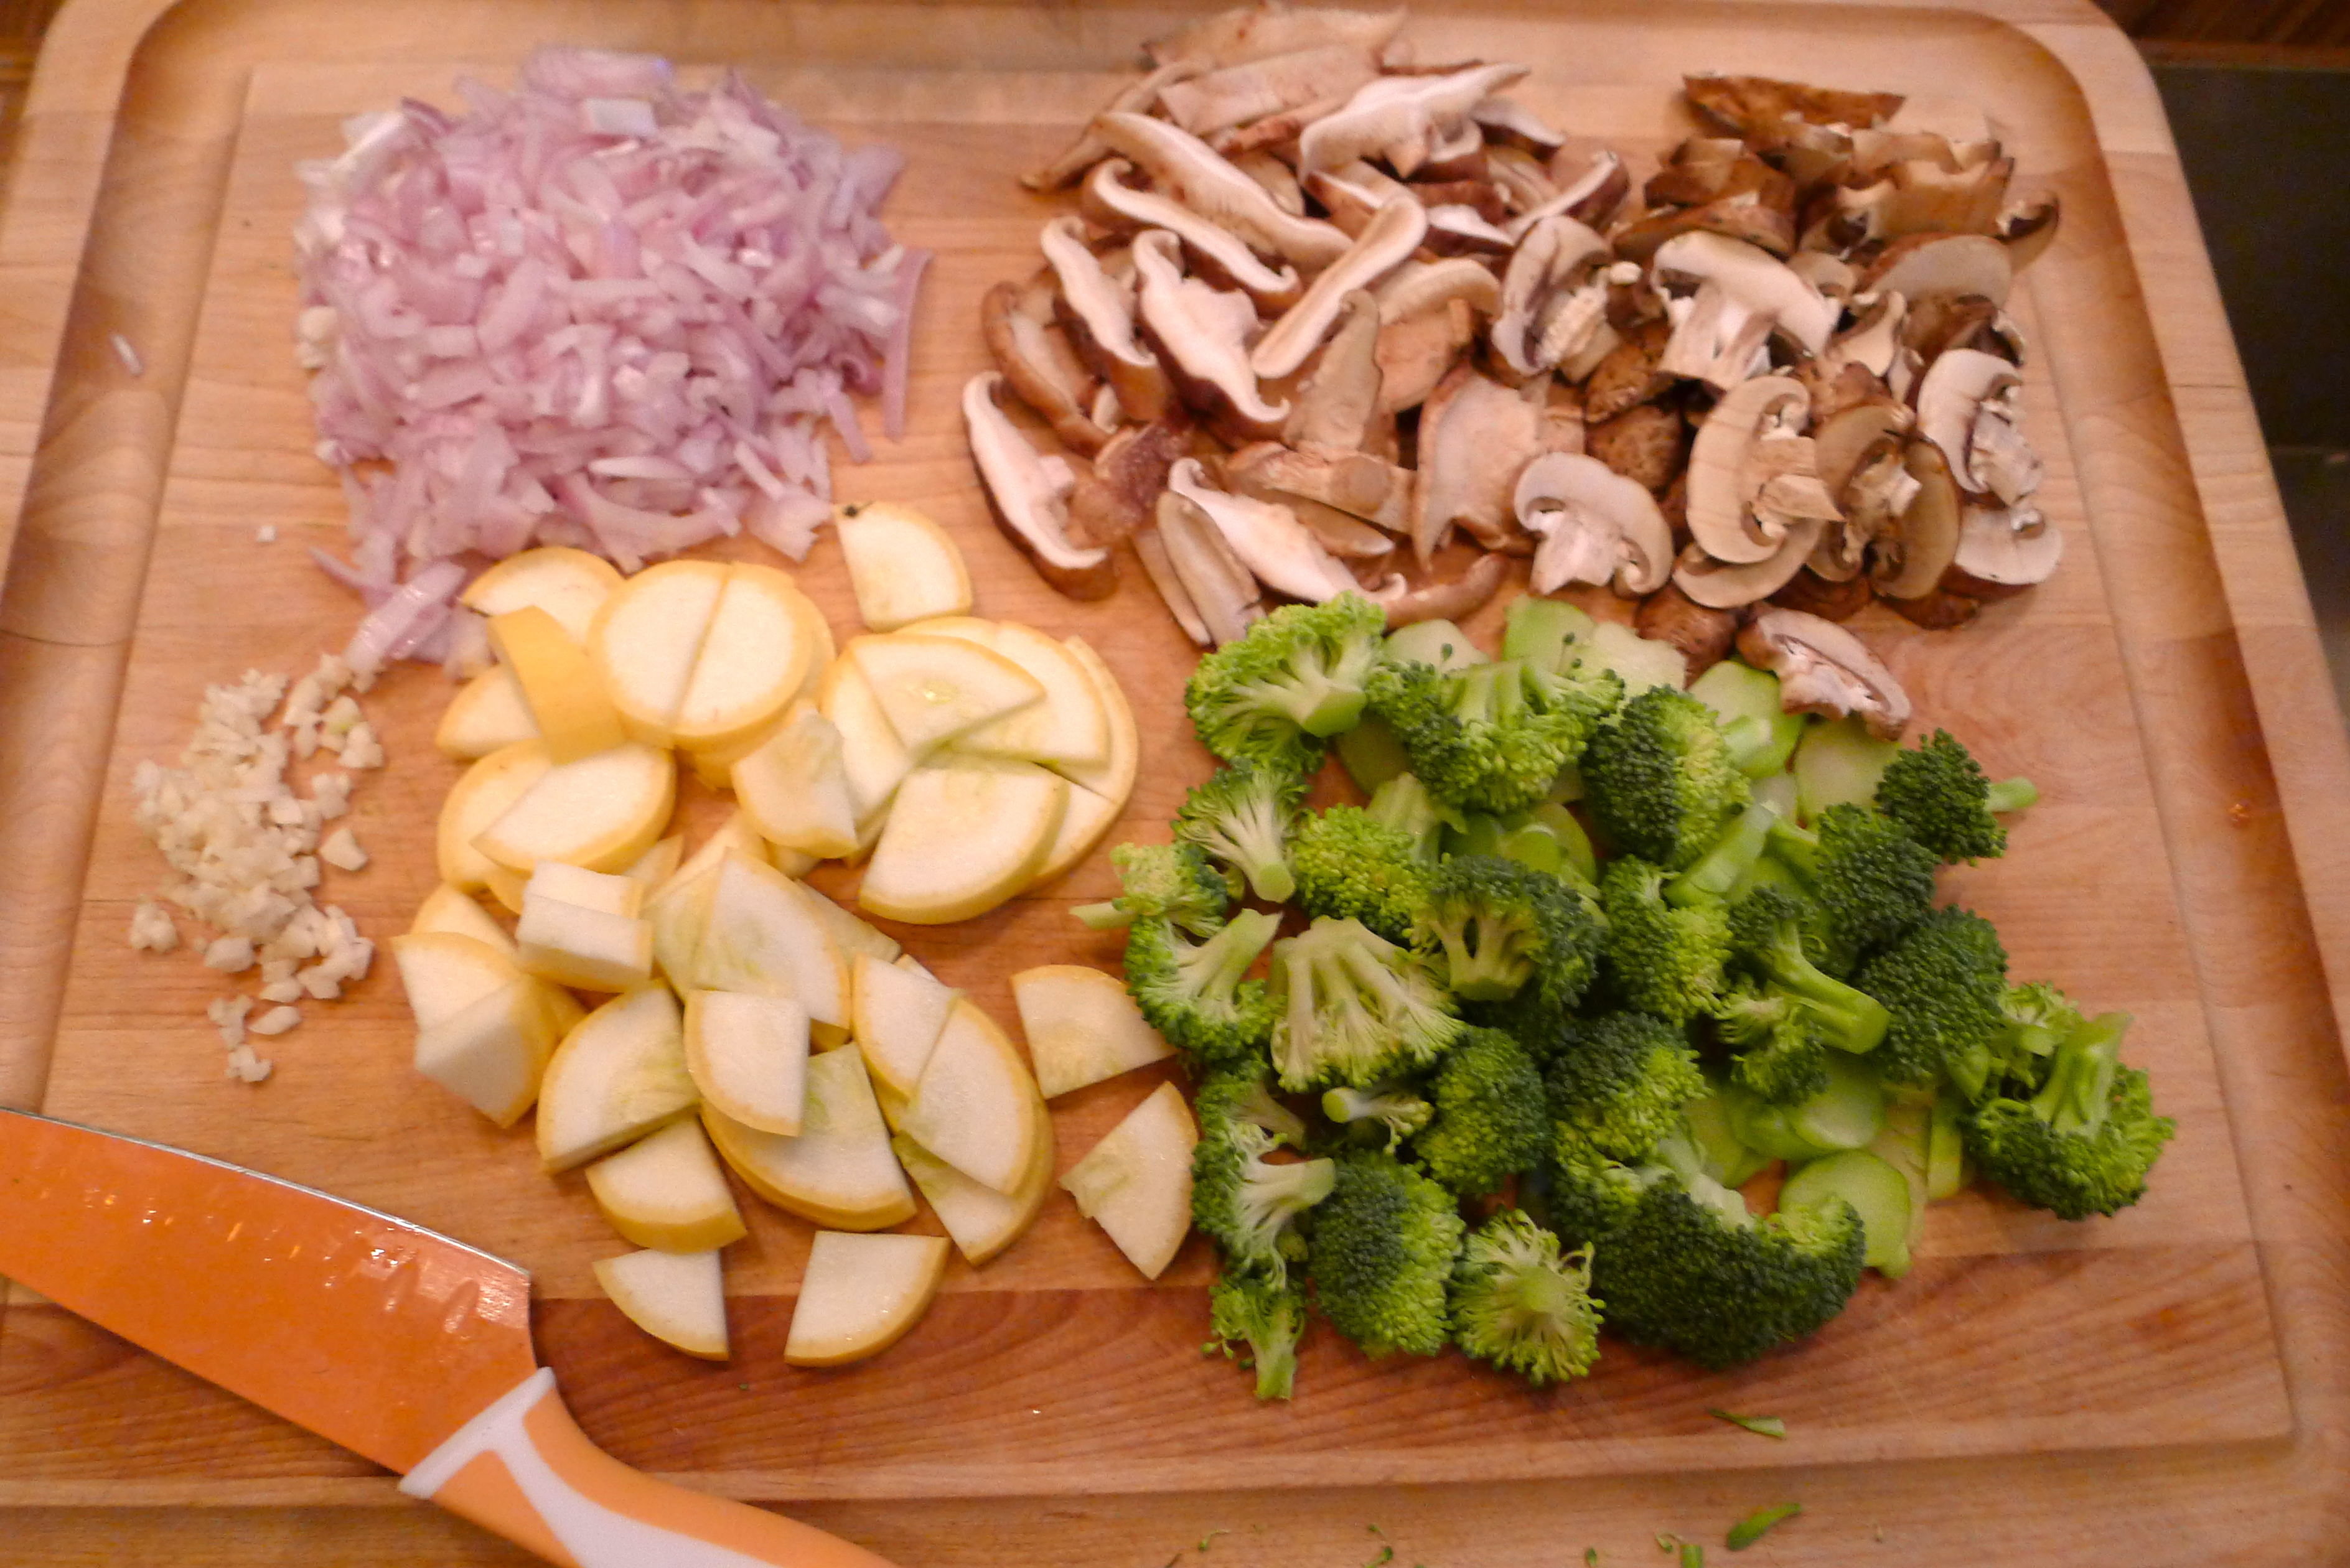
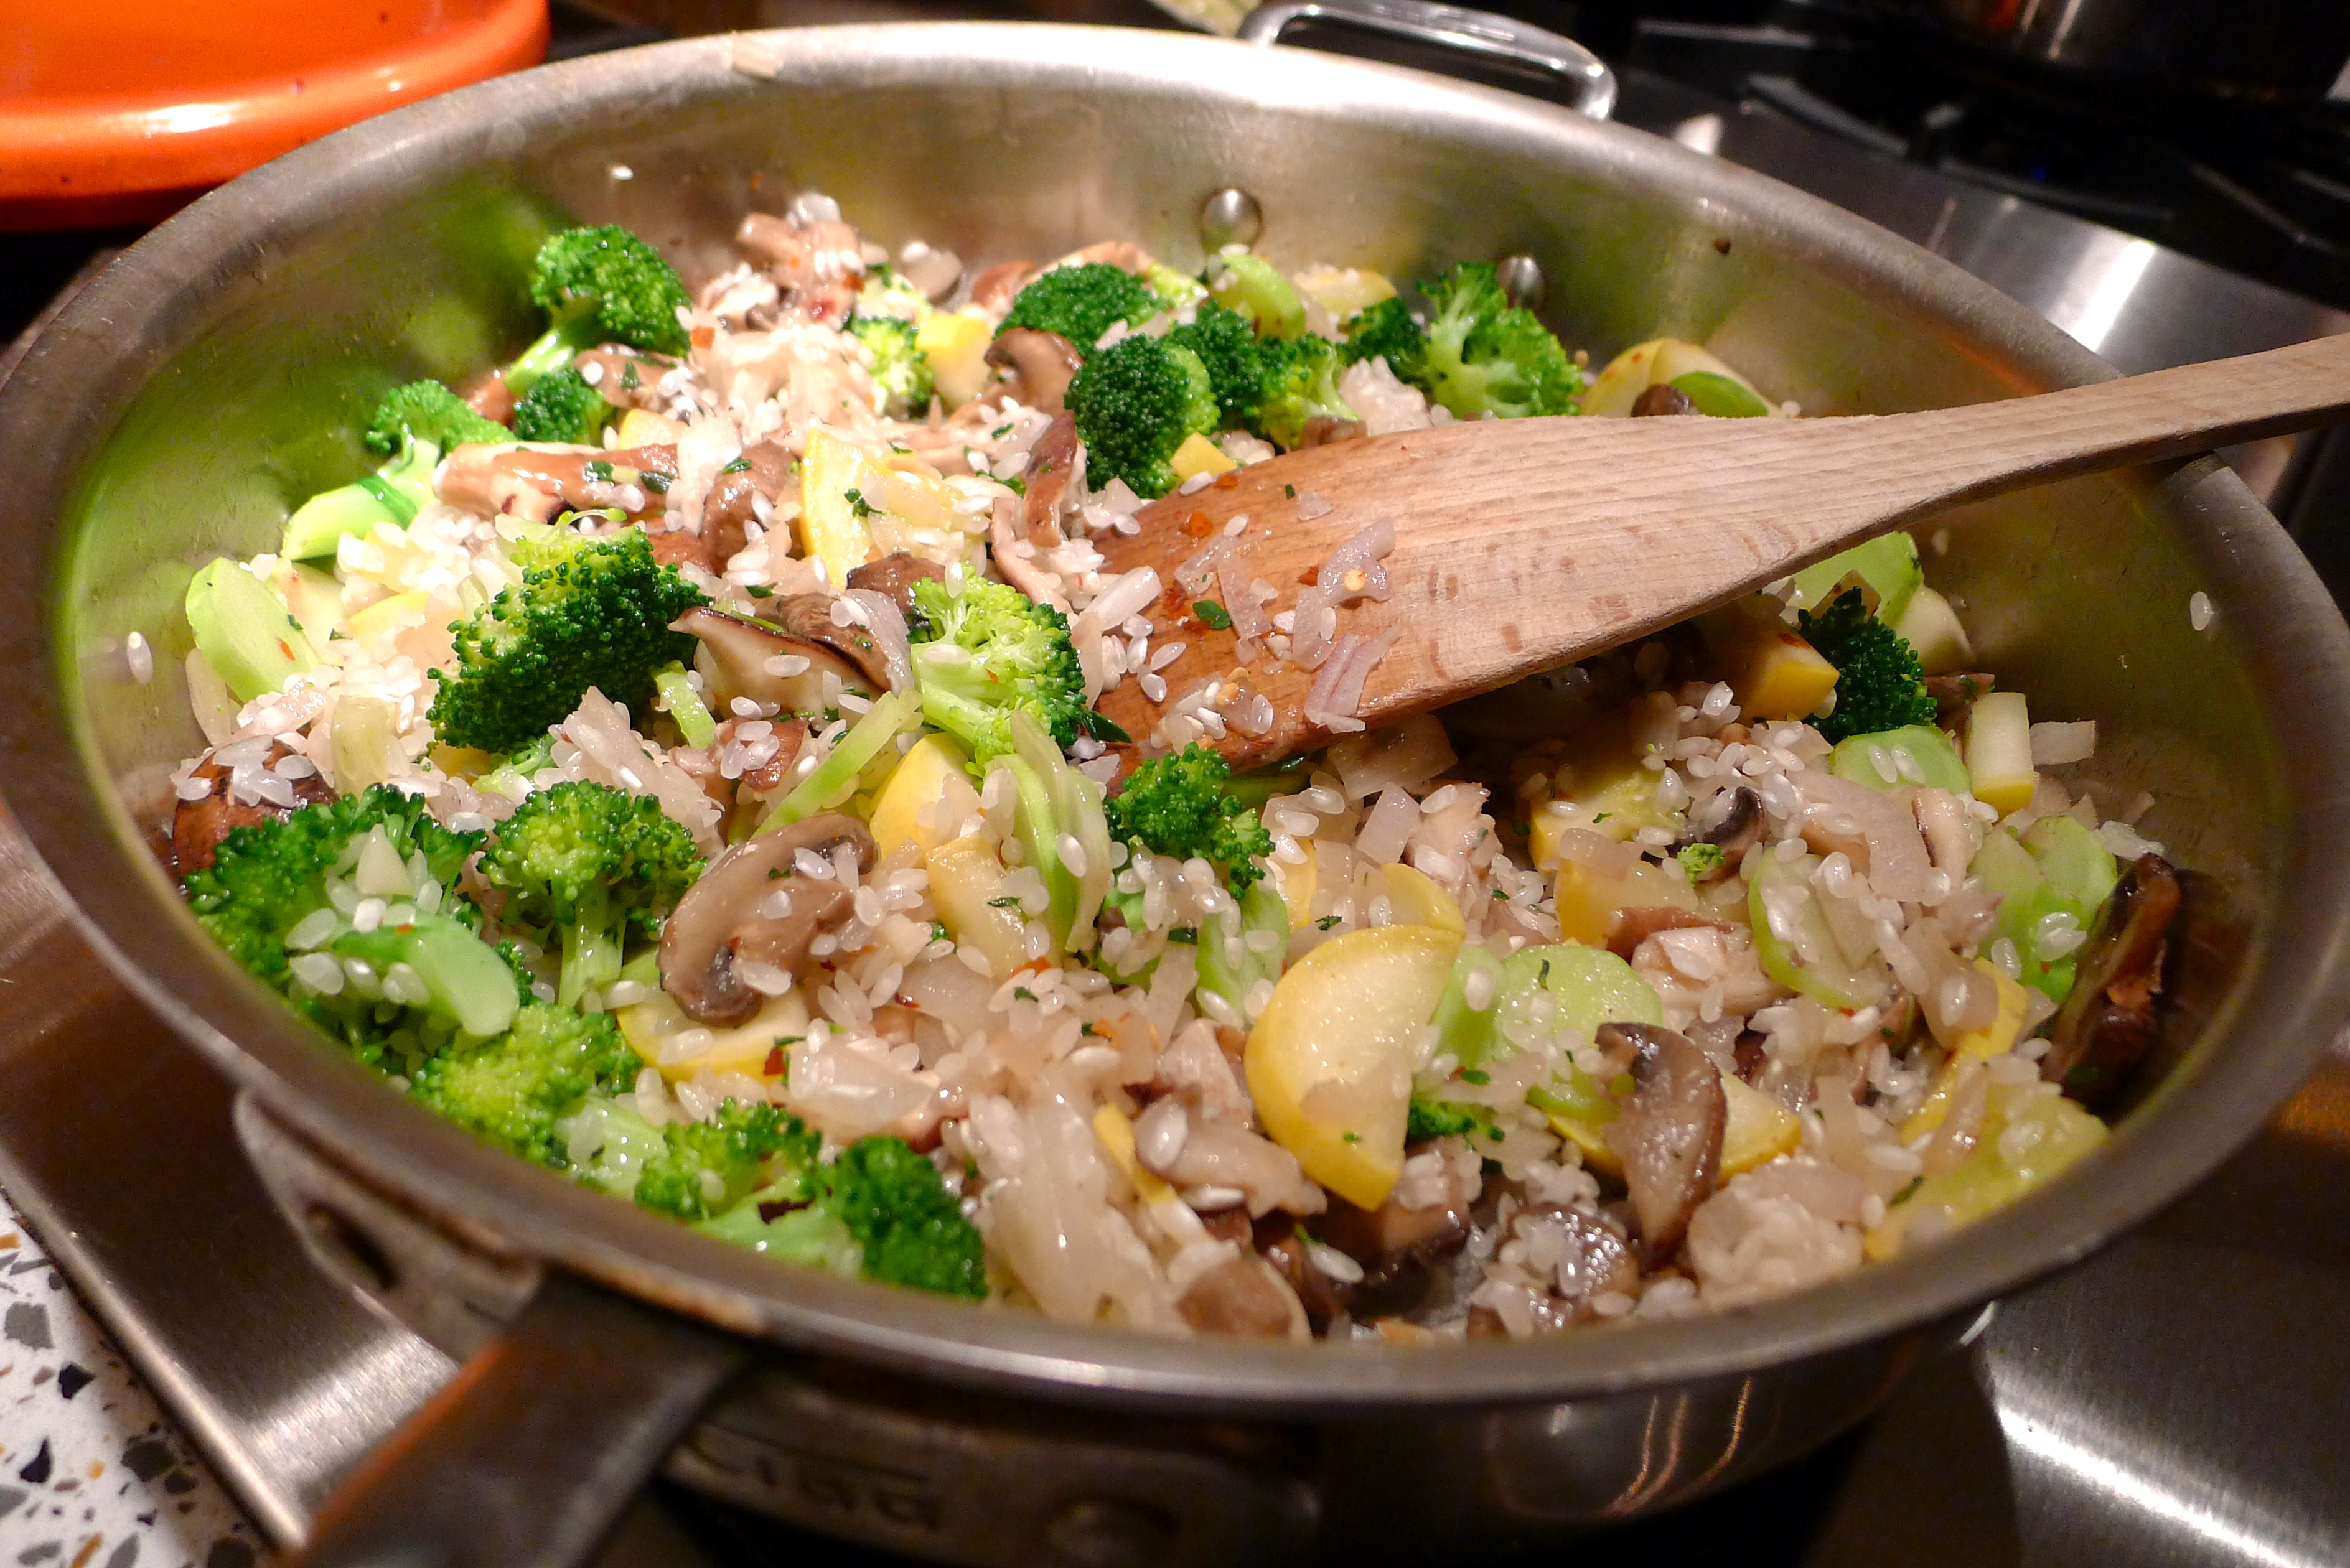
I had plenty of veggies in the fridge that I wanted to use up, so that’s where I started. I chopped up some broccoli, yellow squash, two kinds of mushrooms, shallot, and garlic.
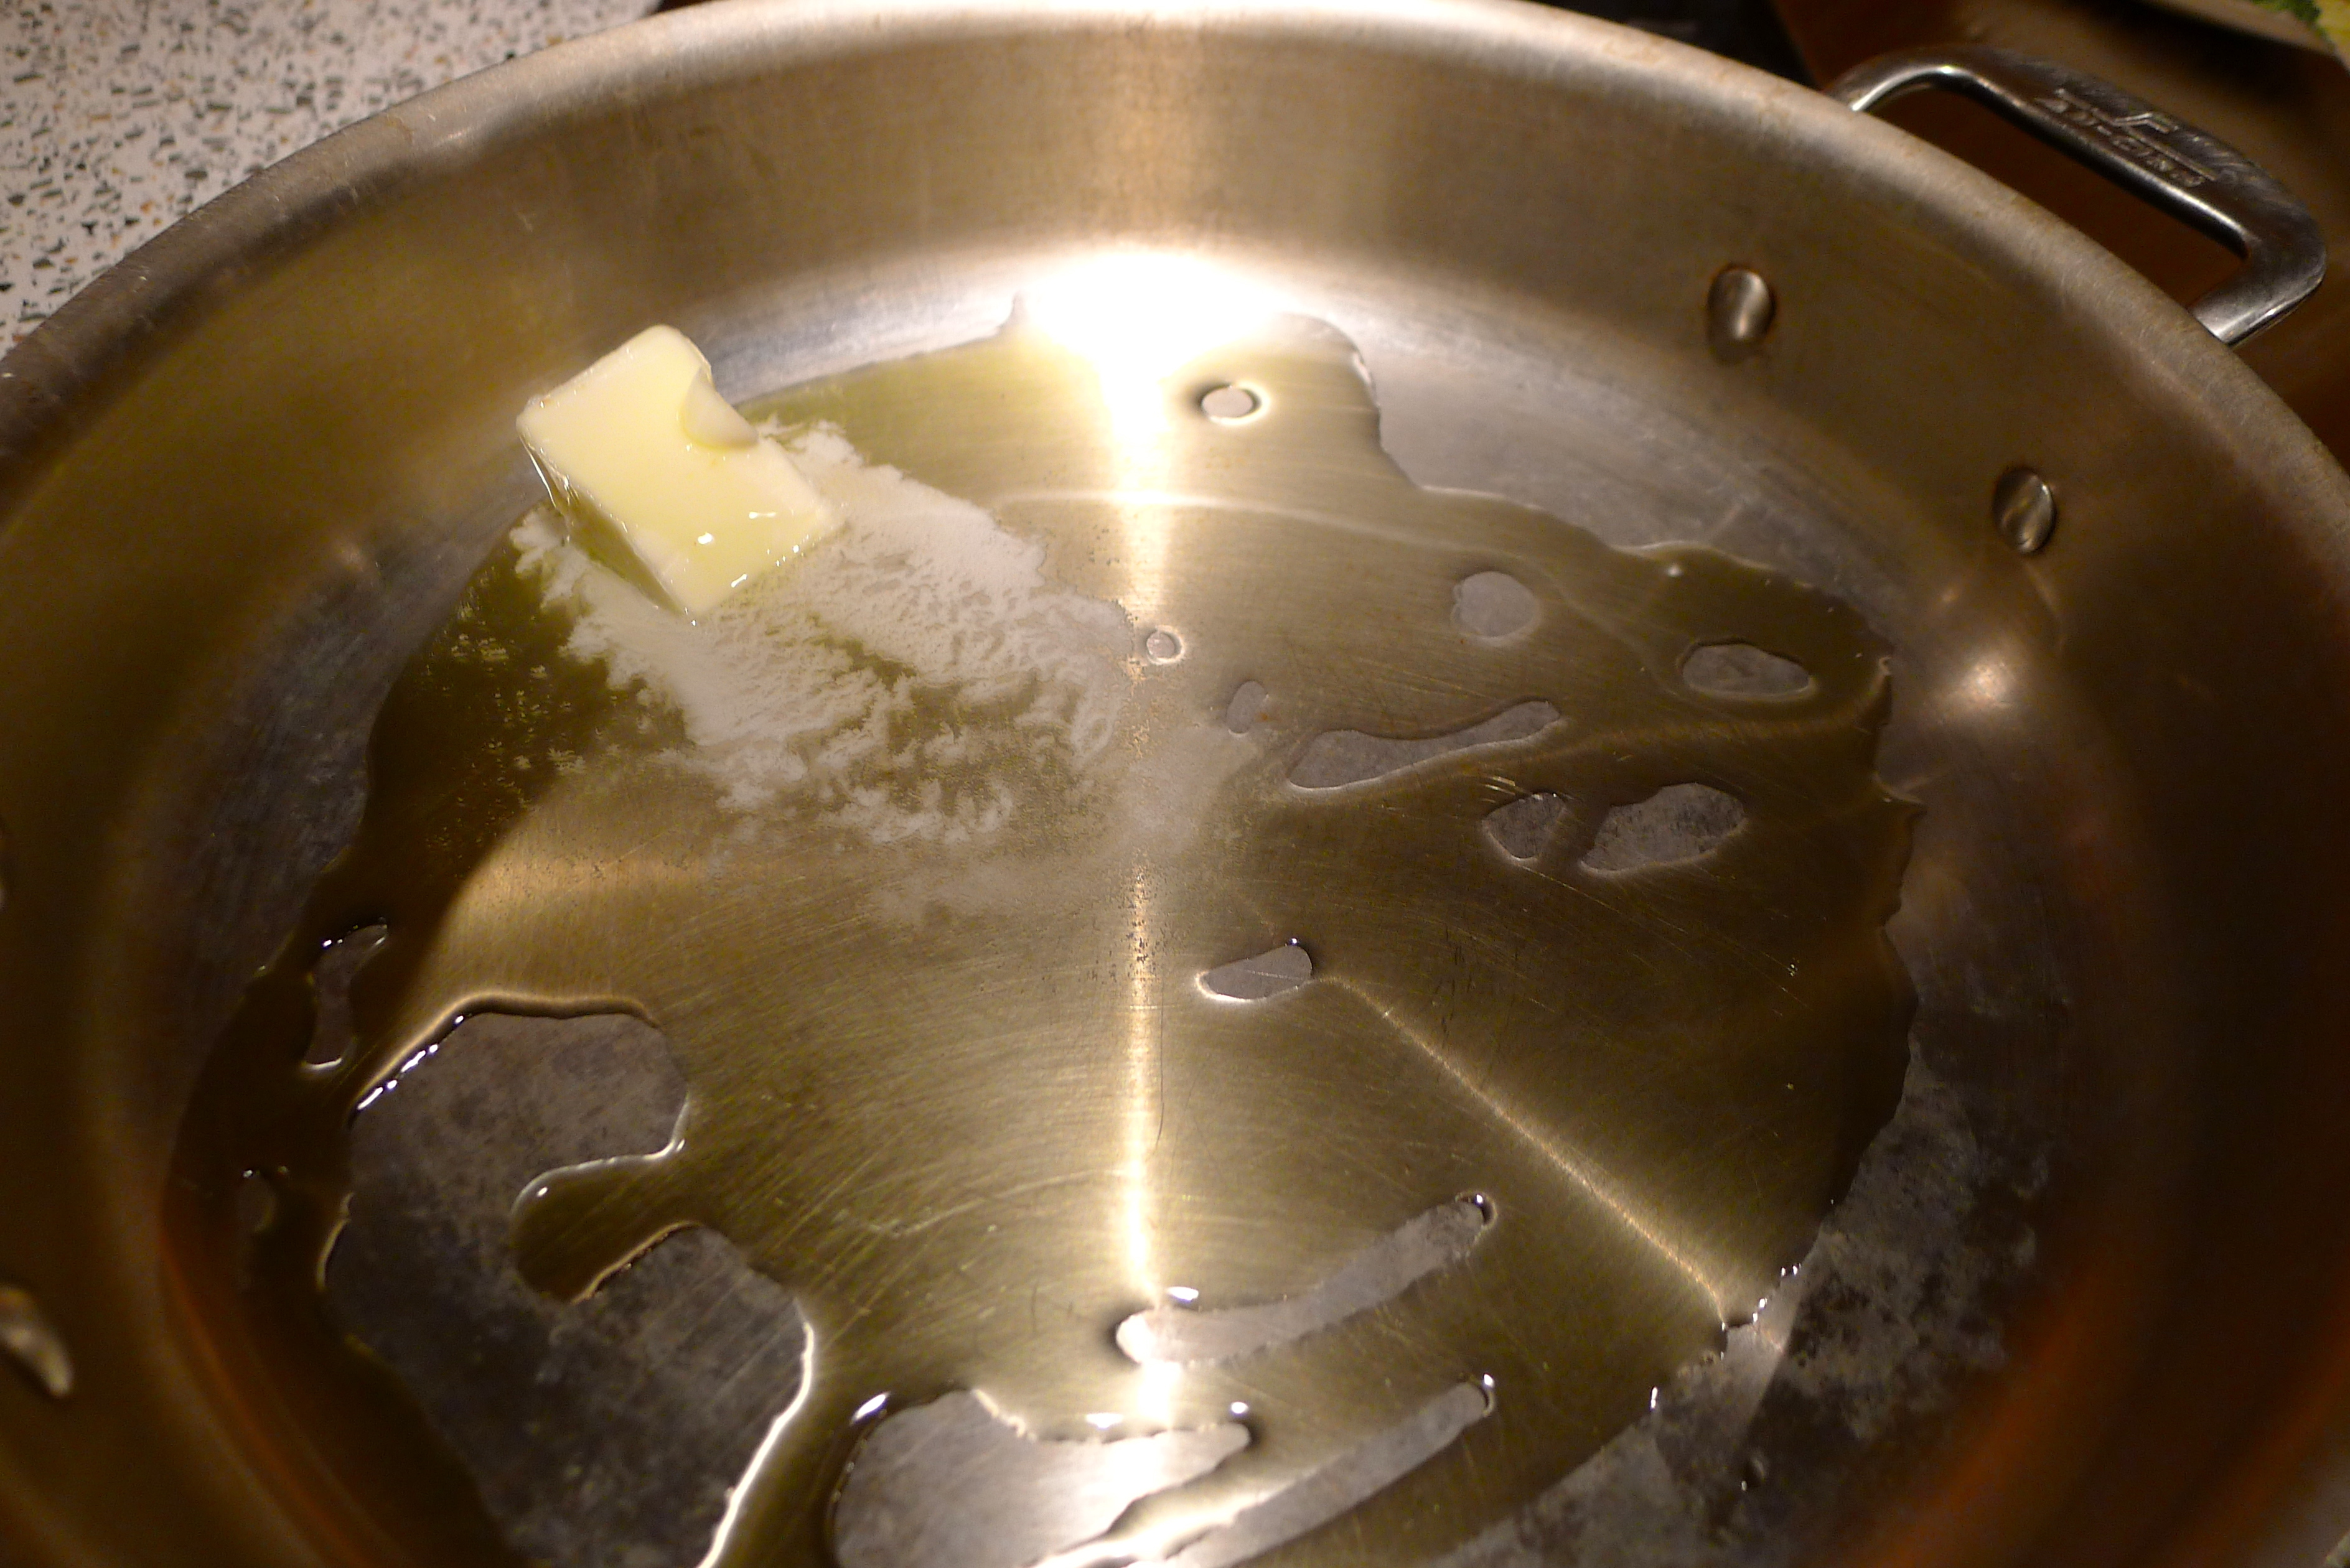
The baked risotto starts the same way as the traditional version, by sautéing the shallots in little butter and olive oil. I added the veggies and garlic to the pan, too. I didn’t want to cook them fully, since they’d be baking in the oven.


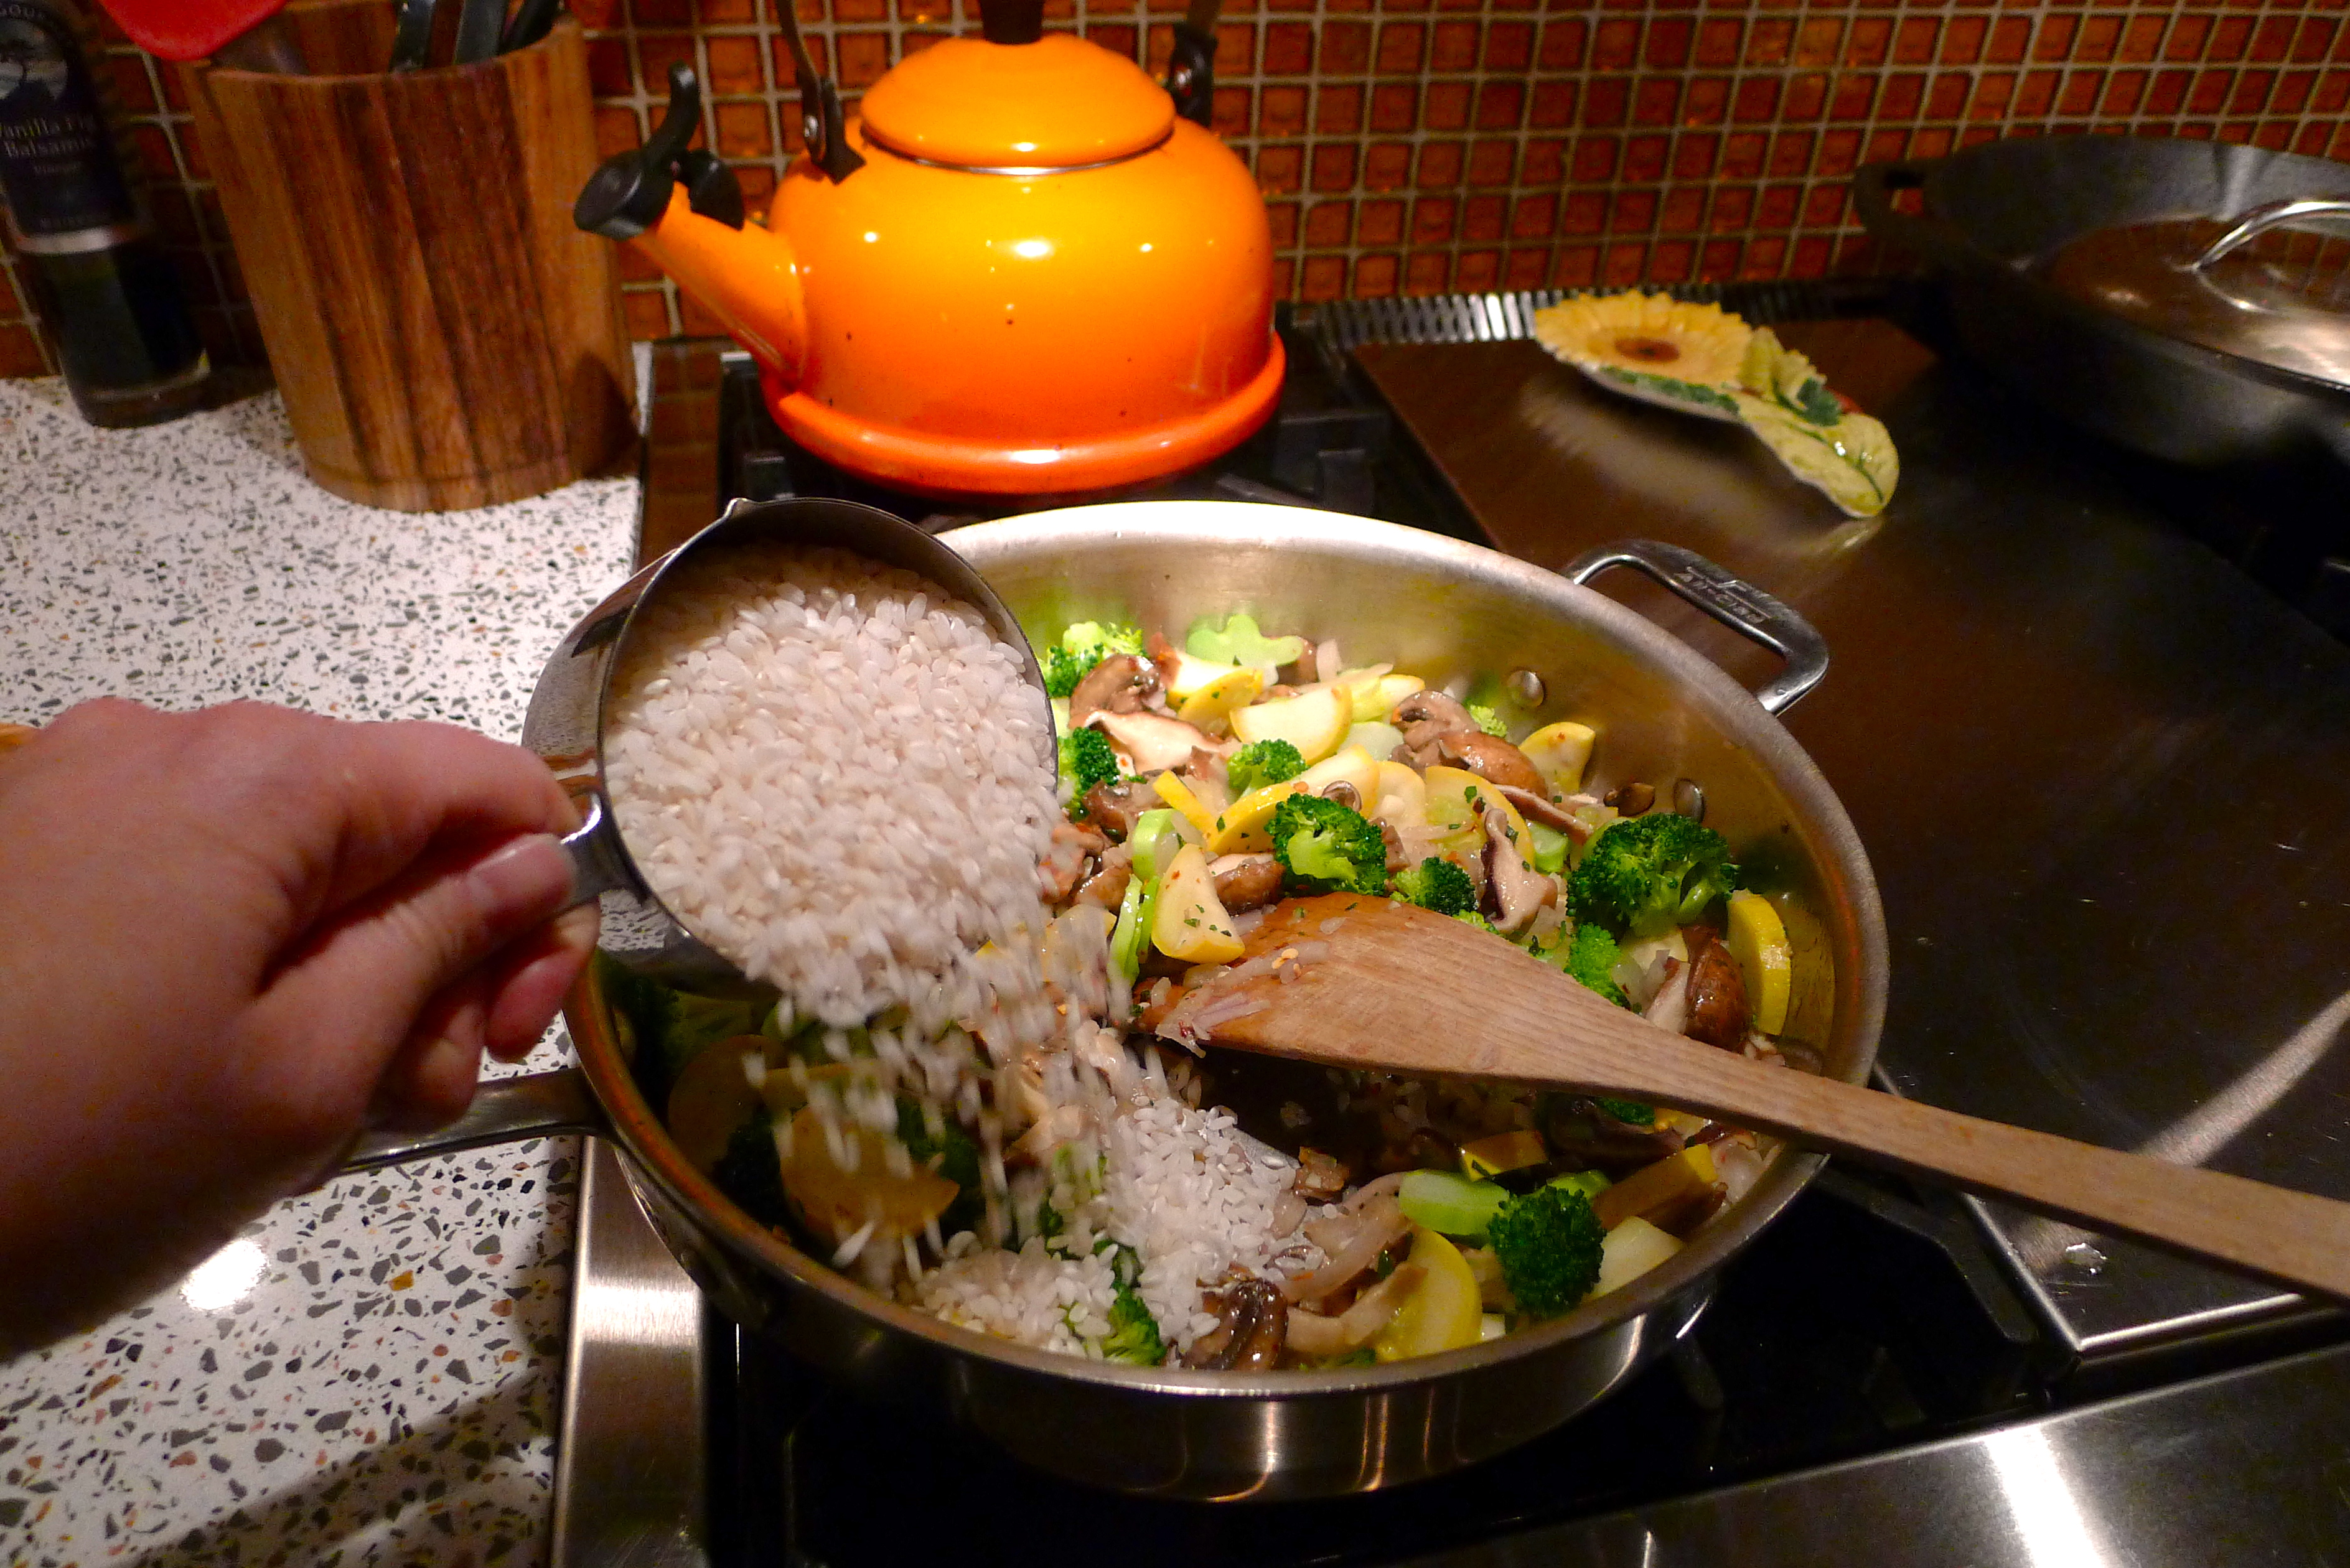
Next, I poured in the Arborio rice and let it toast up in the pan with the veggies. I splashed in some white wine, allowing the rice to absorb it, just like with traditional risotto.
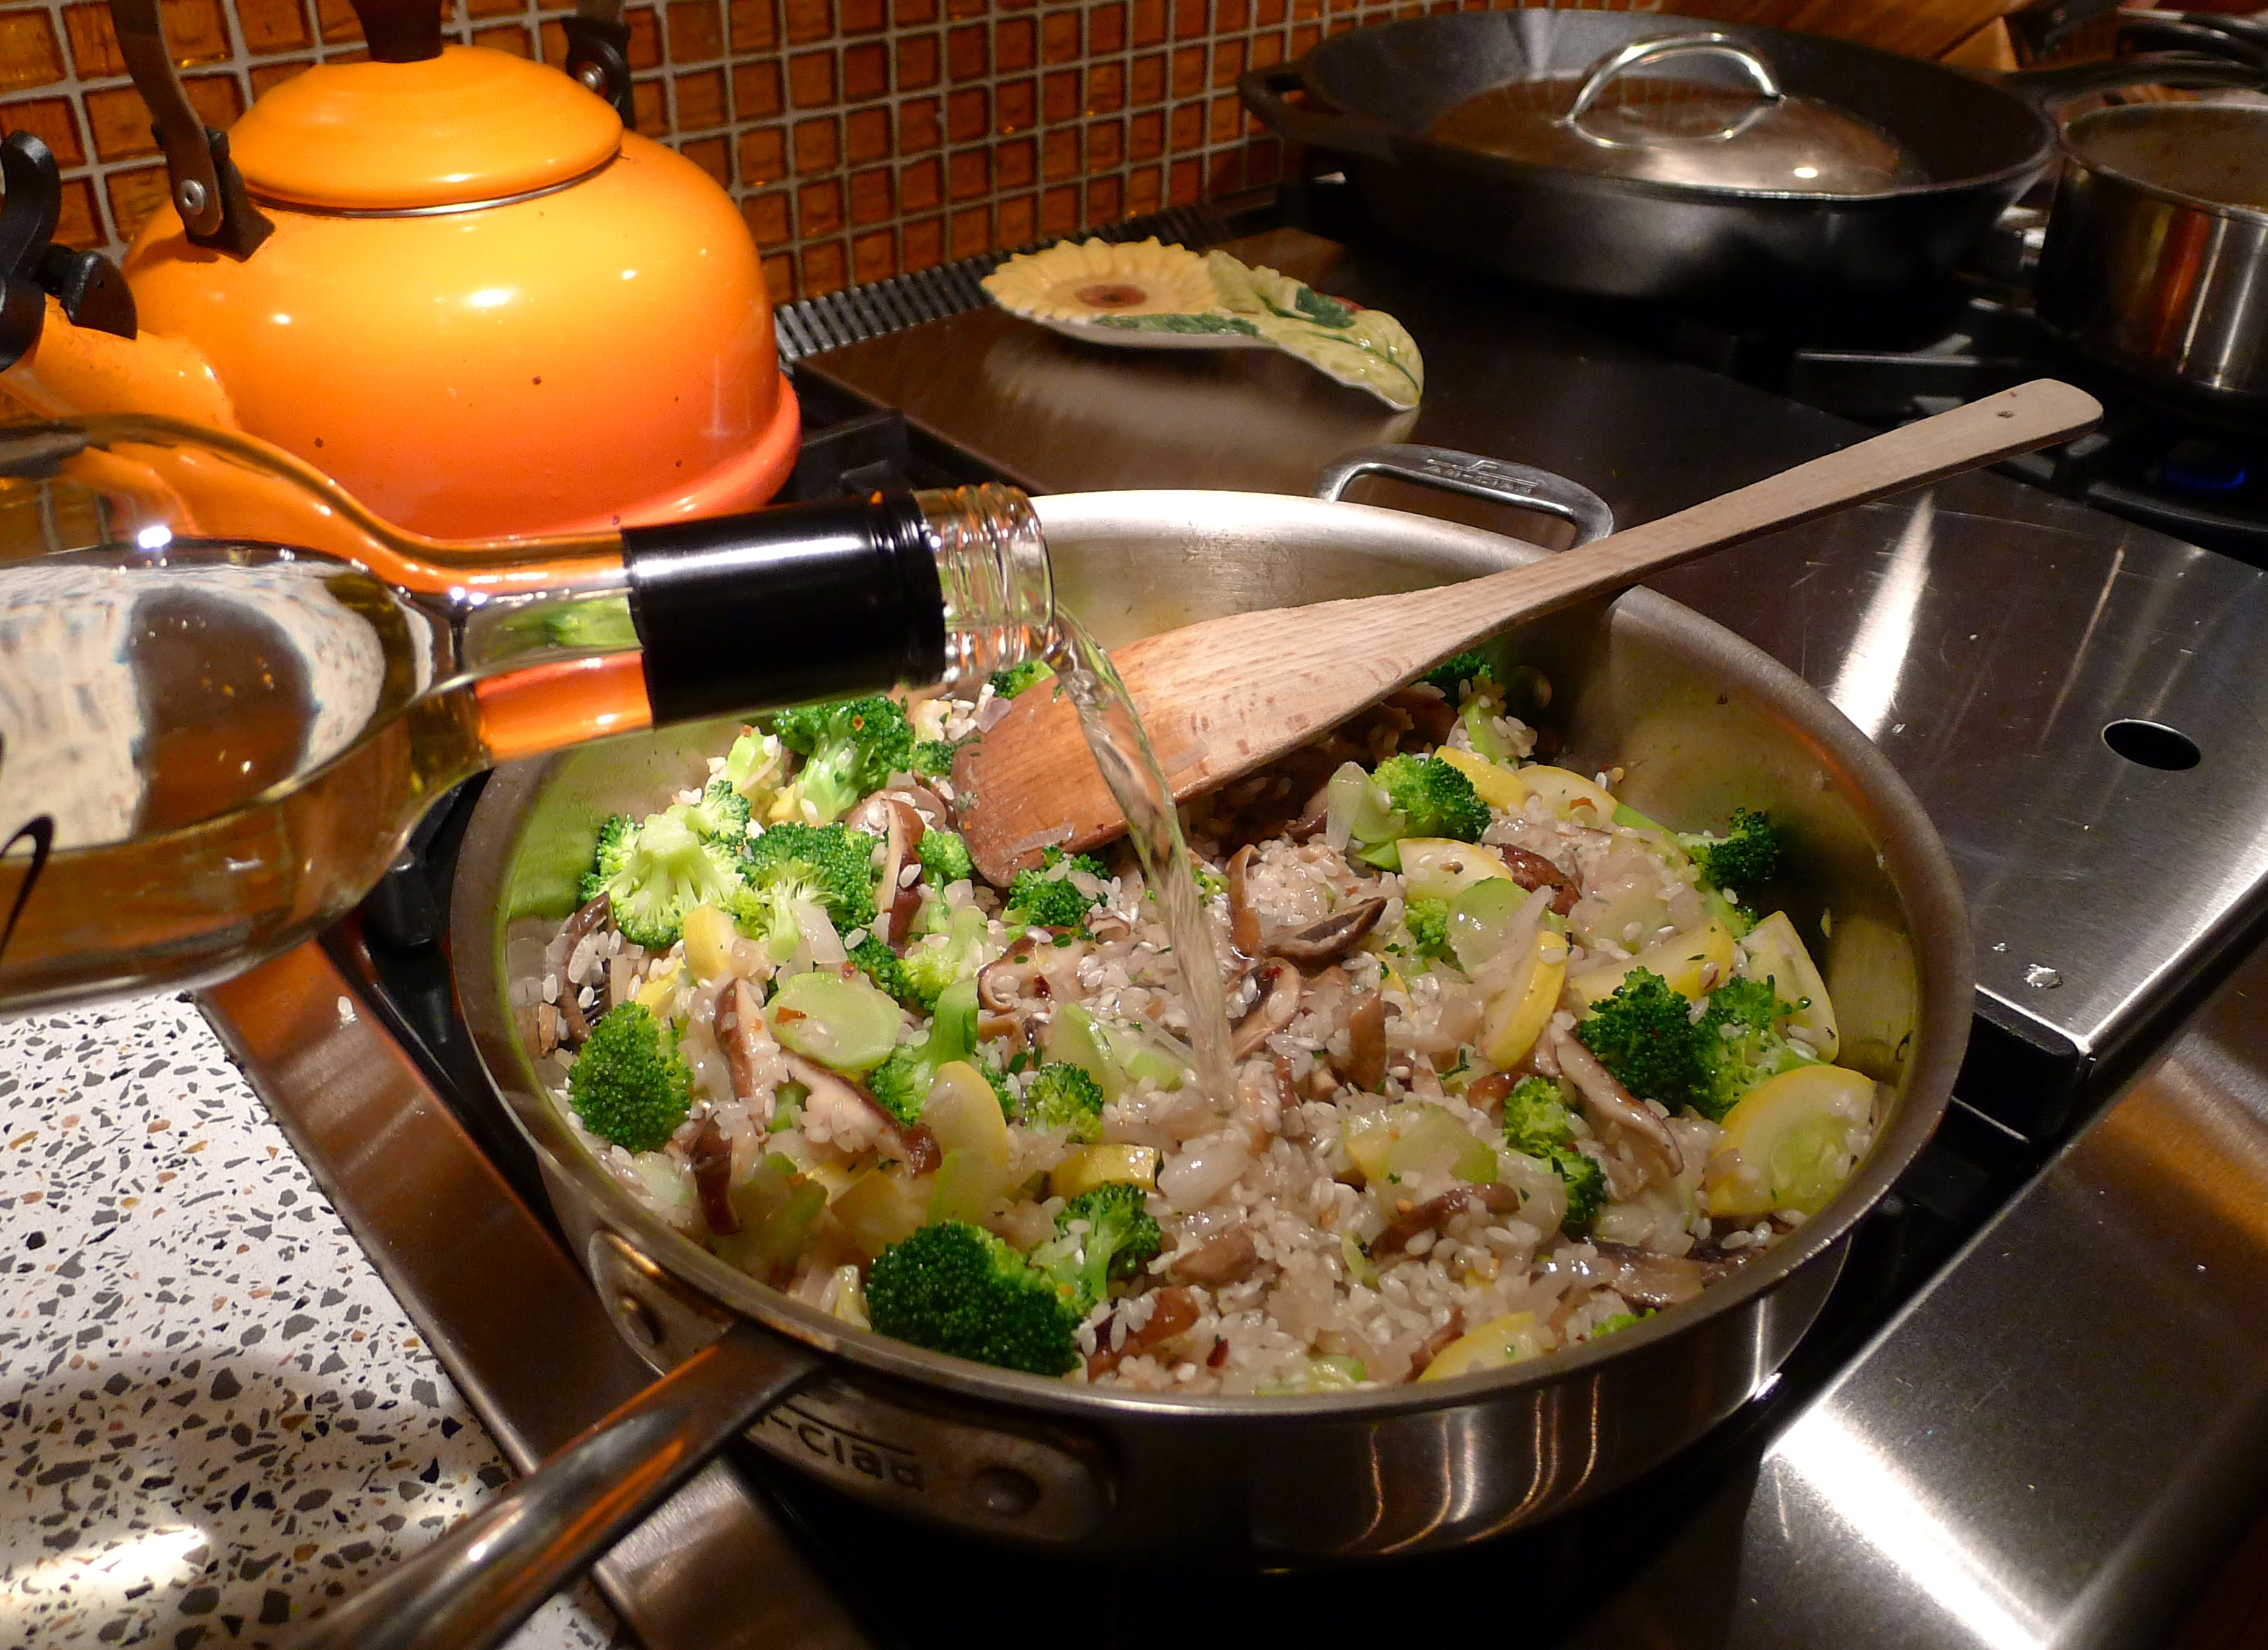
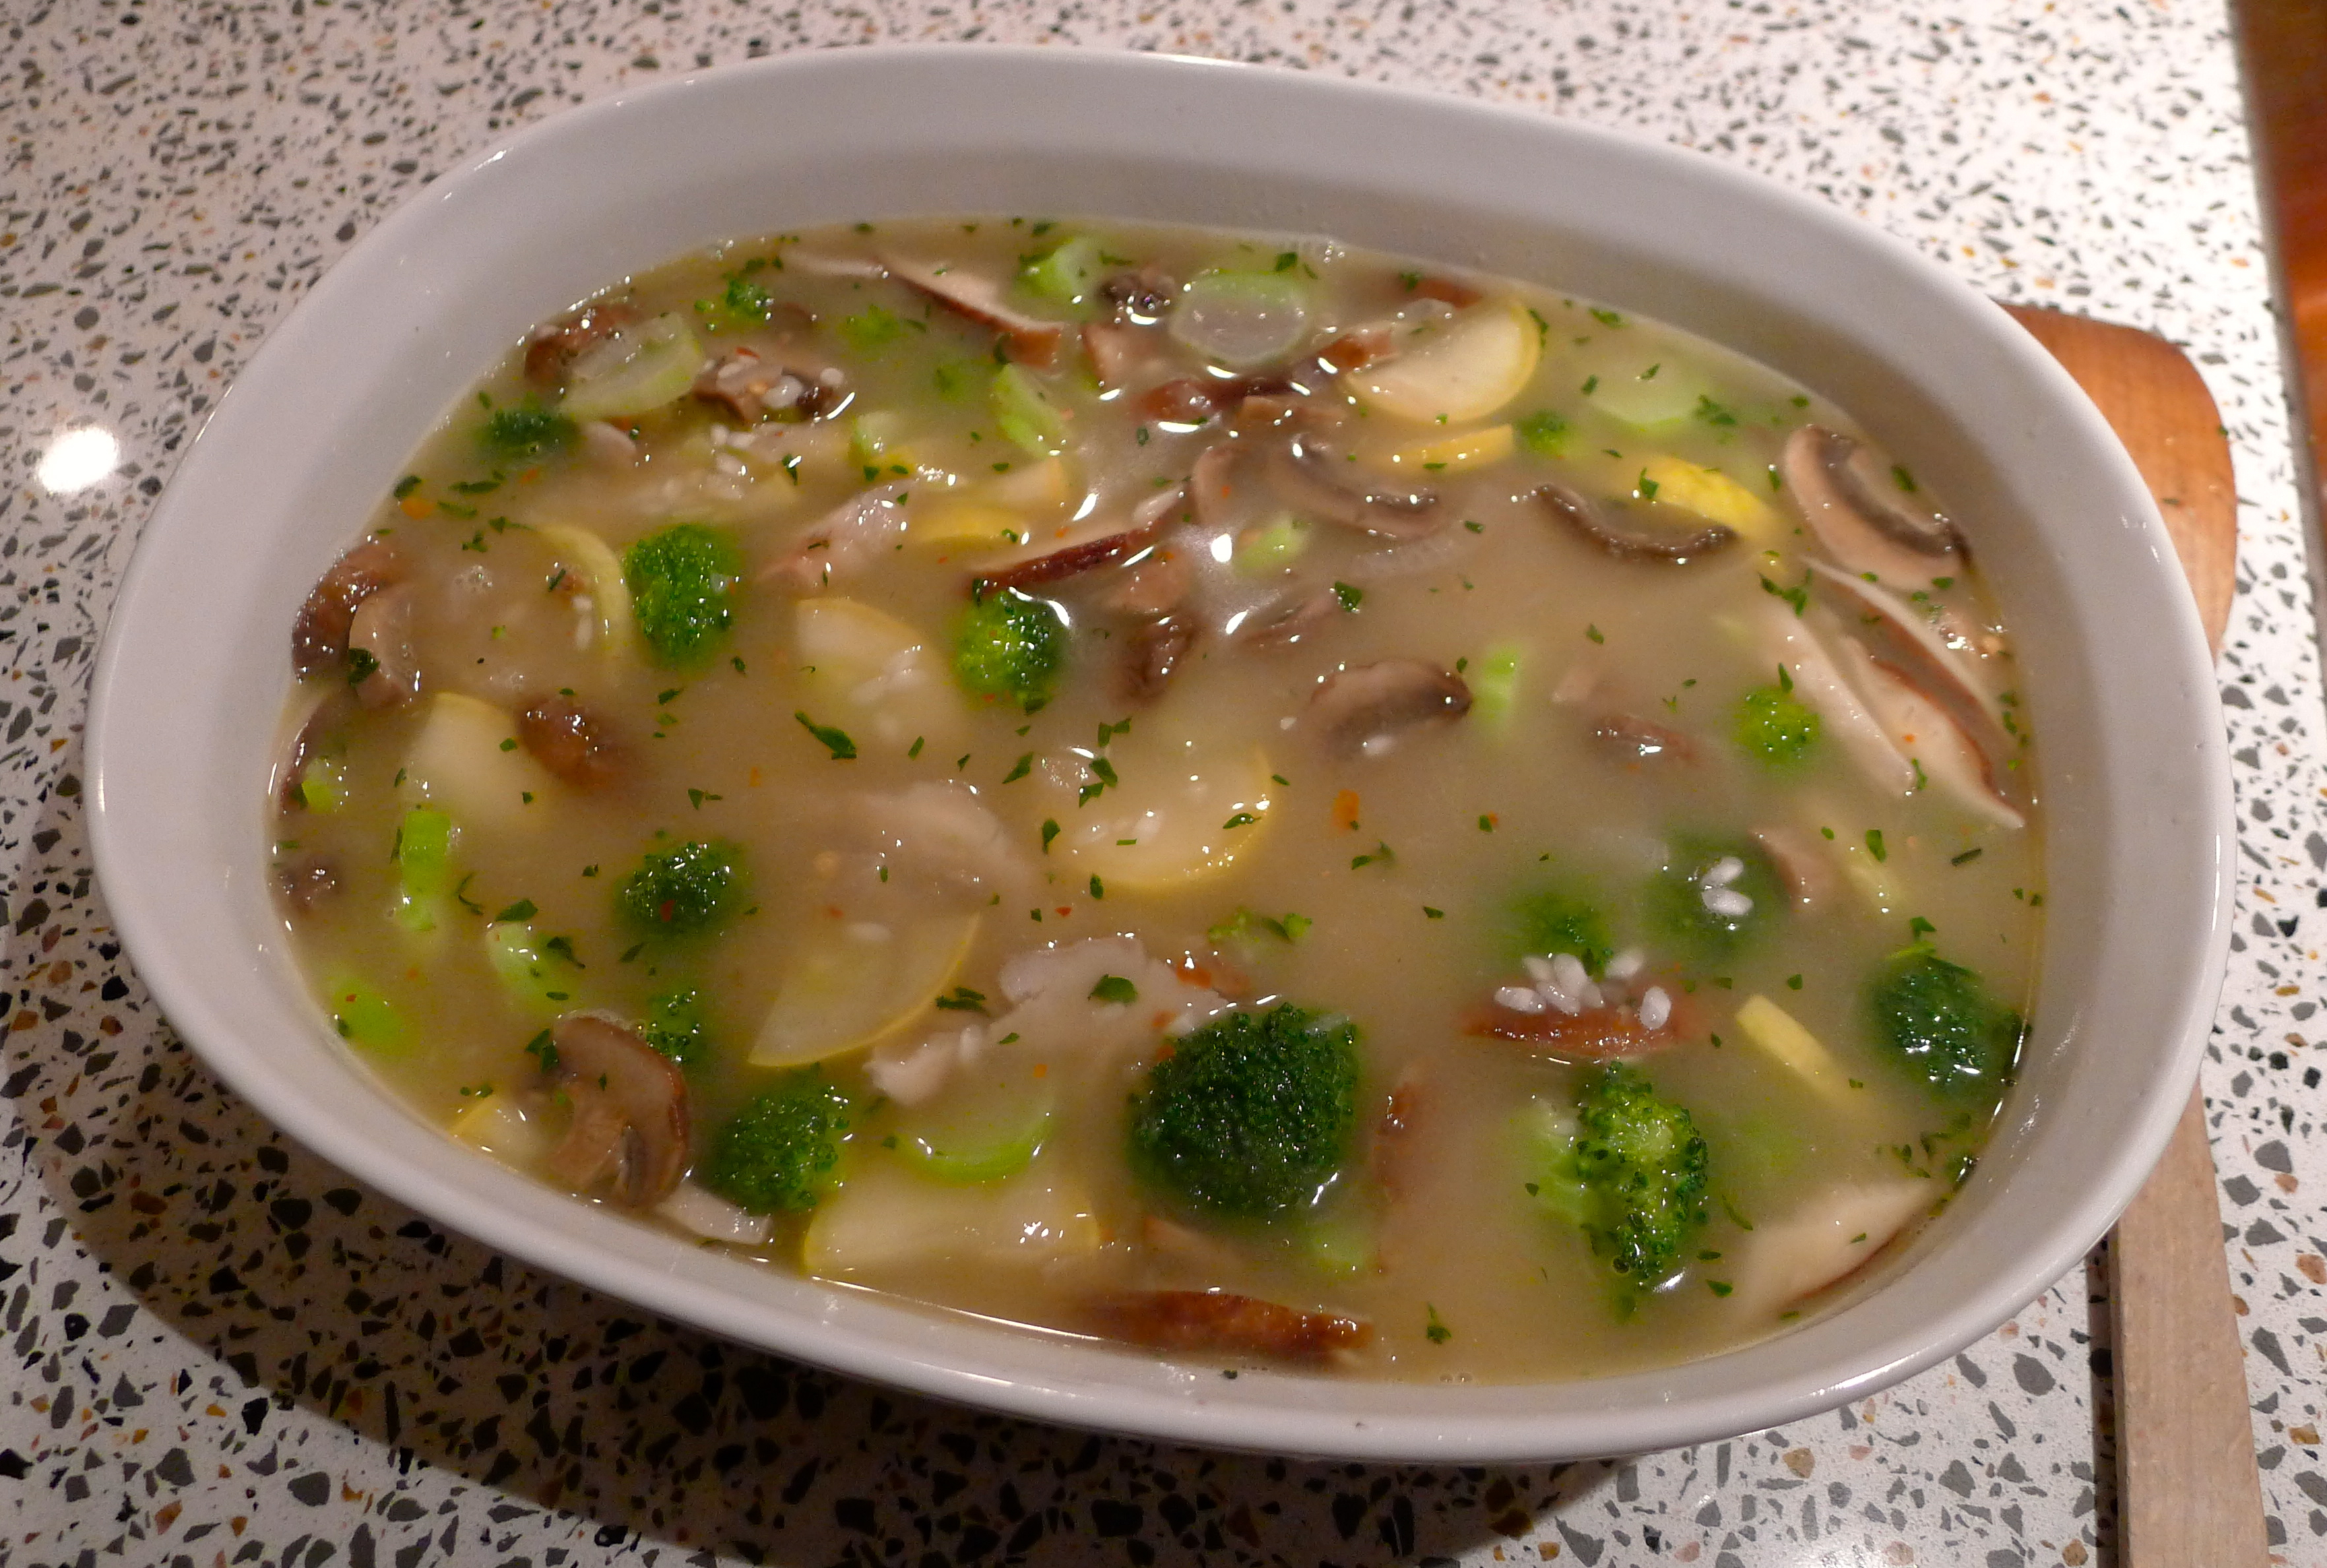
Here’s where the process changes. I’d simmered some chicken stock on the stove. Instead of adding one ladle full at a time and allowing each to be absorbed, I poured the whole thing into the pan. I transferred it to a baking dish, wrapped it tightly with foil, and popped it carefully into the oven.


While it baked for an hour, I shredded plenty of Parmesan cheese and chopped fresh parsley. Toward the end of the hour, I checked the risotto- the liquid had been absorbed into the rice. I stirred in most of the cheese and parsley and sprinkled cheese over the top of the casserole allowing it to brown uncovered for a few more minutes. Yum!

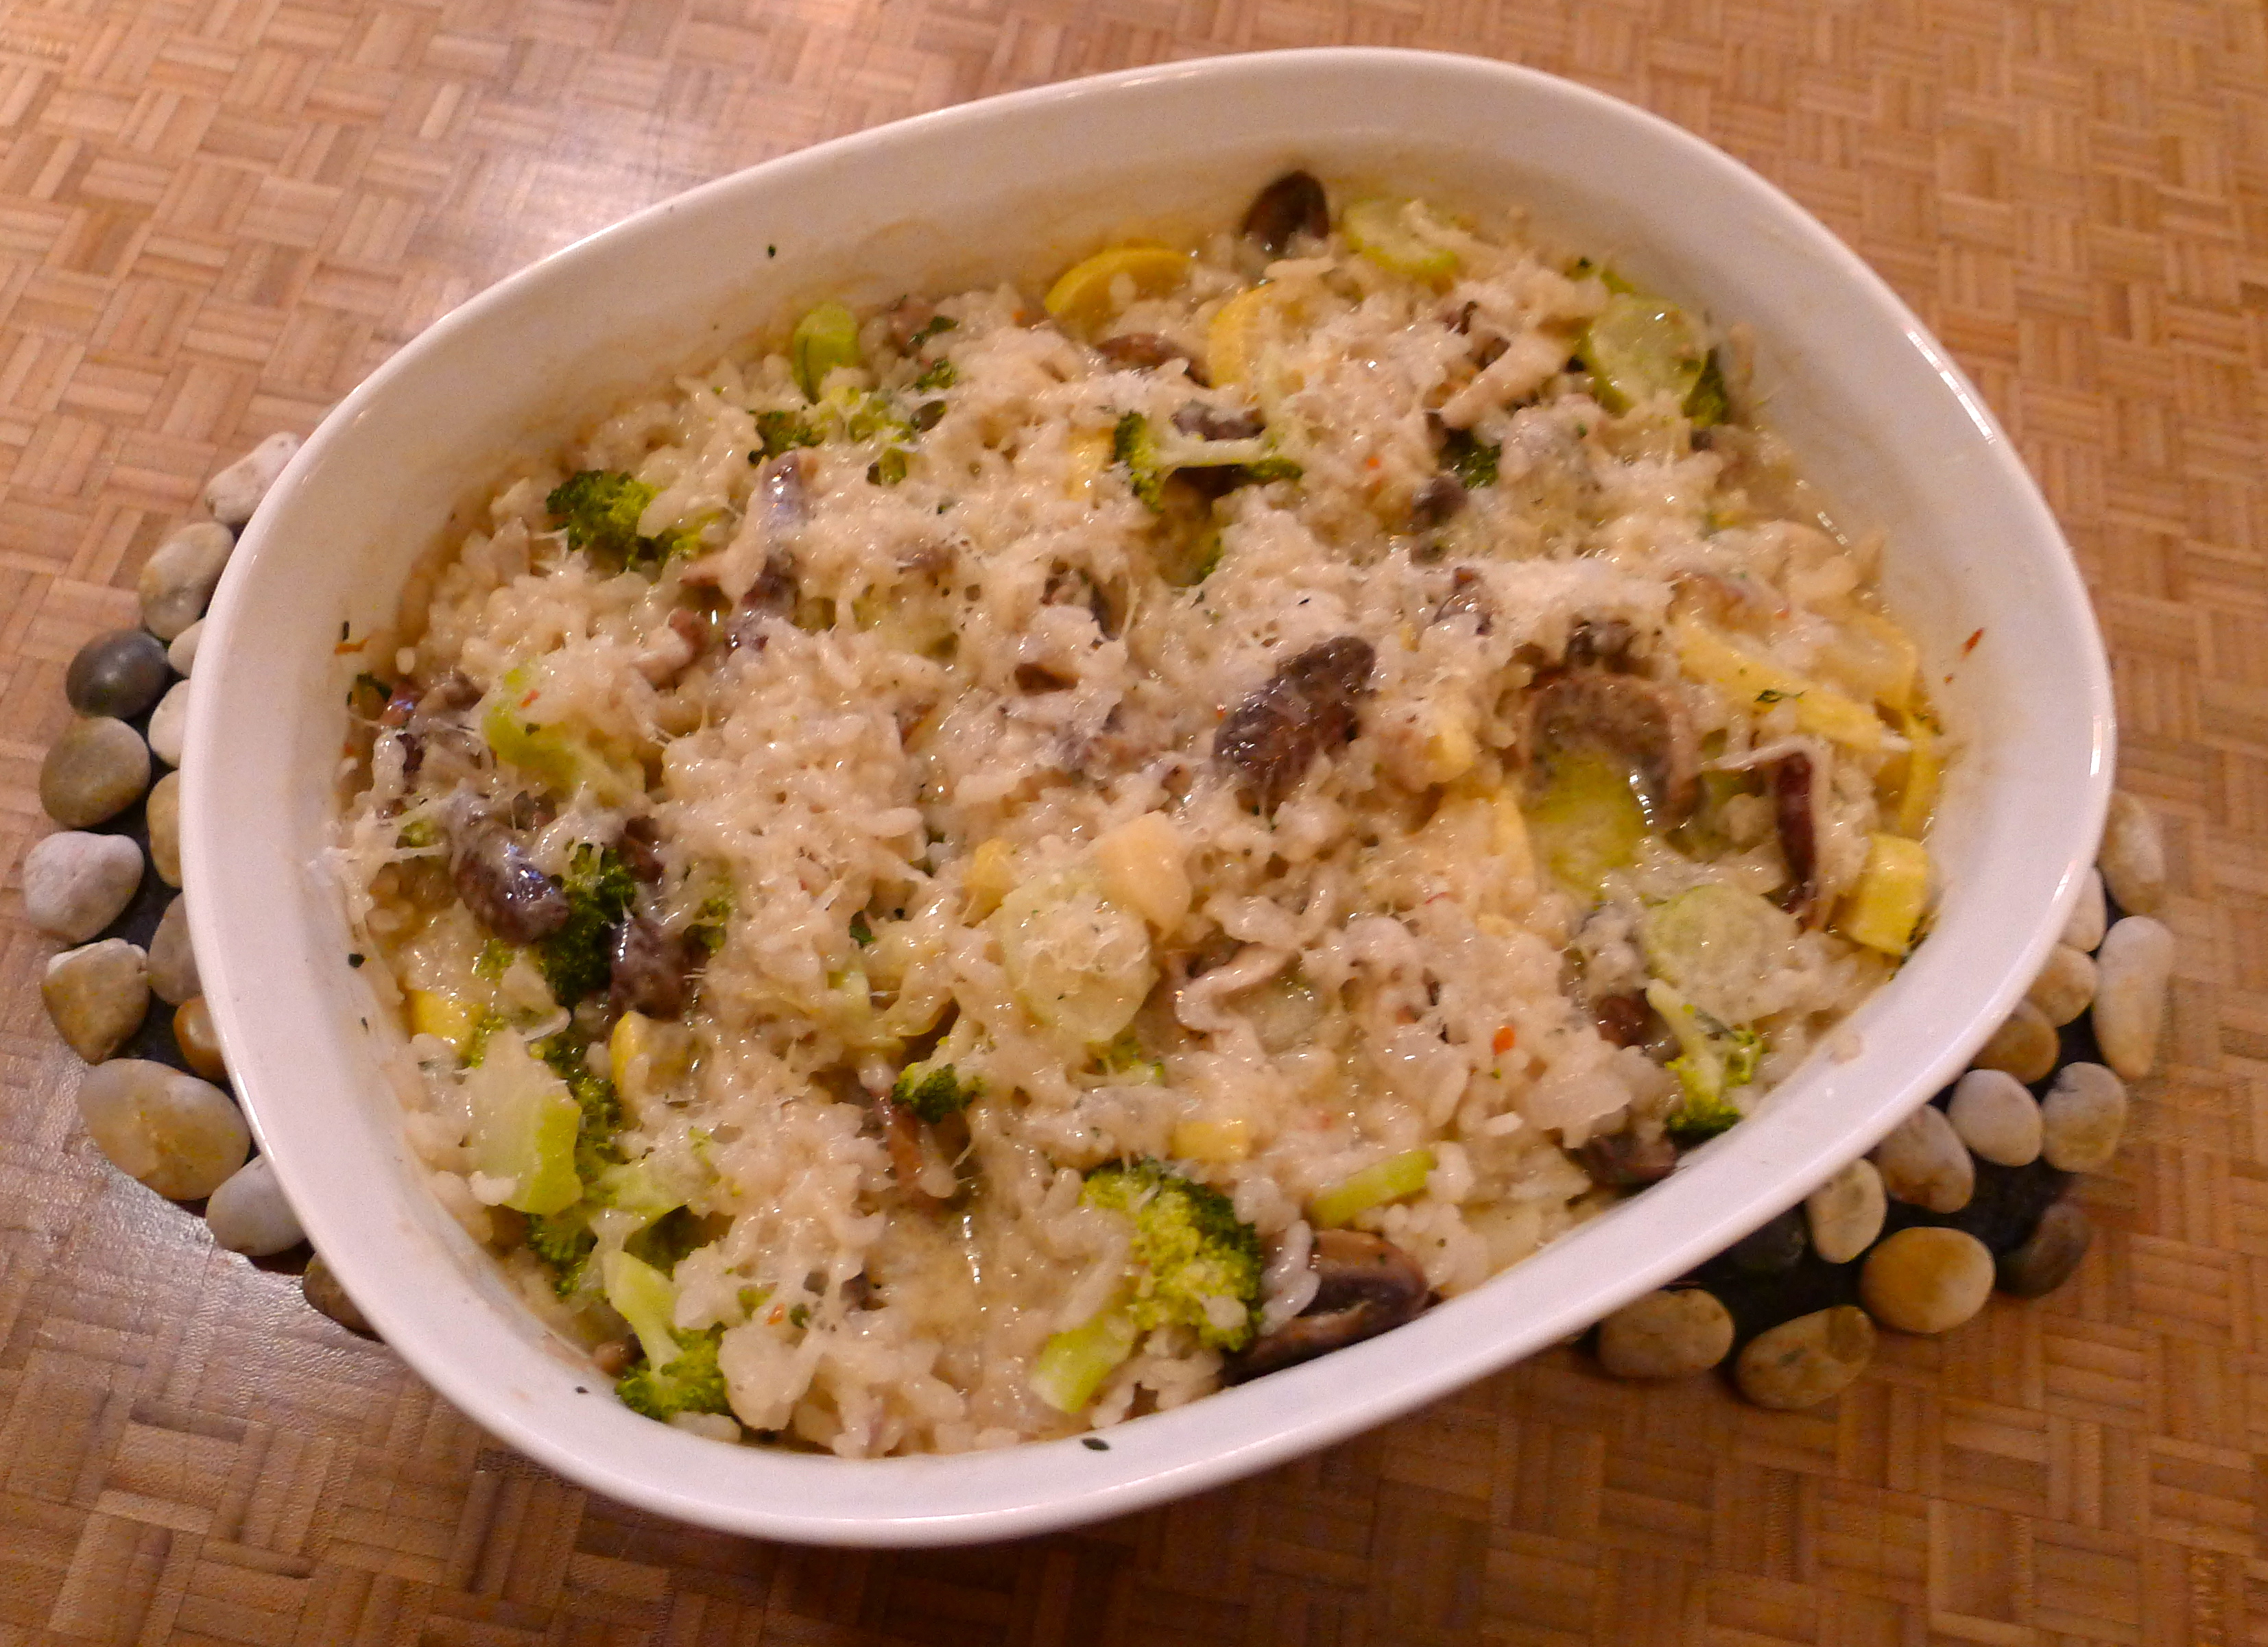
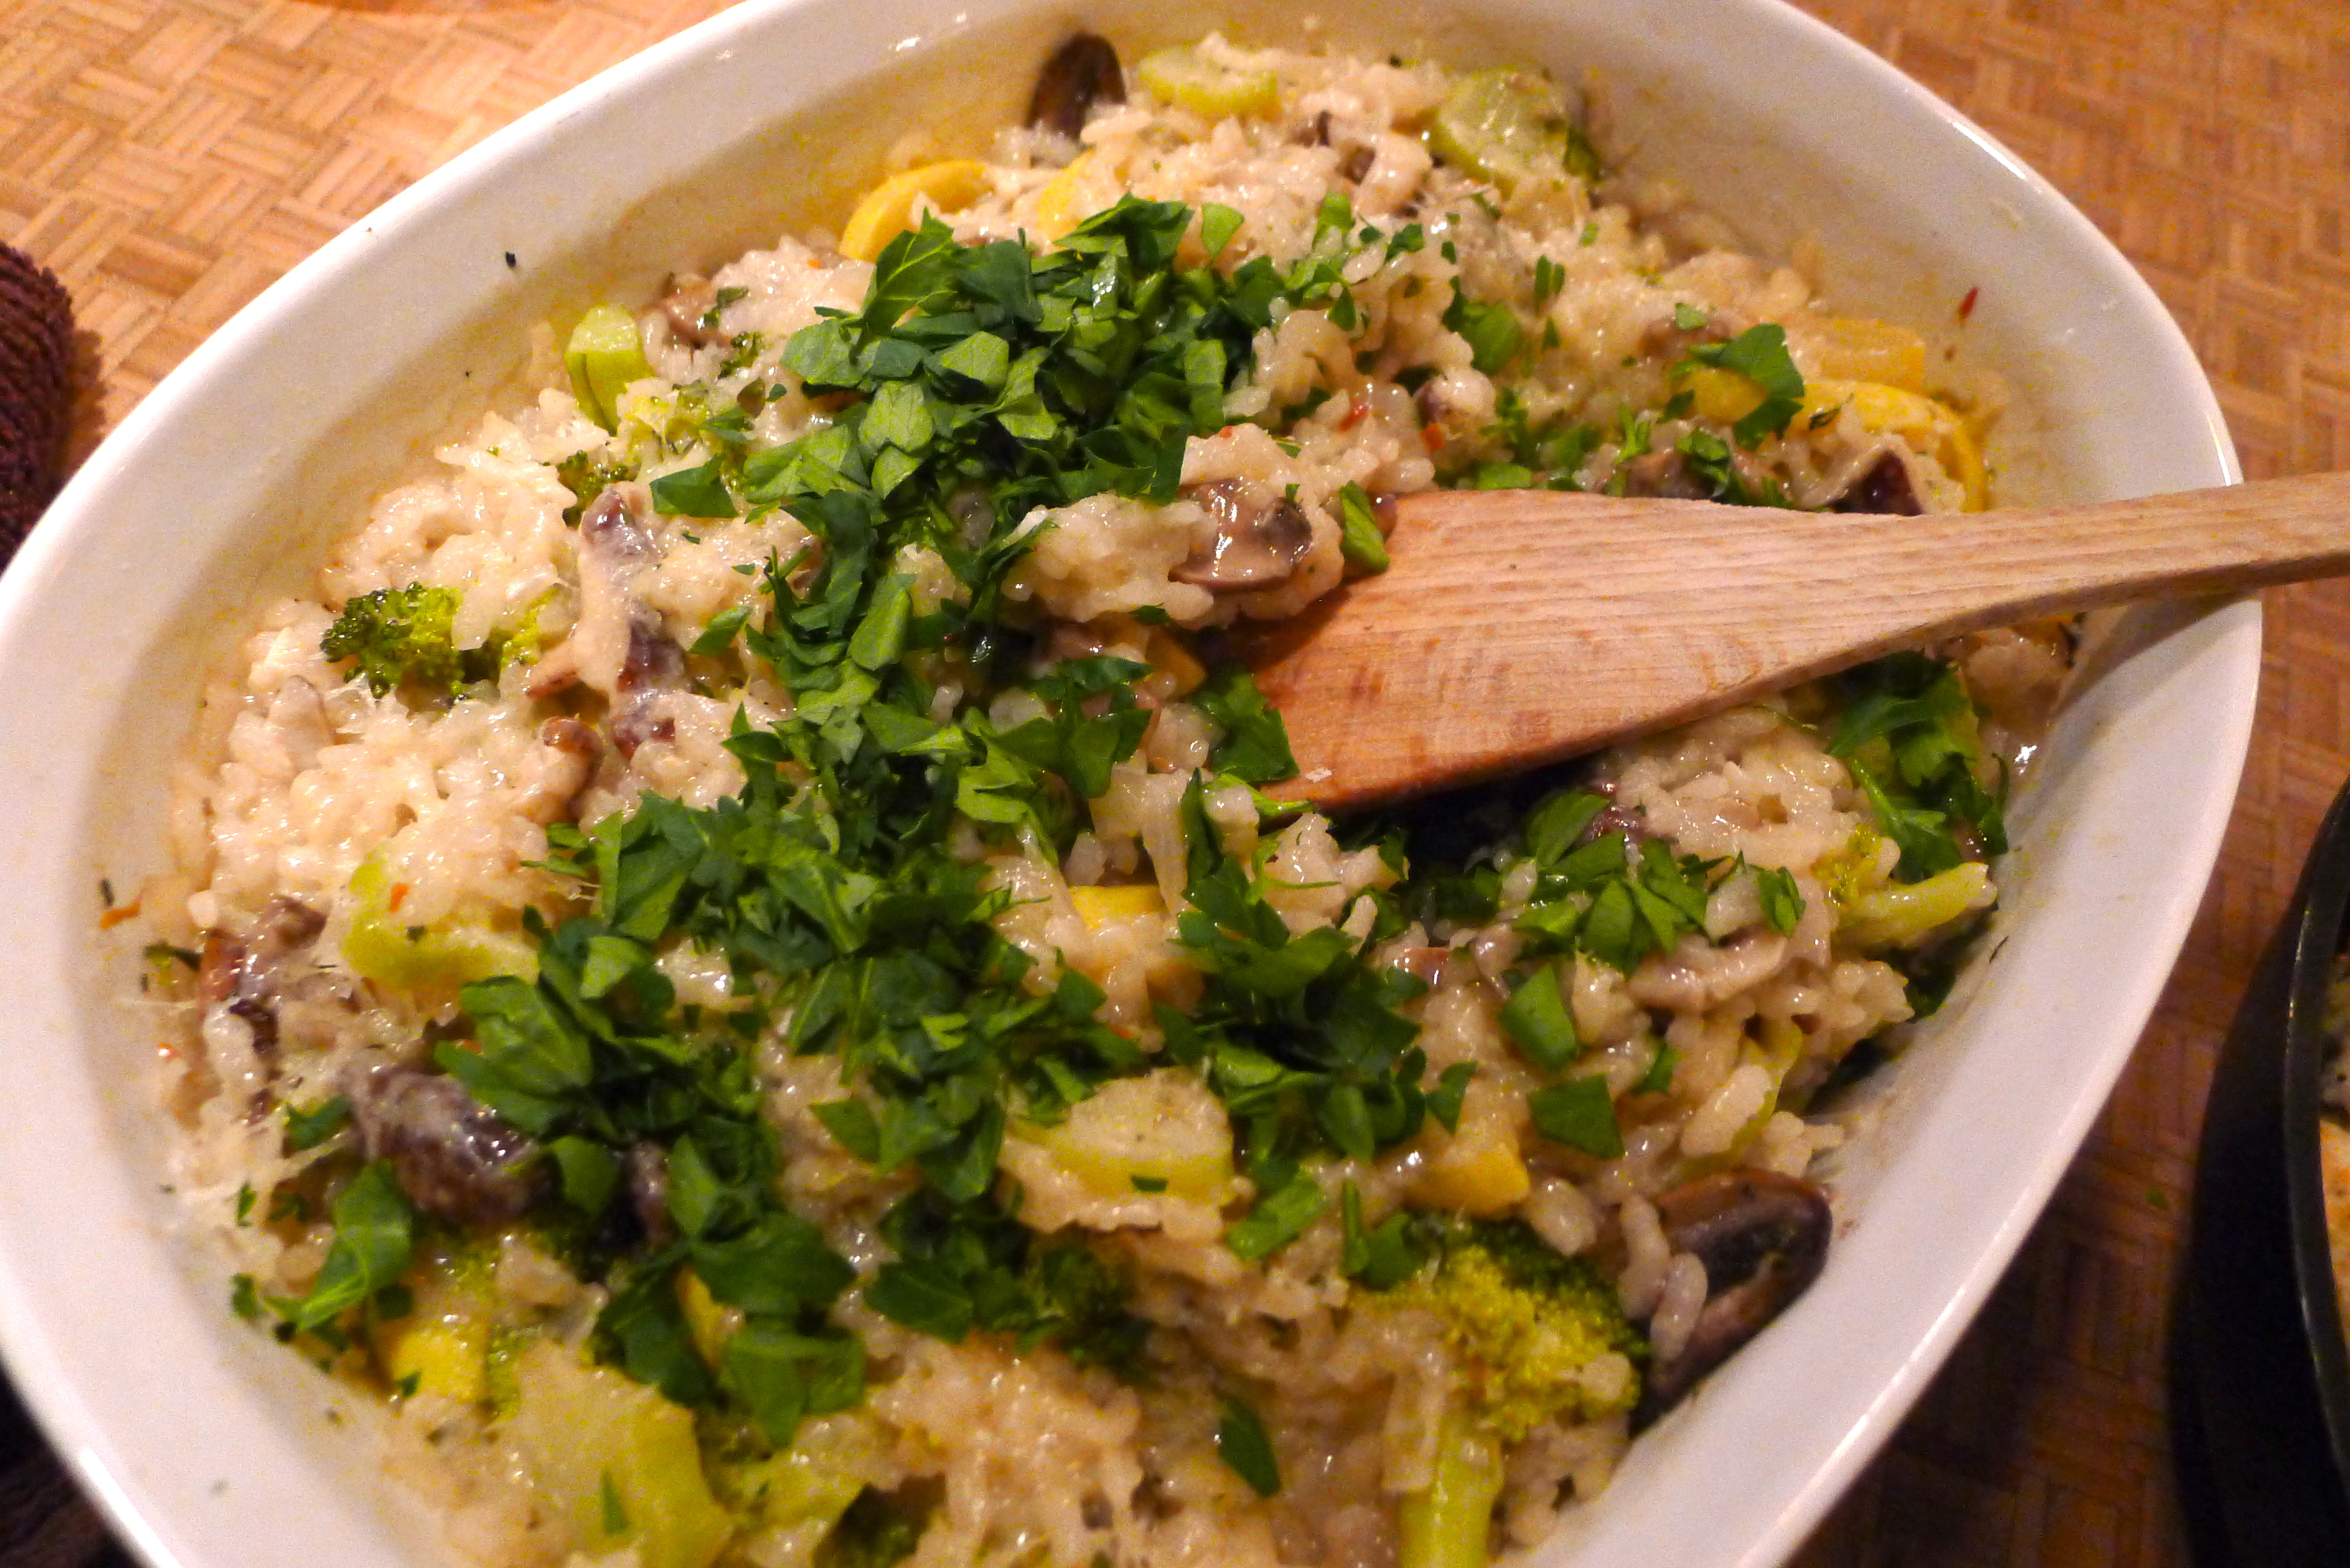
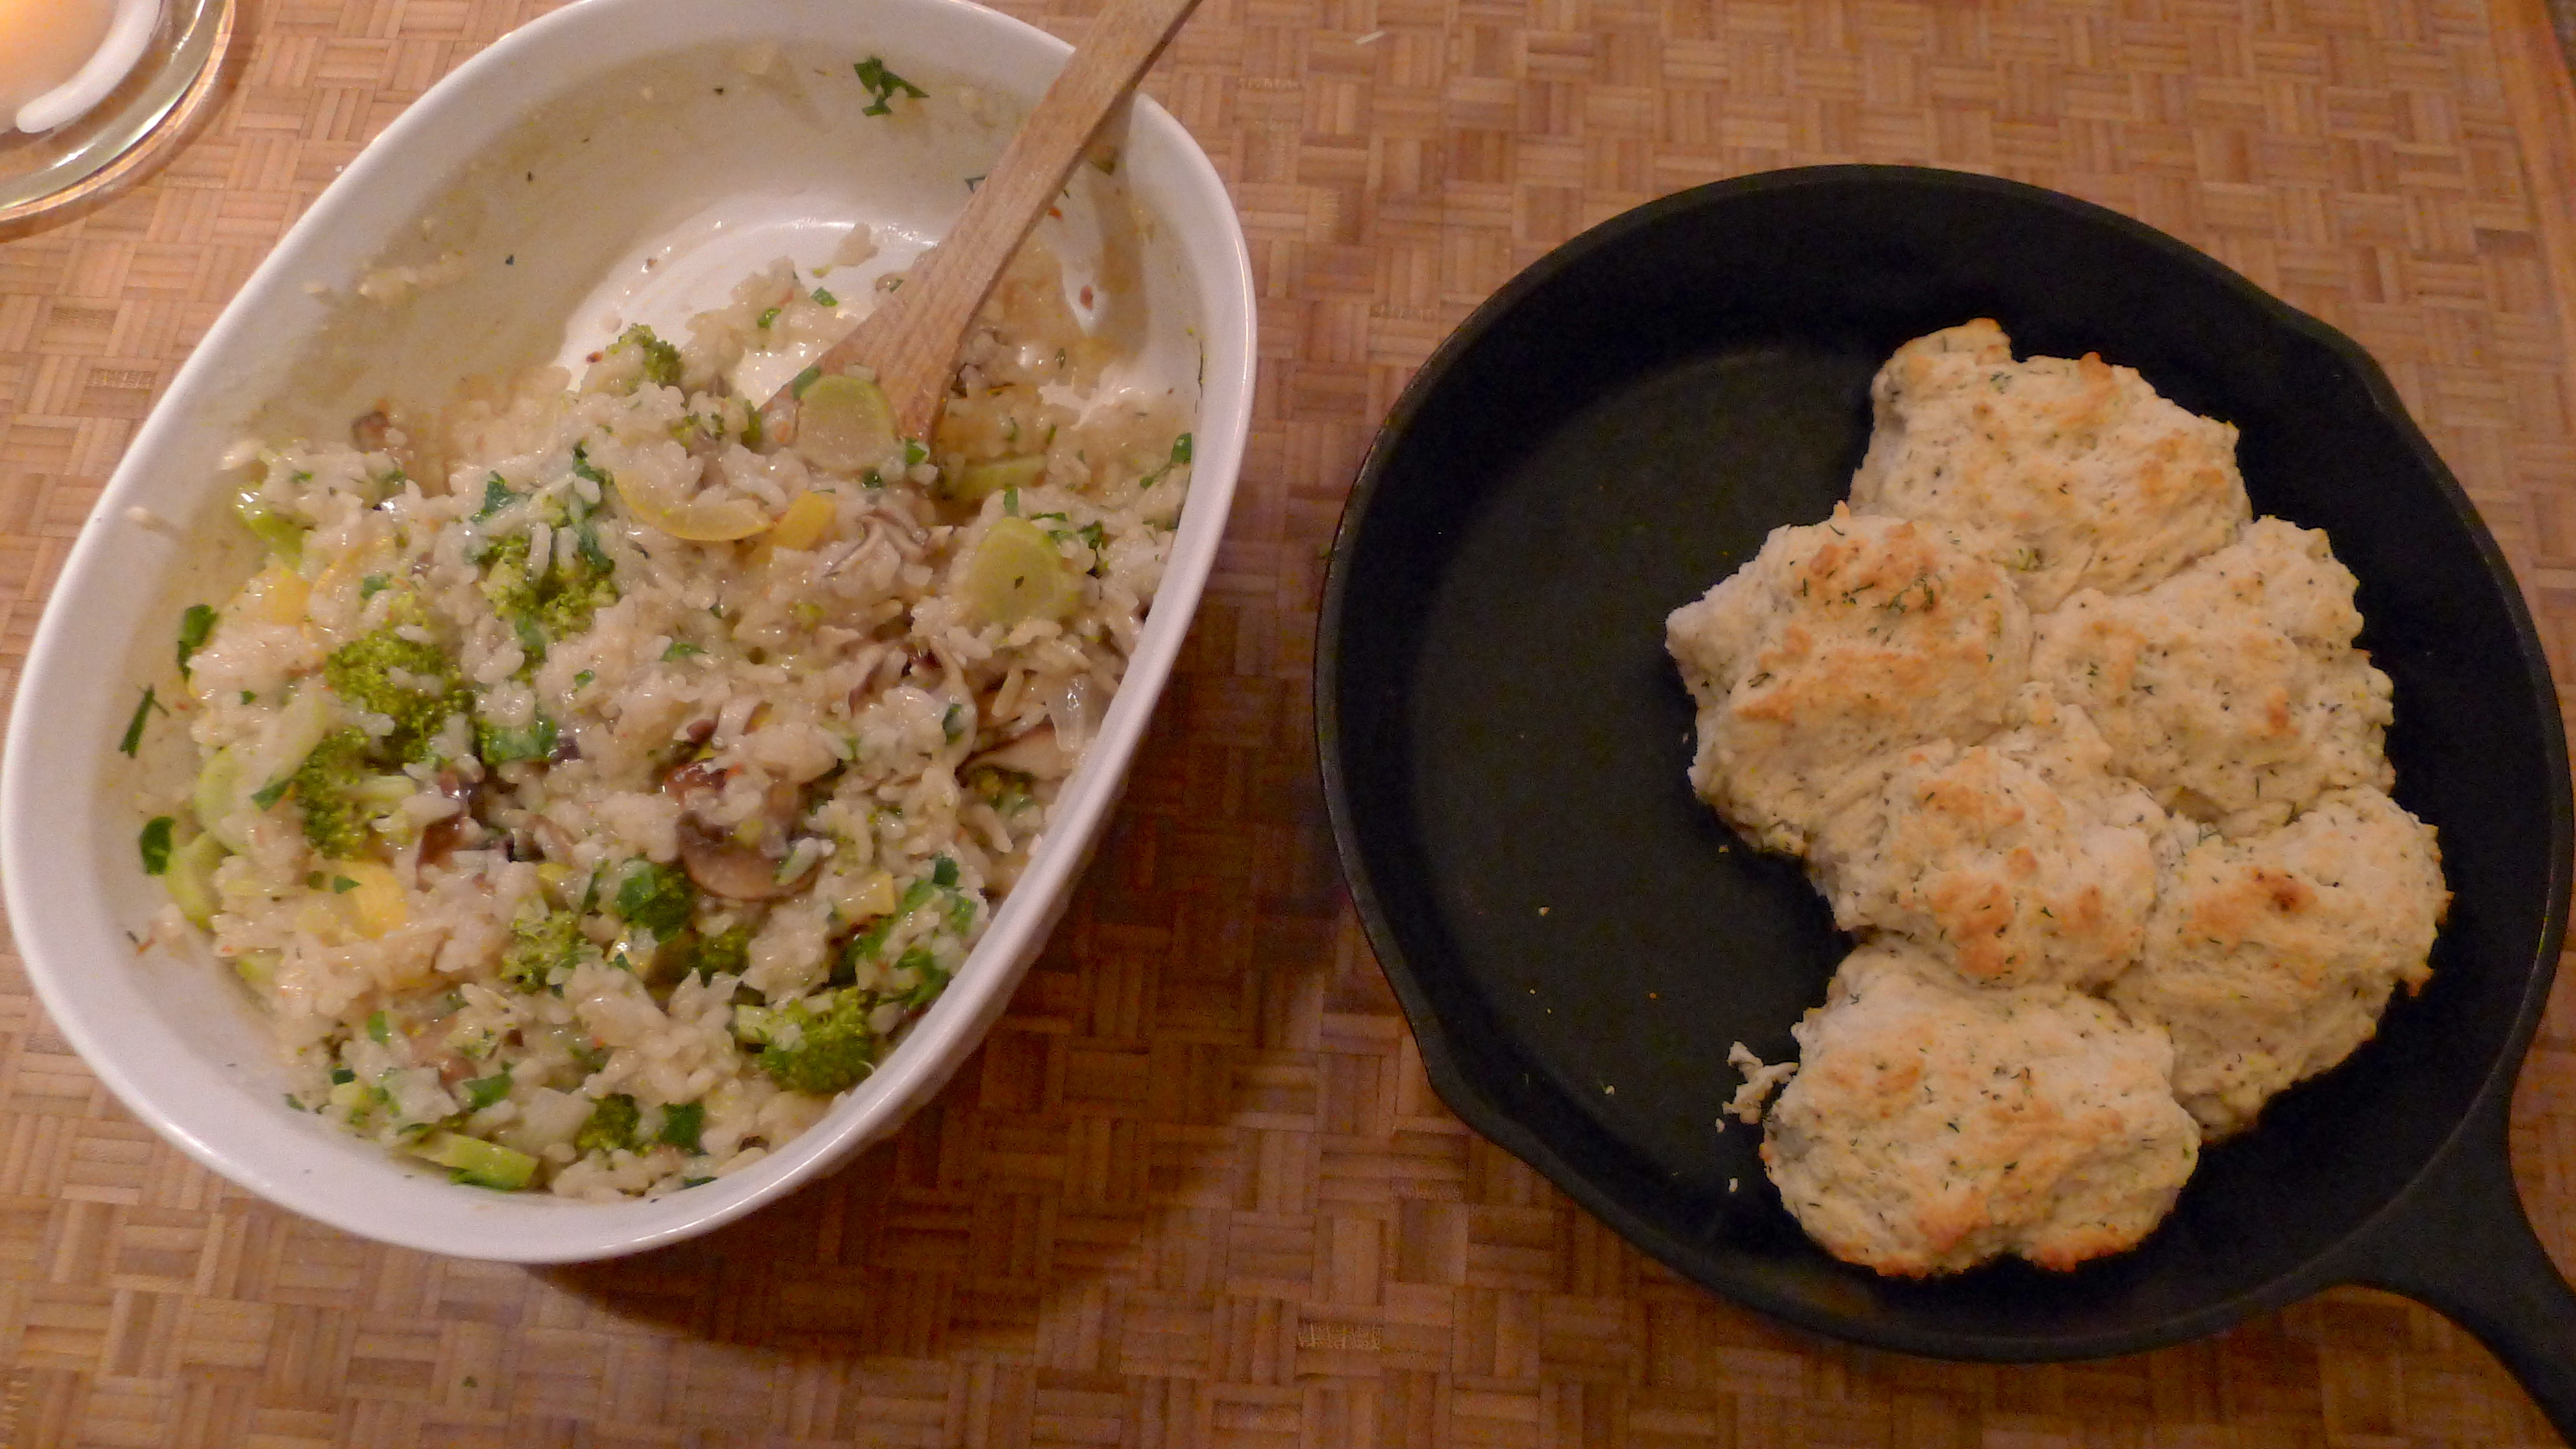
The texture of baked risotto is not the same as with traditional process, but you still have that creaminess and a slight al dente bite. Flavor-wise, this risotto is scrumptious! The shallot, garlic, white wine, and Parmesan are such a classic flavor combination. You could easily substitute vegetable stock for a truly vegetarian meal. We enjoyed our risotto with homemade skillet biscuits– more on those soon!

Next time, I’ll make a couple of changes to this baked risotto. I made the mistake of baking the veggies in with the rice- while the rice absorbed the chicken stock, so did the veggies, leaving them a tad overcooked. I think stirring in the pan-sautéed veggies after the risotto has baked is the way to go. I’ve adjusted the recipe below to reflect the change.

It’s not a duplicate of the tried-and-true traditional risotto- the time-consuming version remains my favorite version. There’s nothing quick about this meal- the baking method still takes time. But if you’re craving that risotto comfort but don’t have the energy to be glued to the stove, why not try a shortcut and let the oven do the work? The result is delicious!
Do you have any favorite shortcuts in the kitchen? Share with me!
Baked Risotto
You’ll need:
- A generous tablespoon of butter
- 2 tablespoons olive oil
- 3 cloves garlic, chopped
- 1 large shallot, chopped
- 8 ounces sliced mushrooms
- 1 ½ cups Arborio rice
- ½ cup white wine
- 4 cups chicken stock
- Additional vegetables of your choice, chopped/sliced (optional)
- 1 ½ cups shredded Parmesan cheese
- 2/3 cup Italian parsley, chopped
- Salt, pepper, crushed red pepper to taste
Heat oven to 350 degrees.
Warm the butter and oil in a pan over medium heat. Sauté the shallot, garlic, and mushrooms until tender. Add the rice and cook for a few minutes, stirring constantly. Add the wine to the pan and stir until it’s absorbed by the rice. Season well. Pour in the chicken stock and stir to combine.
Transfer the rice/stock mixture to a baking dish. Cover tightly with foil and bake in the oven for 45 minutes. Check the risotto; if it has not yet absorbed all of the liquid, re-cover it and continue baking.
If you want to add more vegetables, sauté them on the stove just before the hour is up. When the risotto has absorbed all of the stock, remove the foil and stir in half of the Parmesan cheese, most of the parsley, and the additional vegetables. Sprinkle a little cheese over the top and return the baking dish to the oven, uncovered, for five more minutes or until the cheese on top is melted and starting to brown.
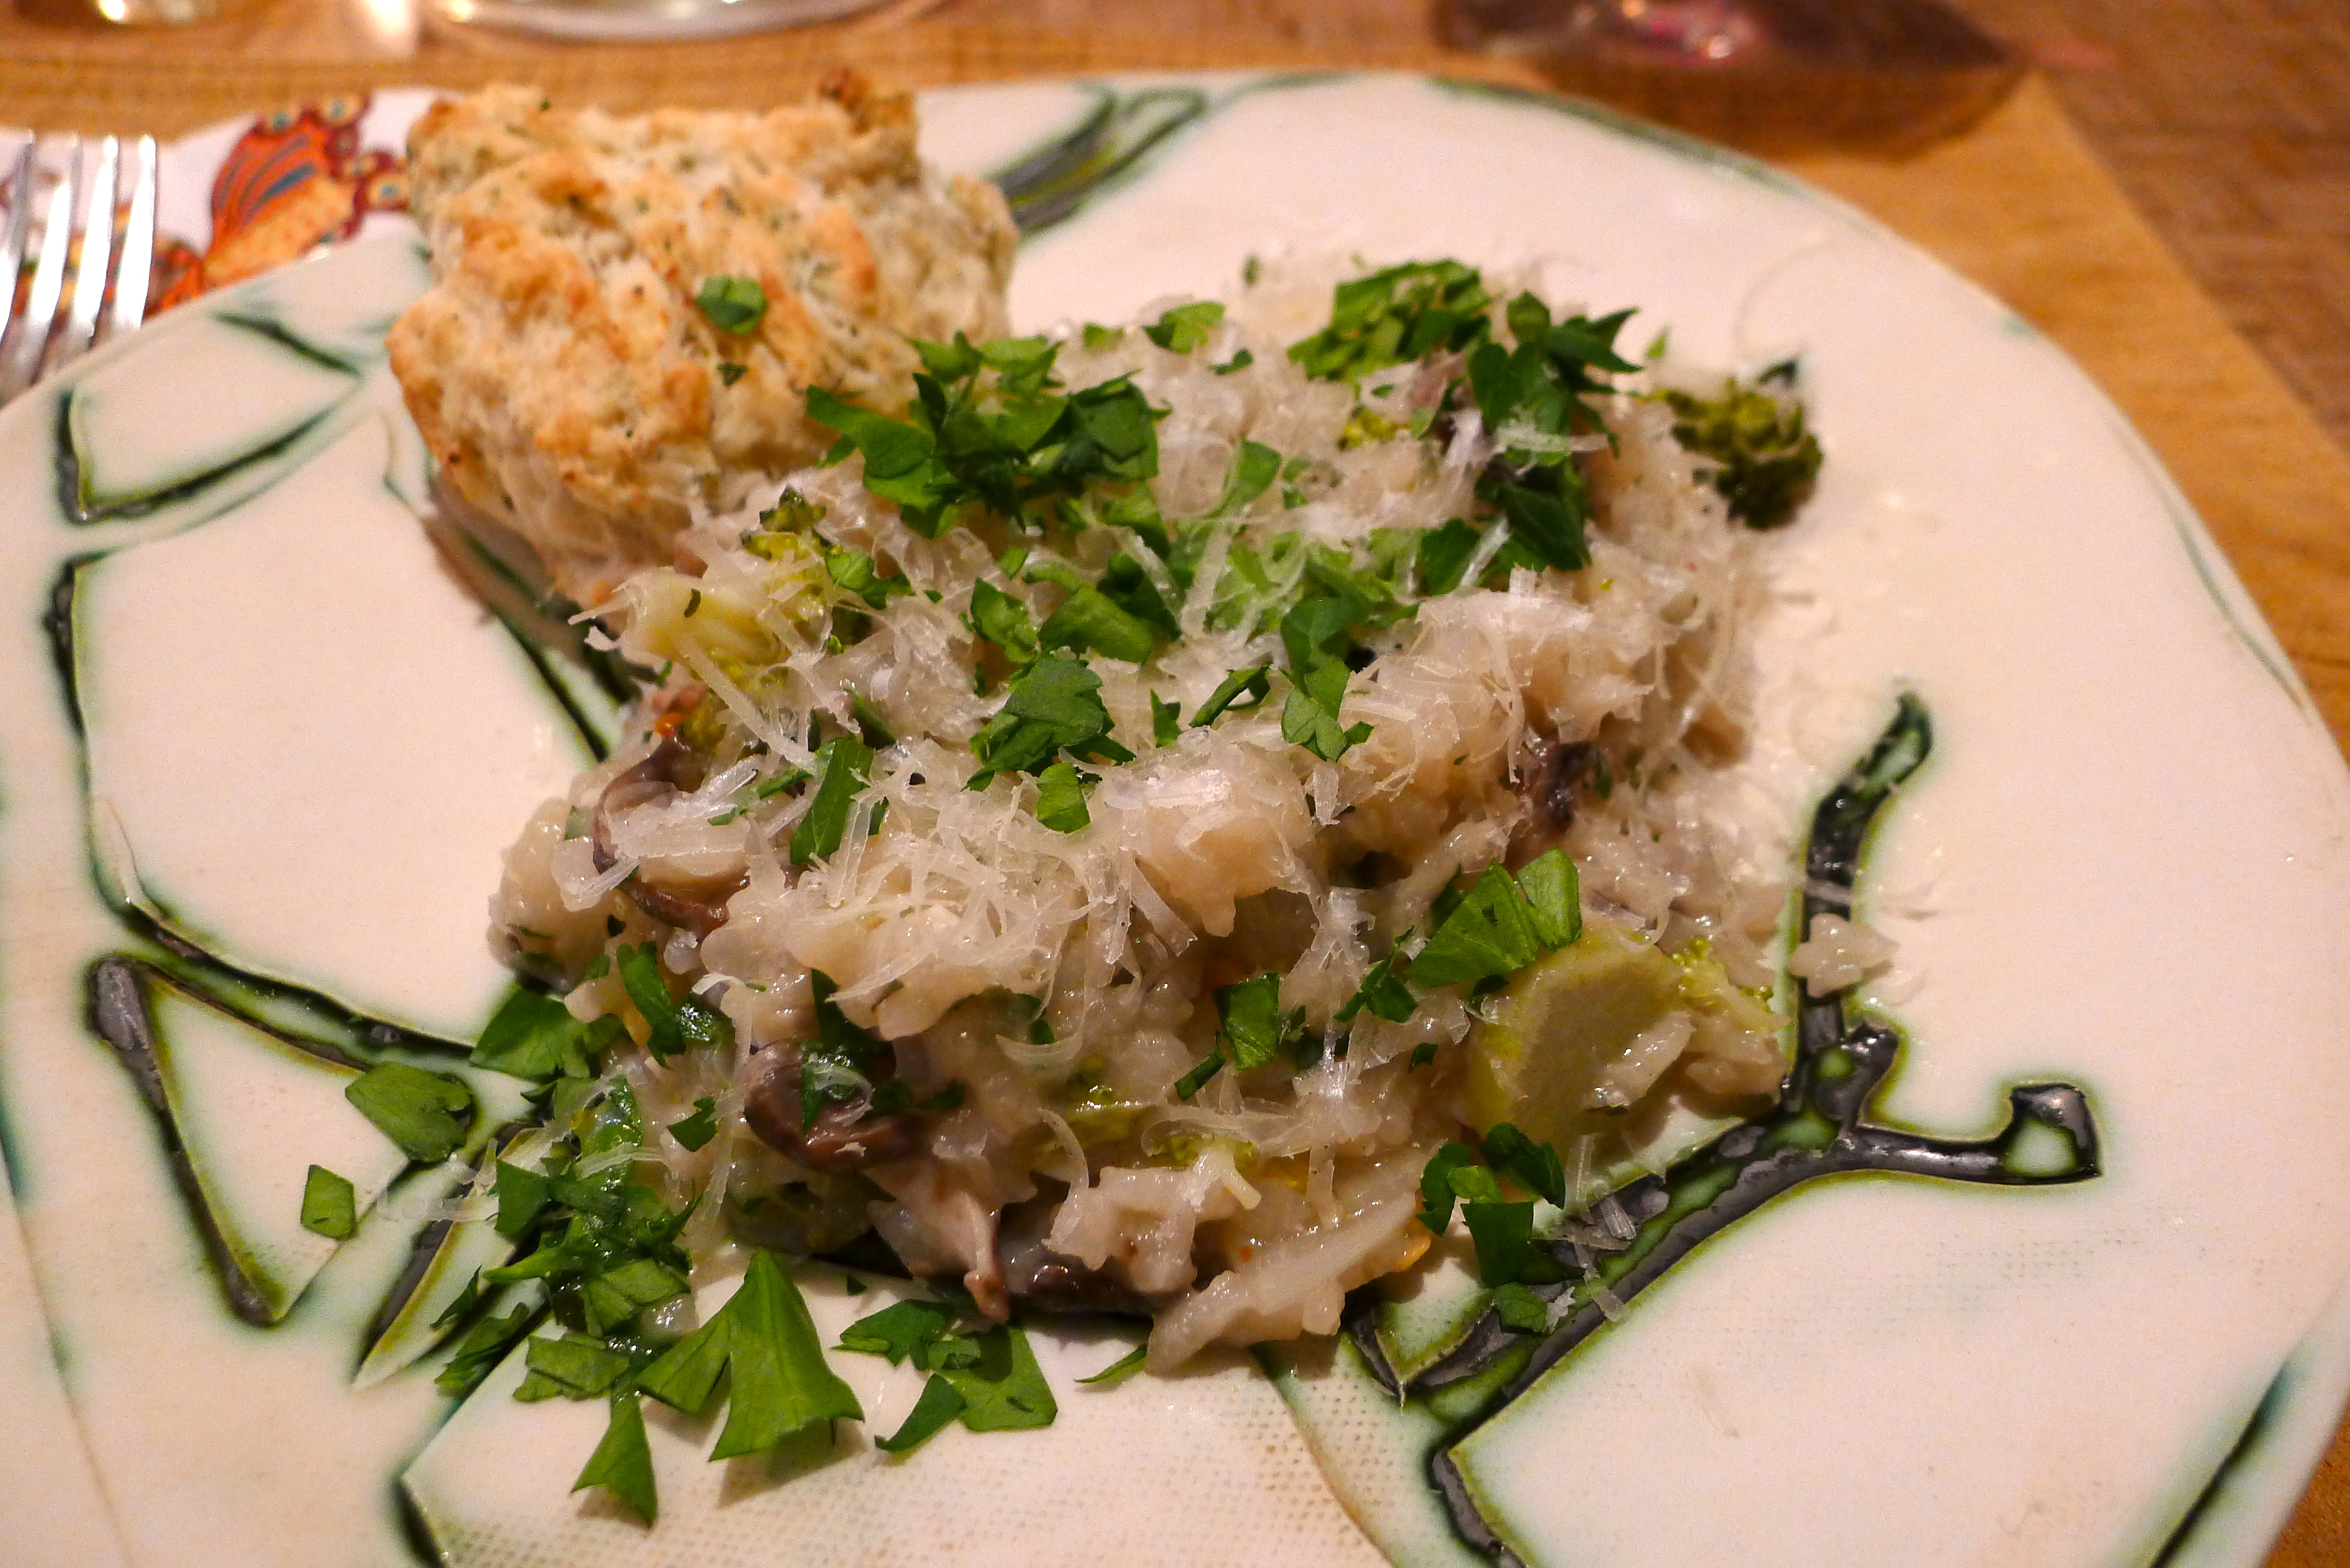
Serve topped with more cheese and parsley and clink your glass to kitchen shortcuts. Yum!
Hungry for more? Check out a full list of recipes on the FOOD BLISS link above!
One year ago: I like taking a peek at last year’s BLISS BITS to see what was making me smile!

Mmmm… I love a good risotto!
Try baking one and see what you think!
One thing I’ve learned is that you can “casserole” just about anything! I look forward to making this one. I’m ALL for shortcuts,
Since evenings are pretty tied up with school stuff for three (my home-schooler is all done by noon), I typically do the entire days’ cooking and/or prepping in one go, first thing in the morning. This dish can be baking for dinner (after school snack?) while I cook for and prep the kids’ lunch kits. I’m certain a “warming” in the microwave would be all that’s needed.
This would be totally yummy warmed up in the microwave. I may or may not know this as fact.